Umami on AWS User Guide
Overview
This image runs Umami 2.20, the open source, privacy-friendly web analytics platform - a cookieless, self-hosted alternative to Google Analytics - on Ubuntu 24.04 LTS. Umami is built and run from /opt/umami on the Node.js 22 LTS runtime by an unprivileged umami system account under a systemd service that starts it on boot and restarts it on failure. A local PostgreSQL 16 database stores all analytics data.
Umami listens on the loopback address 127.0.0.1:3000 by design and is never exposed directly. nginx is installed as a reverse proxy on port 80 that forwards every request to Umami. Visitors reach the application on the standard HTTP port.
Umami ships with a well known default administrator login (admin / umami) and signs authentication tokens with an APP_SECRET. This image is secure by default: on the first boot of every deployed instance a one-shot service rotates the administrator password to a fresh per-instance value and generates a fresh APP_SECRET, then writes the password to /root/umami-credentials.txt (mode 0600, readable only by root). The default umami password never reaches a customer instance, and two instances launched from the same AMI never share a password.
The analytics data (page views, sessions, events, websites and users) lives in PostgreSQL with its data directory under /var/lib/postgresql on a dedicated, independently resizable EBS data volume kept separate from the operating system disk. Umami is fully self-hosted - your analytics data never leaves your instance.
The default security group for this listing opens port 22 (SSH) and port 80 (HTTP) only.
Prerequisites
- An AWS account subscribed to this product in AWS Marketplace.
- An EC2 key pair in your target region for SSH access.
- A security group allowing inbound TCP 22 (SSH) from your IP and TCP 80 (HTTP) from your users.
- Recommended instance type:
m5.largeor larger. - A website whose traffic you want to track.
Connecting to your instance
SSH in as the default login user for your operating system variant, using the key pair you launched with.
| OS variant | Login user | Example |
|---|---|---|
| Ubuntu 24.04 | ubuntu |
ssh -i your-key.pem ubuntu@<instance-public-ip> |
Step 1 - Launch from the AWS Marketplace console
- Open the product page in AWS Marketplace and choose Continue to Subscribe, then Continue to Configuration.
- Select the Umami 2.20 on Ubuntu 24.04 delivery option and your region, then Continue to Launch.
- Choose your instance type, VPC/subnet, key pair and the security group described above, and launch.
Step 2 - Launch from the AWS CLI
Replace the AMI ID with the one shown on the product's launch page for your region, and use your own key pair and security group.
aws ec2 run-instances \
  --image-id ami-xxxxxxxxxxxxxxxxx \
  --instance-type m5.large \
  --key-name your-key \
  --security-group-ids sg-xxxxxxxx \
  --tag-specifications 'ResourceType=instance,Tags=[{Key=Name,Value=umami}]'
Step 3 - Connect to your instance
ssh -i your-key.pem ubuntu@<instance-public-ip>
Step 4 - Retrieve your administrator password
On the first boot, a one-shot service generated a unique administrator password for this instance and rotated the token-signing secret. Read the credentials file (root only):
sudo cat /root/umami-credentials.txt
You will see the sign-in URL, the username admin, and the generated password. Keep this password somewhere safe.
Step 5 - Sign in to Umami
Open http://<instance-public-ip>/ in your browser. You are taken to the Umami sign-in page. Enter the username admin and the password from the credentials file, and sign in.
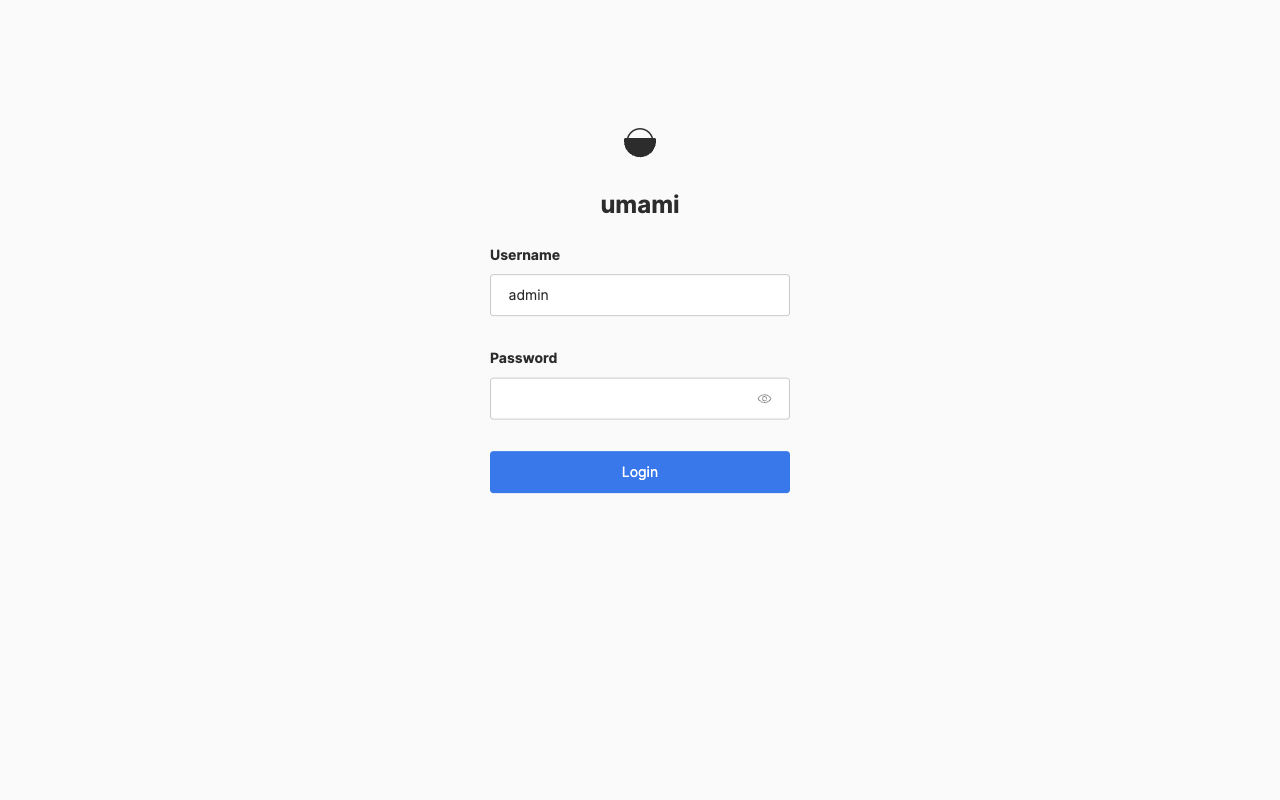
After signing in you land on the Umami dashboard. On a fresh instance there is no data yet - you add a website in the next step to start collecting analytics.
Change the administrator password from the default per-instance value once you are signed in: open the user menu (top right), choose Profile, and set a new password. You can also create additional users under Settings -> Users.
Step 6 - Add and track a website
- In the top navigation choose Settings, then Websites, then Add website.
- Give the website a Name and its Domain (for example
example.com), and save. - Open the website's menu and choose Edit (or the code / tracking-code action) to reveal the tracking code - a small
<script>snippet that references/script.json your Umami instance.
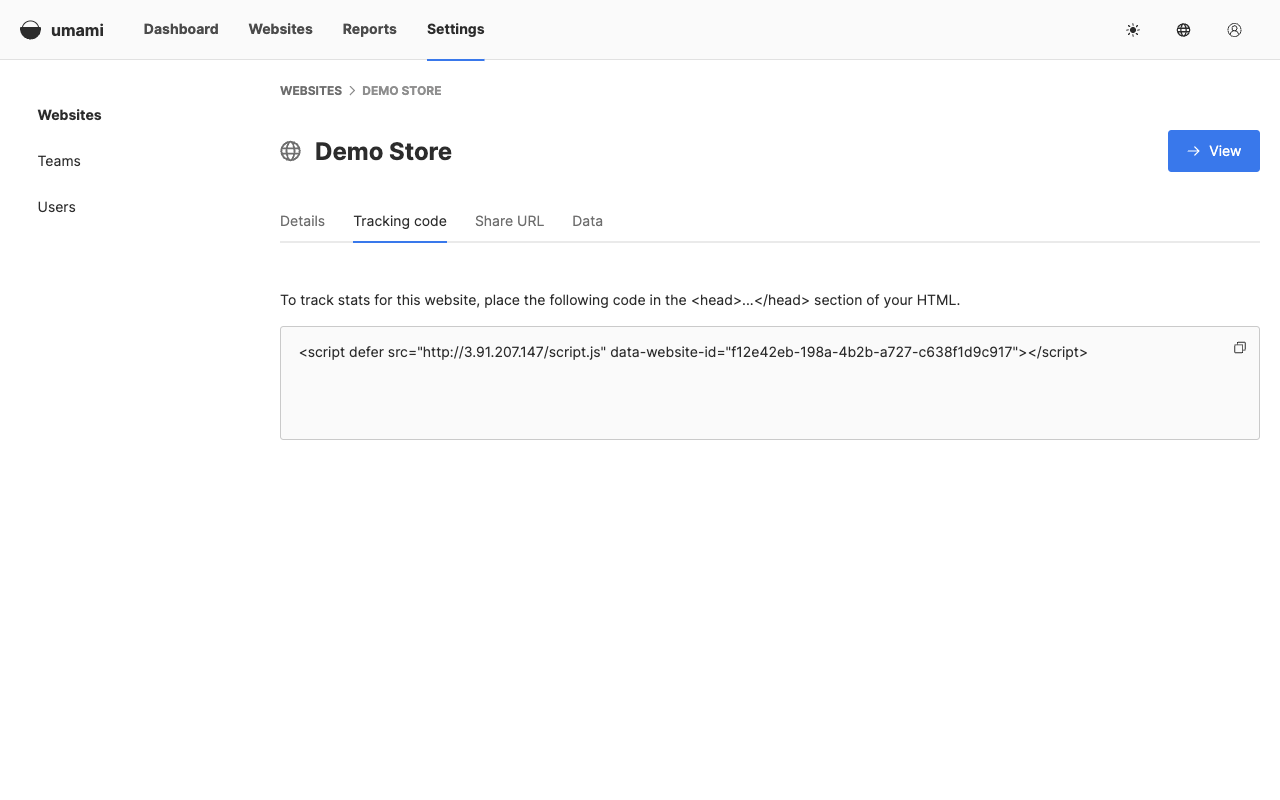
Copy the tracking snippet and paste it into the <head> of every page of your website. It looks like this (the data-website-id is unique to your website and the src host is your Umami instance):
<script defer src="http://<instance-public-ip>/script.js" data-website-id="xxxxxxxx-xxxx-xxxx-xxxx-xxxxxxxxxxxx"></script>
Once the script is live on your site and visitors arrive, page views and events appear on the website's dashboard in real time. The tracking script is cookieless and collects no personal data, so no cookie banner is required.
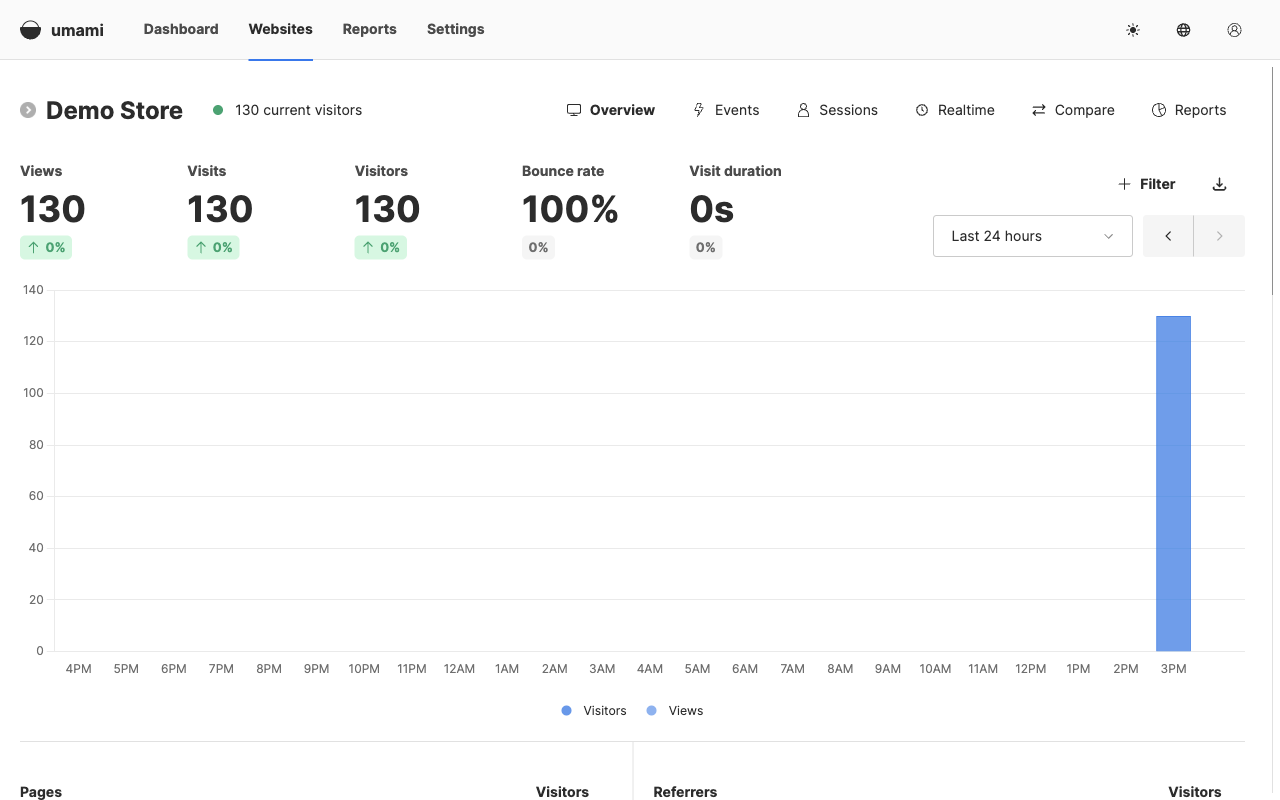
Step 7 - Read your analytics
Select a website from the Websites view to open its dashboard. You see page views and visitors over time, top pages, referrers, countries, browsers, operating systems and devices, plus any custom events you send. Use the date-range selector to change the reporting period, and the Reports section to build funnels, retention, journeys, UTM and other reports.
Enabling HTTPS
This image serves HTTP on port 80. For production, terminate TLS in front of Umami. Two common options:
- AWS-managed TLS: put the instance behind an Application Load Balancer (or Amazon CloudFront) with an AWS Certificate Manager certificate, and forward to the instance on port 80.
- On-instance TLS with Let's Encrypt: point a DNS record at the instance, open port 443 in the security group, then install certbot and obtain a certificate:
sudo apt-get update
sudo apt-get install -y certbot python3-certbot-nginx
sudo certbot --nginx -d your-domain.example.com
certbot edits the nginx site and sets up automatic renewal. After enabling HTTPS, update your tracking script src to use https://.
Service management
The application is three systemd services - the Umami Next.js server (loopback 127.0.0.1:3000), the nginx reverse proxy on port 80, and the PostgreSQL database. Confirm all three are active and listening:
systemctl is-active umami nginx postgresql
ss -tln | grep -E ':80 |:3000 '
Restart Umami after a configuration change with sudo systemctl restart umami. Inspect a service with sudo systemctl status umami (or nginx, postgresql).
Configuration lives in /etc/umami/umami.env (the DATABASE_URL and the per-instance APP_SECRET). The application is in /opt/umami; the PostgreSQL database is under /var/lib/postgresql.
Health check
Umami exposes an unauthenticated heartbeat endpoint, proxied through nginx. A 200 means the application and database are healthy:
curl -s -o /dev/null -w 'heartbeat HTTP %{http_code}\n' http://127.0.0.1/api/heartbeat
Backup and maintenance
- Database backup: Umami's data is in PostgreSQL. Back it up with
pg_dump:
text
  sudo -u postgres pg_dump umami | gzip > umami-backup-$(date +%F).sql.gz
Restore with psql umami < umami-backup.sql (after gunzip). For point-in-time durability, also snapshot the EBS data volume.
- Resizing storage: the database volume mounted at /var/lib/postgresql is an ordinary EBS volume. Grow it from the EC2 console, then extend the filesystem on the instance (sudo resize2fs after growpart).
- OS updates: apply security updates with sudo apt-get update && sudo apt-get upgrade. Reboot if a new kernel is installed.
- Upgrading Umami: back up the database first, then follow the upstream upgrade notes at https://umami.is/docs. Restart the umami service afterwards.
Support
This image is backed by 24/7 cloudimg technical support by email and chat - deployment, adding and tracking websites, building dashboards and reports, database backup and scaling, and TLS termination. Umami is open source software (MIT licensed); cloudimg provides the packaging and support and is not affiliated with or endorsed by the Umami project.