Vaultwarden on AWS User Guide
Vaultwarden on AWS
Vaultwarden is a lightweight, Rust-based password manager server that is compatible with the Bitwarden clients. It implements the Bitwarden API, so the official Bitwarden desktop, mobile, CLI and browser-extension applications connect to it directly, and it bundles the official web-vault for full in-browser access. This cloudimg Amazon Machine Image delivers Vaultwarden compiled from upstream source and fully configured, so a private password manager is running within minutes of launch.
This guide covers launching the image, retrieving the per-instance admin token generated on first boot, signing in to the web-vault, connecting Bitwarden clients, and enabling HTTPS for production use.
| Application | Vaultwarden 1.36.0 |
| Web vault | Official web-vault 2026.4.1 (bundled) |
| Database | SQLite (embedded) on a dedicated EBS data volume |
| Reverse proxy | nginx on port 80 (ready for TLS on 443) |
| Server bind | 127.0.0.1:8000 (loopback only) |
| Services | vaultwarden.service, nginx.service |
Connecting to your instance
Connect over SSH on port 22 as the default login user for your operating system variant.
| OS variant | SSH login user |
|---|---|
| Ubuntu 24.04 | ubuntu |
ssh ubuntu@<instance-public-ip>
The web-vault is served on port 80 through nginx. Browse to http://<instance-public-ip>/ to reach
it. For production use you should enable HTTPS (see Enabling HTTPS below) — the
Bitwarden web-vault requires a secure context to create accounts and unlock vaults.
First-boot credentials
On the first boot of every instance a one-shot service (vaultwarden-firstboot.service) generates a
fresh admin token that is unique to that instance, stores only its argon2id hash in the server
configuration, and writes the plaintext token to a root-only file. The SQLite database ships empty,
so no users, vaults or shared credentials are baked into the image.
Retrieve the admin token and URLs:
sudo cat /root/vaultwarden-credentials.txt
The file contains the web-vault URL, the admin panel URL and the admin token:
vaultwarden.url=http://<instance-public-ip>/
vaultwarden.admin.url=http://<instance-public-ip>/admin
vaultwarden.admin.token=<your-per-instance-token>
Verifying the service
Vaultwarden and nginx are managed by systemd and start automatically on boot. Confirm both are active:
systemctl is-active vaultwarden nginx
The Vaultwarden server binds to the loopback interface on port 8000; nginx listens on port 80 and reverse-proxies to it (and upgrades the WebSocket notifications endpoint):
sudo ss -tlnp | grep -E ':80 |:8000 '
The liveness endpoint is open and returns HTTP 200 when the server is healthy:
curl -s -o /dev/null -w '%{http_code}\n' http://127.0.0.1/alive
Signing in to the web-vault
Browse to https://<instance-public-ip>/ (after enabling HTTPS) and you are
presented with the Bitwarden-compatible web-vault sign-in page.
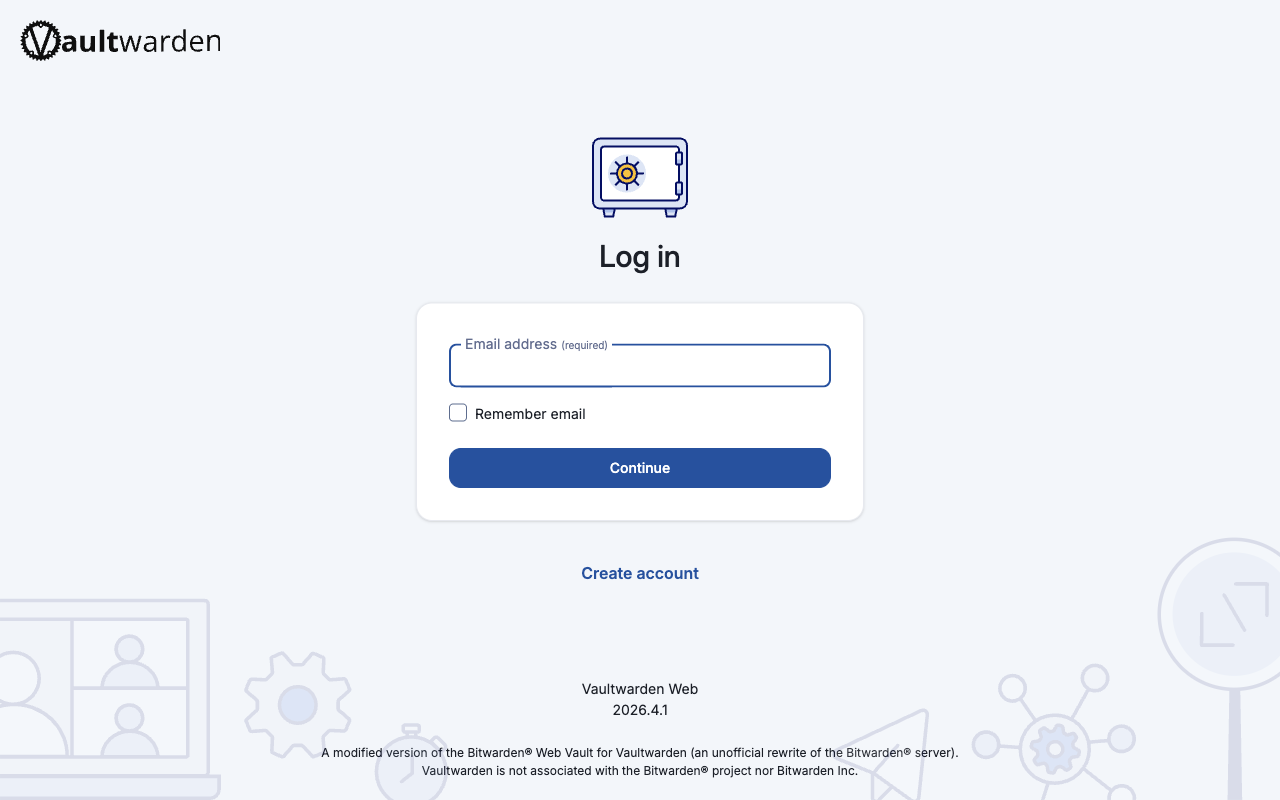
Open registration is enabled on the fresh image so the first administrator can create their account. Click Create account, enter an email address and a name, and choose a strong master password.
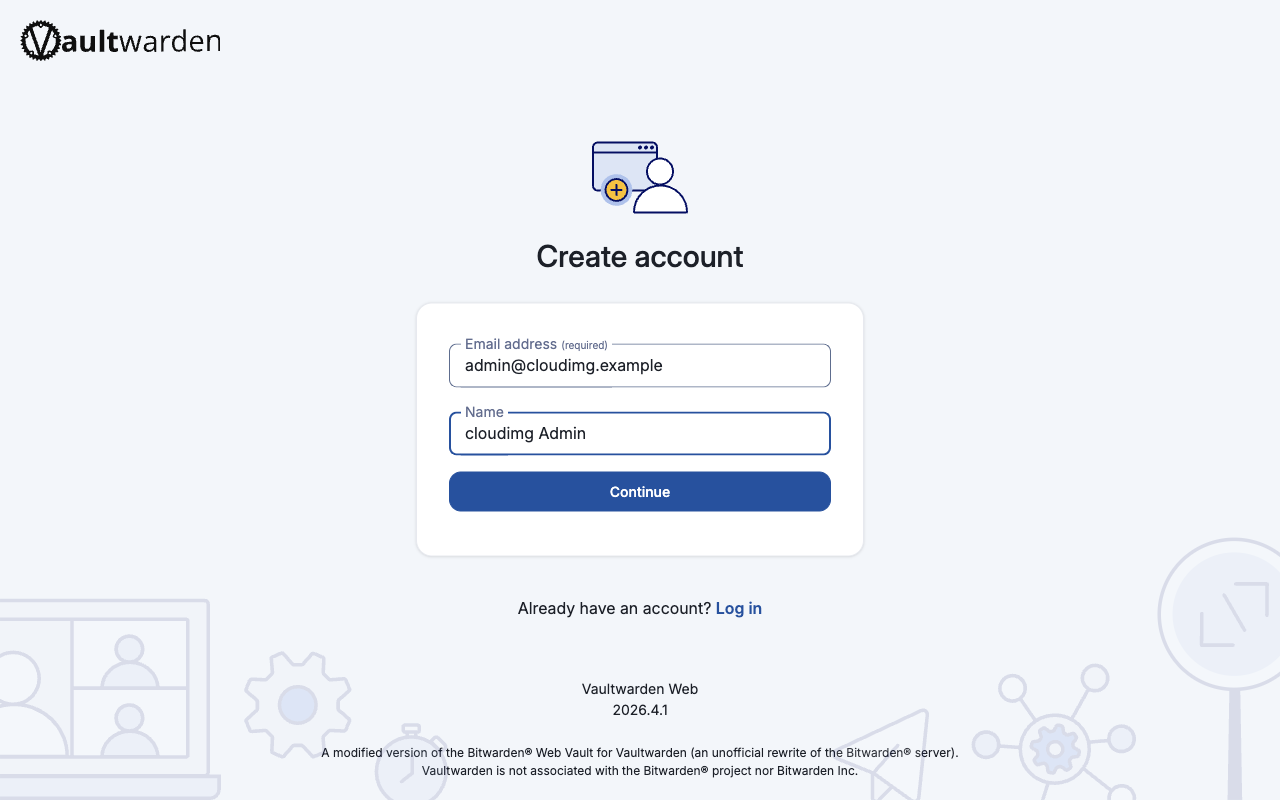
Your master password is the key to your vault — Vaultwarden never stores it and cannot recover it, so keep it safe. Once your account exists you can install the Bitwarden client of your choice and sync your vault across every device.
Lock down registration once your accounts exist. Open signups are convenient for the first launch but should be disabled afterwards. Set
SIGNUPS_ALLOWED=falsein/etc/vaultwarden/vaultwarden.envand restart the service (see Managing signups), or toggle it from the admin panel.
The admin diagnostics panel
Vaultwarden ships an admin diagnostics panel at /admin, protected by the per-instance admin token.
Browse to http://<instance-public-ip>/admin, paste the token from
/root/vaultwarden-credentials.txt, and you reach the diagnostics, user management and settings
pages.
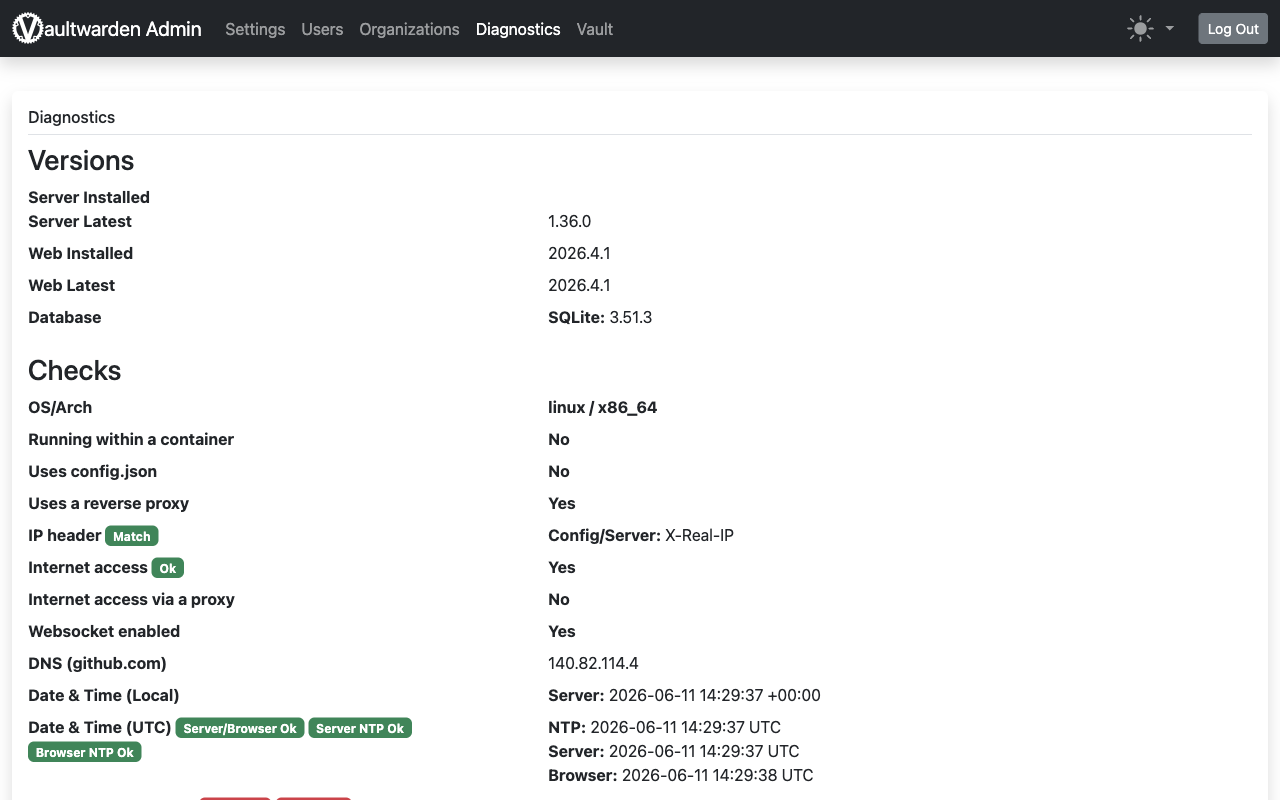
From here you can confirm the installed server and web-vault versions, invite users, manage organisations, review the reverse-proxy configuration and toggle open registration at runtime.
Connecting Bitwarden clients
Vaultwarden speaks the Bitwarden API, so the official Bitwarden apps work against it directly:
- Install the Bitwarden desktop, mobile, CLI or browser-extension client.
- Before logging in, open the client's Settings (the gear / region selector on the login
screen) and set the Server URL (self-hosted environment) to your instance, for example
https://vault.example.com. - Log in with the email and master password you created in the web-vault. Your vault now syncs through your own server.
Managing signups
The signup policy lives in the server environment file. To disable open registration after your accounts are created:
sudo sed -i 's/^SIGNUPS_ALLOWED=.*/SIGNUPS_ALLOWED=false/' /etc/vaultwarden/vaultwarden.env
sudo systemctl restart vaultwarden
To re-enable it, set the value back to true and restart the service. You can also invite specific
users from the admin panel without opening registration to everyone.
Enabling HTTPS
The image serves the web-vault over plain HTTP on port 80 so you can reach it immediately, but the Bitwarden web-vault requires a secure context (HTTPS) to create accounts and unlock vaults, and you should always run a password manager over TLS in production. The image opens port 443 in its security group and ships nginx ready to terminate TLS.
The simplest route is a free Let's Encrypt certificate with Certbot once you have a DNS name pointing at the instance's public IP. Install Certbot and obtain a certificate for your domain (replace the placeholder with your real hostname):
sudo snap install --classic certbot
sudo certbot --nginx -d your-domain.example.com
Certbot installs
the certificate, rewrites the nginx server block to listen on 443 with TLS, and sets up automatic
renewal. After it completes, browse to https://your-domain.example.com/ and create your account.
Data and backups
The SQLite database and all attachments live under /var/lib/vaultwarden, which is a dedicated,
independently-resizable EBS volume separate from the operating-system disk:
df -h /var/lib/vaultwarden
Back up the whole /var/lib/vaultwarden directory (or take an EBS snapshot of the volume) on a
schedule. The admin panel also offers an on-demand Backup Database action.
Support
cloudimg provides 24/7 technical support for this image, covering deployment, upgrades, TLS termination, backups and client onboarding. Contact us at support@cloudimg.co.uk.
Vaultwarden and Bitwarden are trademarks of their respective owners. Use of the names does not imply any affiliation with or endorsement by them.