wallabag on AWS User Guide
Overview
wallabag is an open source self-hosted read-it-later application built on the Symfony framework. It saves a clean, readable copy of any web article so you can read it later on any device, free of clutter and advertising, and keeps your reading list private on infrastructure you control. This image runs wallabag behind nginx, with PHP FPM 8.3 and OPcache enabled.
wallabag stores its data in SQLite, so the appliance is fully self-contained: there is no separate database server to install, secure or back up. The SQLite database and saved-article uploads live under /opt/wallabag/data on a dedicated, independently resizable EBS volume, so you can grow your reading archive without touching the operating system disk.
The wallabag administrator password and the application secret are generated on the first boot of every deployed instance. Two instances launched from the same Amazon Machine Image never share credentials. The initial administrator password is written to /root/wallabag-credentials.txt with mode 0600 so that only the root user can read it.
Asset URLs are served as site-relative paths, so the interface works on whatever public DNS name or IP address you reach the instance on. There is no instance metadata lookup and no value to edit on first boot — deployments behind an Application Load Balancer, a private subnet, or a custom domain all work without changes.
Prerequisites
Before you deploy this image you need:
- An Amazon Web Services account where you can launch EC2 instances
- IAM permissions to launch instances, create security groups, and subscribe to AWS Marketplace products
- An EC2 key pair in the target Region for SSH access to the instance
- A VPC and subnet in the target Region, with a security group allowing inbound port 22 from your management network and inbound ports 80 and 443 from the networks your readers will use
- The AWS CLI (version 2) installed locally if you plan to deploy from the command line
Step 1: Launch the Instance from the AWS Marketplace
Sign in to the AWS Management Console, open the EC2 service, and select Launch instance. Under Application and OS Images choose AWS Marketplace AMIs and search for wallabag. Select the cloudimg listing and choose Select, then Continue on the subscription summary.
Pick an instance type of m5.large or larger. Choose your EC2 key pair under Key pair (login). Under Network settings select your VPC and subnet, and either create or select a security group that allows inbound port 22 from your management network and inbound ports 80 and 443 from the networks your readers use. Leave the root and data volumes at their default sizes or larger.
Select Launch instance. First boot initialisation takes approximately one minute after the instance state becomes Running and the status checks pass.
Step 2: Launch the Instance from the AWS CLI
The following block launches an instance from the cloudimg wallabag Marketplace AMI into an existing subnet and security group. Replace <ami-id> with the AMI ID shown on the Marketplace listing, <key-name> with your EC2 key pair name, <subnet-id> with your subnet ID, and <security-group-id> with a security group that opens ports 22, 80, and 443 as described above.
aws ec2 run-instances \
  --image-id <ami-id> \
  --instance-type m5.large \
  --key-name <key-name> \
  --subnet-id <subnet-id> \
  --security-group-ids <security-group-id> \
  --block-device-mappings '[{"DeviceName":"/dev/sda1","Ebs":{"VolumeSize":12,"VolumeType":"gp3"}}]' \
  --tag-specifications 'ResourceType=instance,Tags=[{Key=Name,Value=wallabag-01}]'
The command prints a JSON document on success. Note the instance ID, then retrieve its public address once it is running with aws ec2 describe-instances --instance-ids <instance-id> --query "Reservations[].Instances[].PublicIpAddress" --output text.
Step 3: Connect and Retrieve Initial Credentials
Connect over SSH with the key pair you selected and the public IP address from step 2. The SSH login user depends on the operating system of the AMI variant you launched:
| AMI variant | SSH login user |
|---|---|
| wallabag 2.6 on Ubuntu 24.04 | ubuntu |
For the Ubuntu 24.04 variant, connect with ssh -i <path-to-key.pem> ubuntu@<instance-public-ip>.
The administrator credentials generated on first boot are stored in a root only file. Retrieve them with the following command, which prints the wallabag administrator user name and password for this specific instance:
sudo cat /root/wallabag-credentials.txt
The file lists the administrator user name (wallabag) and the generated password. Store the password in your password manager and treat the file as sensitive.
Step 4: Verify the wallabag Service
The web stack is two systemd services: nginx and PHP FPM. Confirm both are active:
systemctl is-active nginx php8.3-fpm
Both lines should read active. Confirm nginx is listening on port 80:
ss -tlnp 2>/dev/null | grep ':80 ' || sudo ss -tlnp | grep ':80 '
Confirm the dedicated data volume holding the SQLite database and uploads is mounted:
df -h /opt/wallabag | tail -1
Confirm the wallabag sign-in page is being served locally:
curl -s -o /dev/null -w 'wallabag login HTTP %{http_code}\n' http://127.0.0.1/login
An HTTP 200 response confirms the application is up.
Step 5: First Login Through the Web Interface
Open a web browser and navigate to http://<instance-public-ip>/. You are redirected to the wallabag sign-in page. Sign in with the user name wallabag and the password from /root/wallabag-credentials.txt.
Step 6: Save and Read Articles
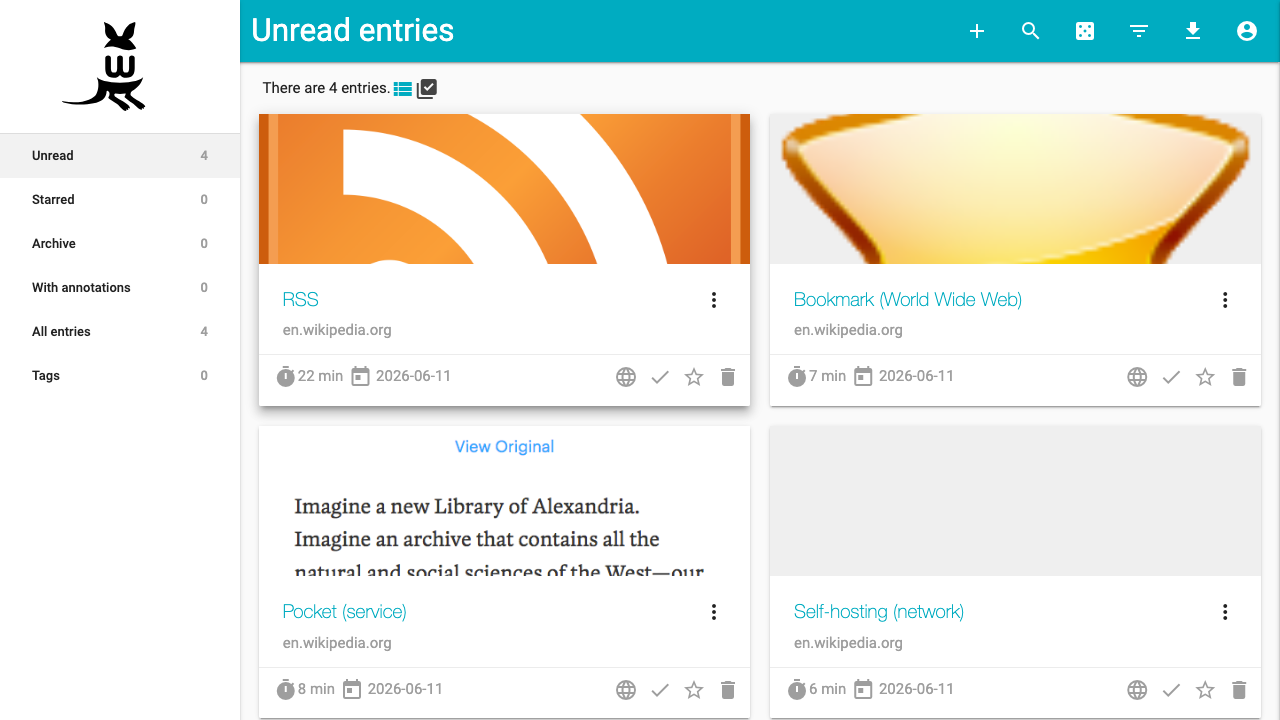
After signing in you land on your reading list. Use the + button in the top bar to save a new article by pasting its URL — wallabag fetches the page, extracts the readable content, and adds it to your Unread list. Articles can be starred, archived, tagged and exported.
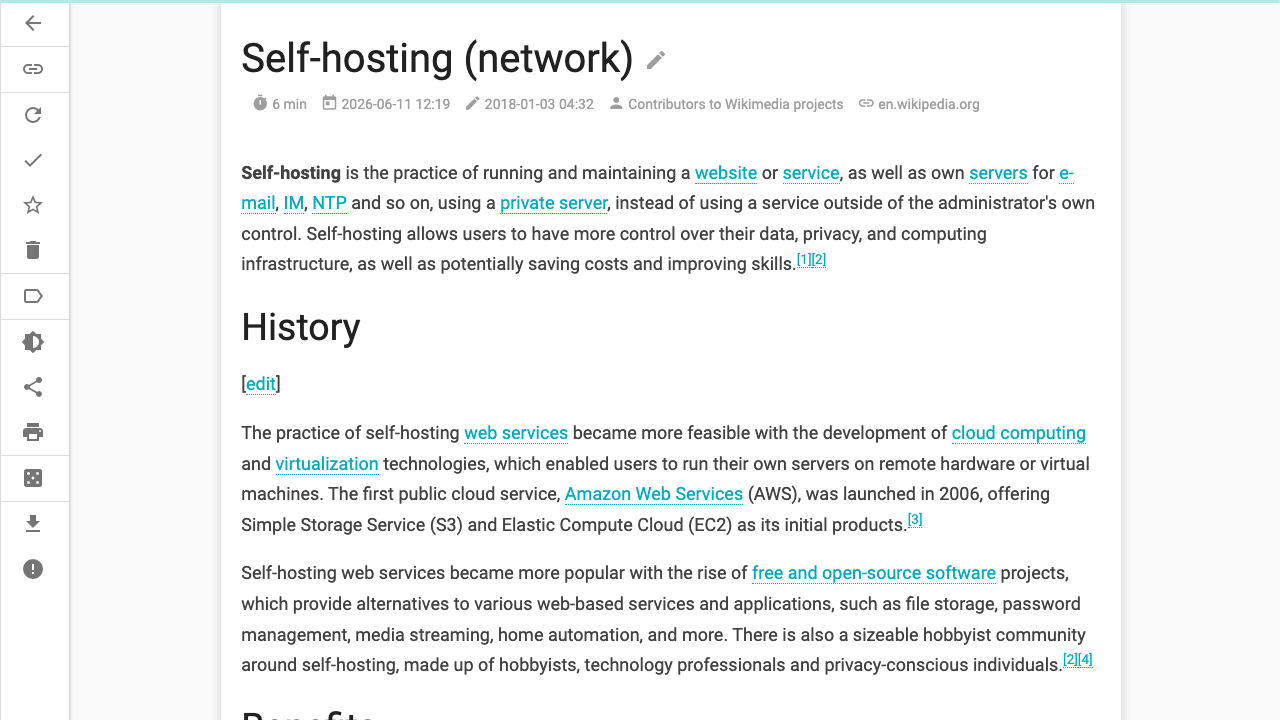
Open any article to read it in the clean, distraction free reading view. The reading view strips navigation, advertising and clutter and presents just the article text, with controls to star, archive, tag, annotate and adjust the display.
Step 7: Connect Browser Extensions and Mobile Apps
wallabag provides official browser extensions and mobile apps that save articles to your instance over the wallabag REST API. In the web interface open the account menu and go to API clients management to create a client, then enter your instance URL and the generated client credentials in the extension or app. Because this is your own self-hosted instance, your reading list and saved content never leave infrastructure you control.
Step 8: Configure Outbound Email (Optional)
Out of the box this image disables outbound email, so no mail server is required for normal reading and saving. If you want wallabag to send mail — for example for password resets when you add more users — edit the mailer setting in /opt/wallabag/app/config/parameters.yml and set mailer_dsn to your SMTP server, for example smtp://user:pass@smtp.example.com:587. Then clear the cache and restart PHP FPM:
sudo -u www-data env HOME=/tmp /opt/wallabag/bin/console cache:clear --env=prod
sudo systemctl restart php8.3-fpm
Step 9: Enable HTTPS with Let's Encrypt (Optional)
To serve wallabag over HTTPS, point a DNS name at the instance's public IP address, ensure inbound ports 80 and 443 are open, then install Certbot and obtain a certificate. Replace your-domain.example.com with your DNS name and run the following on the instance:
sudo apt-get update && sudo apt-get install -y certbot python3-certbot-nginx
Then request and install the certificate, following the interactive prompts to enter your domain and email address. Use the command sudo certbot --nginx and supply your domain when prompted. Certbot updates the nginx site configuration to serve HTTPS and sets up automatic renewal.
Step 10: Backup and Maintenance
All of your wallabag data — the SQLite database and saved-article uploads — lives under /opt/wallabag/data on the dedicated data volume. Back it up by taking an EBS snapshot of that volume, or by copying the database file. To copy the database while the service is running:
sudo cp /opt/wallabag/data/db/wallabag.sqlite /tmp/wallabag-backup.sqlite
Keep the operating system patched with sudo apt-get update && sudo apt-get -y upgrade. To upgrade wallabag itself, follow the upstream upgrade documentation at the wallabag project site; because the database is on its own volume, application upgrades do not put your reading archive at risk.
Support
This image is published and supported by cloudimg. Technical support is available 24/7 by email and chat, covering wallabag deployment, upgrades, performance tuning, import and export, and storage administration. All product and company names are trademarks or registered trademarks of their respective holders.