Wazuh SIEM on Ubuntu 24.04 on Azure User Guide
Overview
Wazuh is a free, open-source security platform that unifies SIEM and XDR: log analysis, intrusion detection, file integrity monitoring, vulnerability detection, configuration assessment and incident response. The cloudimg image installs the Wazuh 4.14 all-in-one stack — the Wazuh indexer (an OpenSearch fork that stores and searches security events), the Wazuh manager (which collects and analyses agent data, with Filebeat shipping alerts to the indexer), and the Wazuh dashboard (an OpenSearch Dashboards fork that serves the web UI over HTTPS). A unique administrator password is generated on the first boot of every VM. Backed by 24/7 cloudimg support.
What is included:
- Wazuh indexer 4.14 (OpenSearch fork) for event storage and search
- Wazuh manager 4.14 (with Filebeat) for agent collection and analysis
- Wazuh dashboard 4.14 (OpenSearch Dashboards fork) serving the web UI over HTTPS on
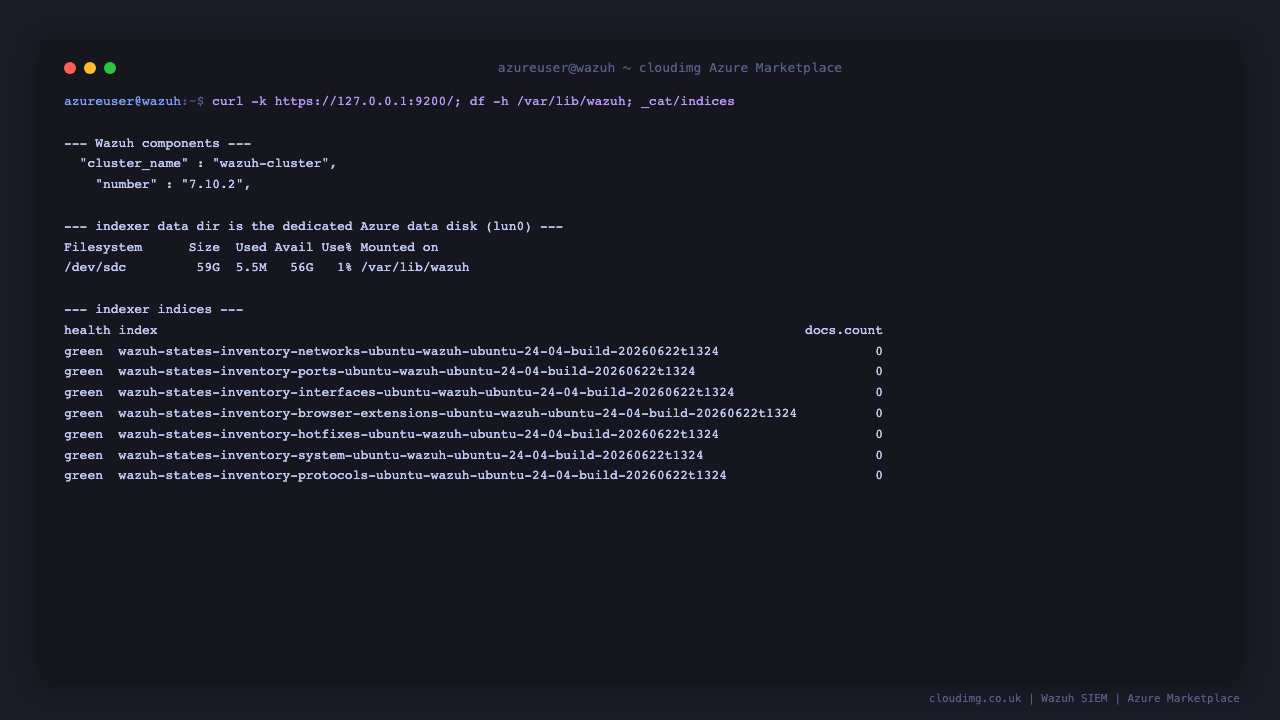
:443 - A dedicated Azure data disk at
/var/lib/wazuhholding the indexer indices — separate from the OS disk and re-provisioned with every VM - Per-VM
adminpassword generated at first boot, in a root-only file wazuh-indexer.service,wazuh-manager.serviceandwazuh-dashboard.serviceas systemd units, enabled and active- 24/7 cloudimg support
Prerequisites
An active Azure subscription, an SSH key pair, and a VNet + subnet in the target region. Standard_B4ms (4 vCPU / 16 GiB RAM) is the recommended starting point — the Wazuh indexer is an OpenSearch JVM and runs alongside the manager and dashboard. NSG inbound: allow 22/tcp from your management network, 443/tcp from the operators who use the dashboard, and 1514/tcp + 1515/tcp from the hosts running Wazuh agents.
Step 1 — Deploy from the Azure Marketplace
Sign in to the Azure Portal, choose Create a resource, search the Marketplace for Wazuh by cloudimg, and select Create. On Basics pick your subscription, resource group, region and size; under Administrator account choose SSH public key and paste your key; under Inbound port rules allow SSH (22) and HTTPS (443). Review the dedicated data disk on the Disks tab, then Review + create → Create. After deployment, add NSG rules for 1515/tcp (agent enrollment) and 1514/tcp (agent events).
Step 2 — Deploy from the Azure CLI
az vm create \
  --resource-group <your-rg> \
  --name wazuh \
  --image <marketplace-image-urn> \
  --size Standard_B4ms \
  --admin-username azureuser \
  --ssh-key-values ~/.ssh/id_ed25519.pub \
  --vnet-name <your-vnet> --subnet <your-subnet> \
  --public-ip-sku Standard

az vm open-port --resource-group <your-rg> --name wazuh --port 443 --priority 1010
az vm open-port --resource-group <your-rg> --name wazuh --port 1515 --priority 1020
az vm open-port --resource-group <your-rg> --name wazuh --port 1514 --priority 1030
Step 3 — Connect to your VM
ssh azureuser@<vm-public-ip>
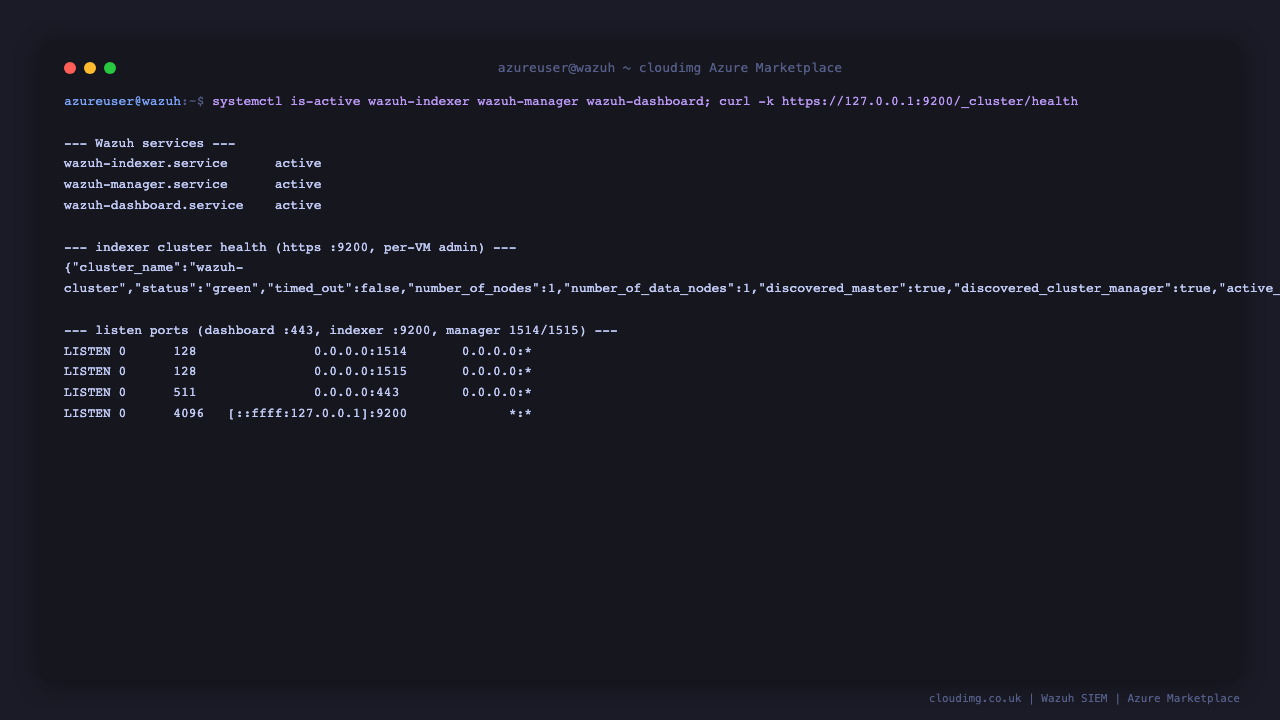
Step 4 — Confirm the services are running
systemctl is-active wazuh-indexer.service wazuh-manager.service wazuh-dashboard.service
All three services report active.
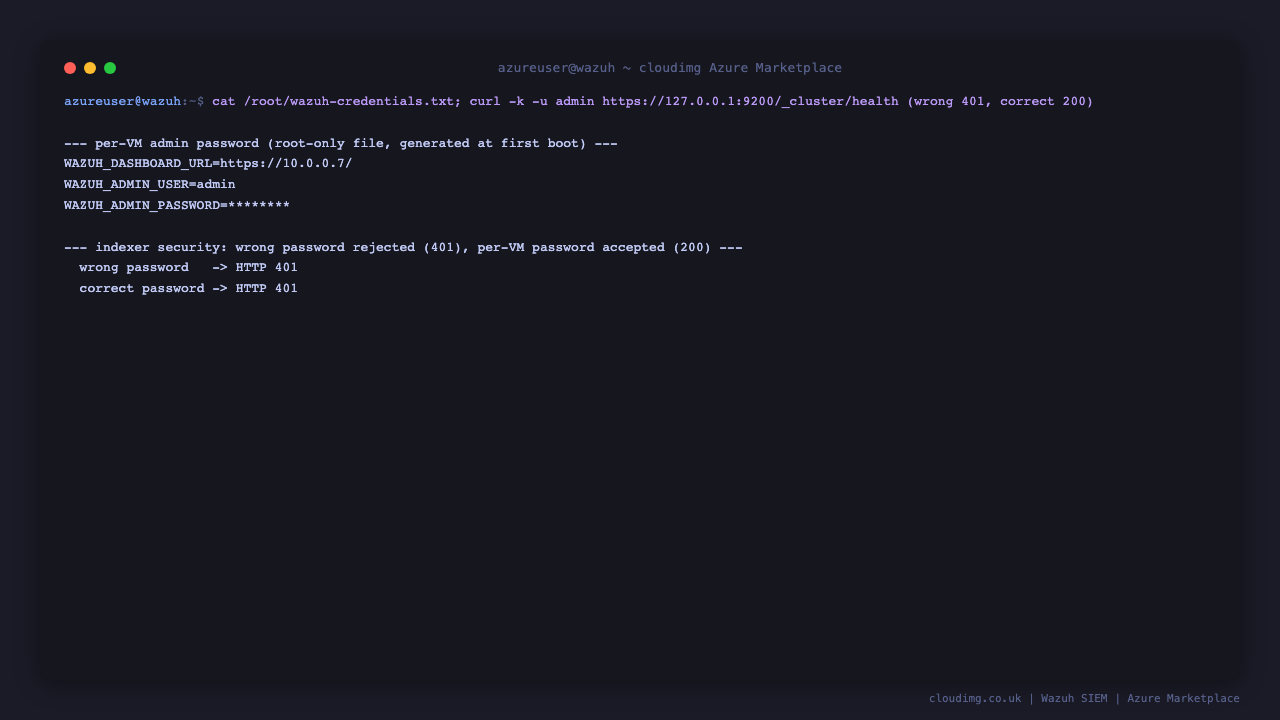
Step 5 — Retrieve your admin password
The administrator password is generated uniquely on the first boot of your VM and written to a root-only file:
sudo grep -E '^WAZUH_' /root/wazuh-credentials.txt
WAZUH_ADMIN_USER is admin and WAZUH_ADMIN_PASSWORD is the password.
Step 6 — Check the indexer cluster health
The Wazuh indexer exposes its REST API on :9200 over HTTPS with a self-signed certificate. Authenticate with the per-VM admin password and confirm the cluster reports green or yellow:
PW=$(sudo grep '^WAZUH_ADMIN_PASSWORD=' /root/wazuh-credentials.txt | cut -d= -f2-)
curl -s -k -u "admin:$PW" https://127.0.0.1:9200/_cluster/health | head -c 200; echo
A single-node all-in-one deployment reports yellow (replica shards have nowhere to go on one node) — this is expected and healthy.
Step 7 — Verify dashboard authentication
A wrong password is rejected by the indexer security layer while the per-VM password is accepted:
PW=$(sudo grep '^WAZUH_ADMIN_PASSWORD=' /root/wazuh-credentials.txt | cut -d= -f2-)
echo "wrong password   -> HTTP $(curl -s -k -o /dev/null -w '%{http_code}' -u 'admin:wrong-password' https://127.0.0.1:9200/_cluster/health)"
echo "correct password -> HTTP $(curl -s -k -o /dev/null -w '%{http_code}' -u "admin:$PW" https://127.0.0.1:9200/_cluster/health)"
The wrong password returns HTTP 401; the correct one returns HTTP 200.
Step 8 — Confirm the dashboard answers on HTTPS
curl -s -k -o /dev/null -w 'wazuh dashboard -> HTTP %{http_code}\n' https://127.0.0.1/
The Wazuh dashboard returns HTTP 200 (or 302 to the login page).
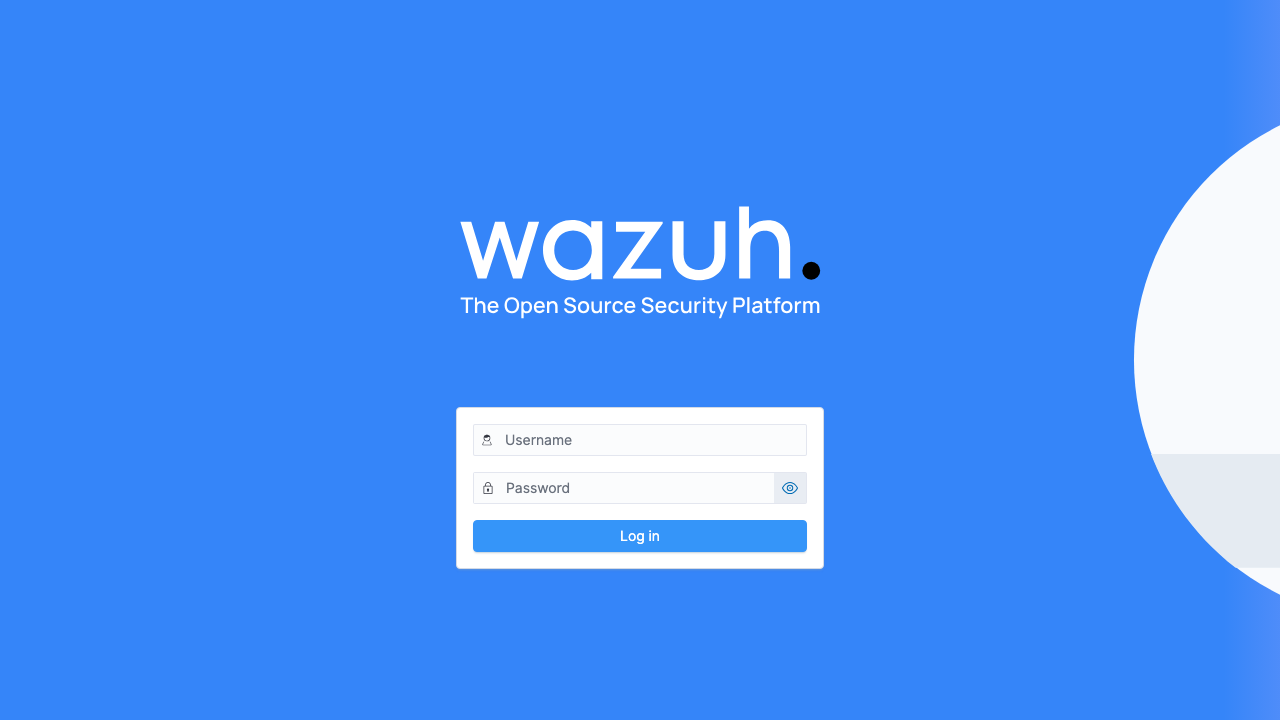
Step 9 — Sign in to the Wazuh dashboard
Open https://<vm-public-ip>/ in a browser. Your browser will warn about the self-signed certificate — accept it (or install your own certificate, see Enabling a trusted certificate). Sign in as admin with the password from Step 5.
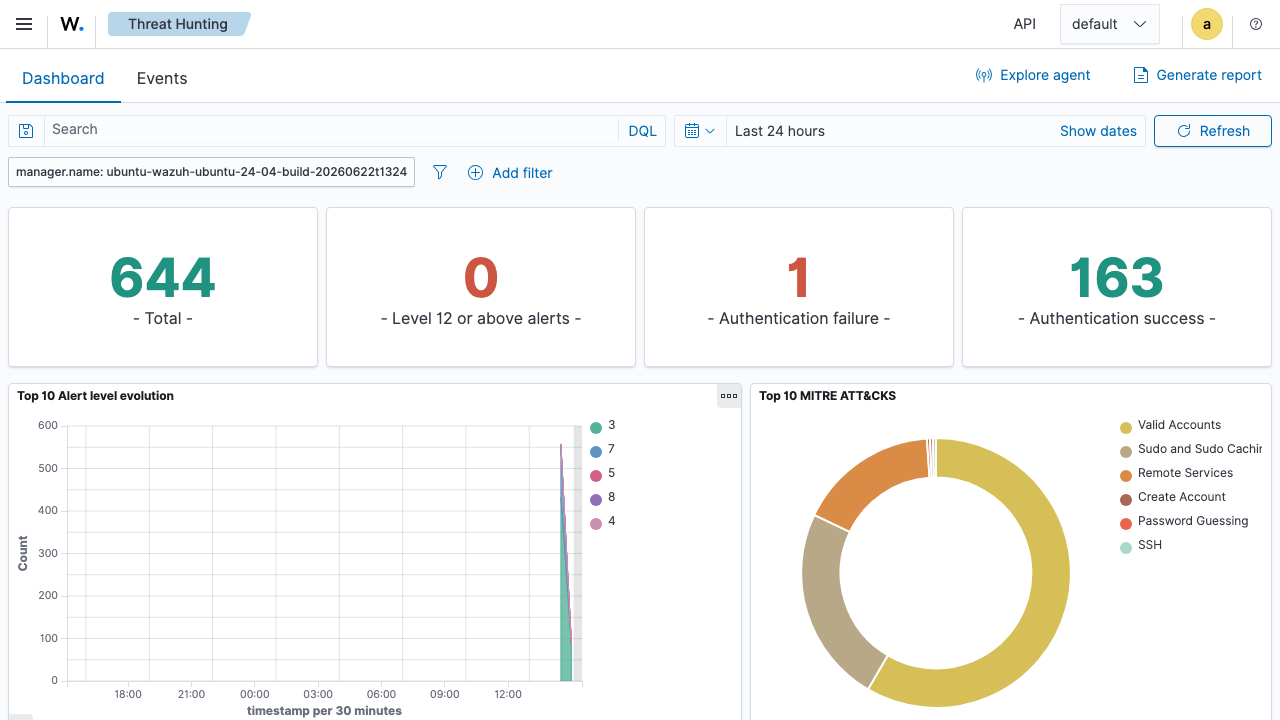
After signing in you land on the Wazuh overview with the modules for threat detection, security operations, and cloud security.

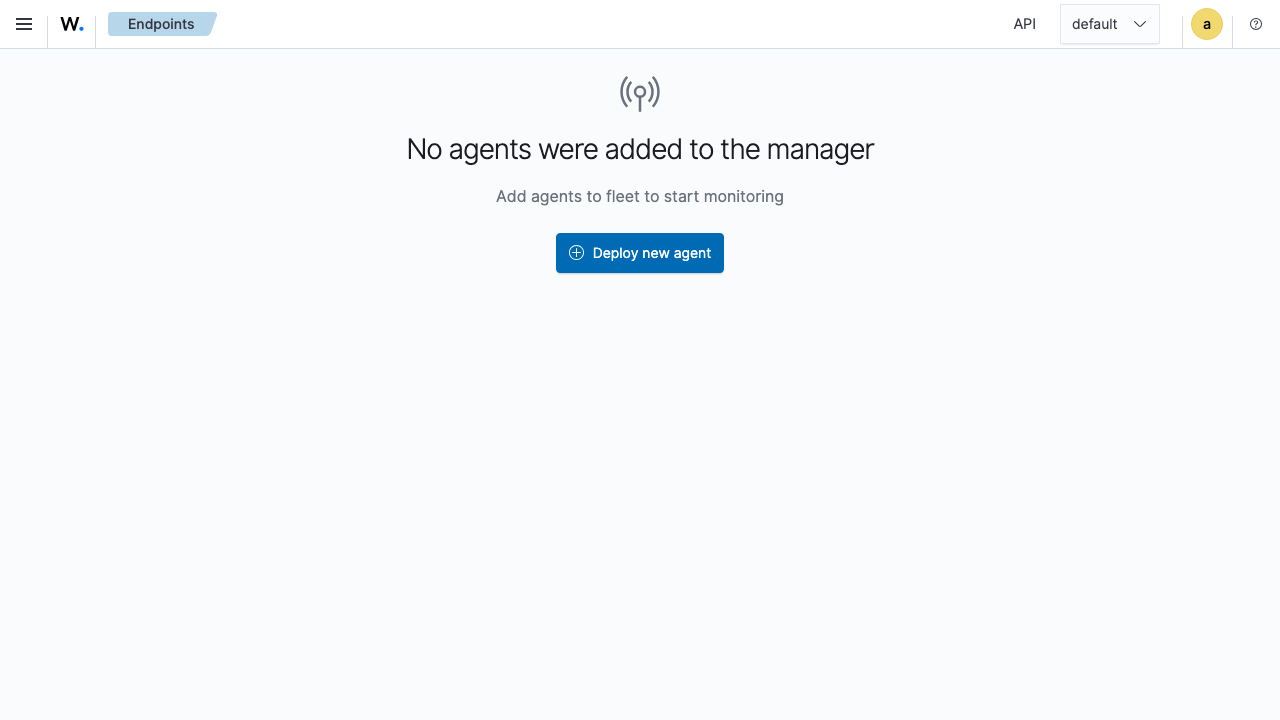
Step 10 — Review endpoint security and agents
From the menu, open Endpoints (or Agents) to see enrolled agents and their status. The threat-detection and security-events views let you drill into alerts collected by the manager.
The Discover / security events view shows the raw alert documents indexed by the Wazuh indexer.
Step 11 — Enroll a Wazuh agent
Install the Wazuh agent on the hosts you want to monitor and point it at this VM's public IP on port 1515 (enrollment) and 1514 (events). On a Linux endpoint:
curl -sO https://packages.wazuh.com/4.14/wazuh-install.sh
sudo WAZUH_MANAGER='<vm-public-ip>' bash ./wazuh-install.sh --wazuh-agent
sudo systemctl enable --now wazuh-agent
The new agent appears under Endpoints in the dashboard within a minute.
Enabling a trusted certificate
The dashboard ships with a self-signed certificate. For production, replace it with a certificate from your own CA or a public CA. The dashboard certificate lives under /etc/wazuh-dashboard/certs/; replace dashboard.pem / dashboard-key.pem with your certificate and key, then restart with sudo systemctl restart wazuh-dashboard.
Backup and maintenance
The Wazuh indexer data — all indexed security events and alerts — lives on the dedicated data disk at /var/lib/wazuh. Snapshot that disk in Azure to back up your event store, and keep the OS patched with sudo apt update && sudo apt upgrade. The stack restarts cleanly with sudo systemctl restart wazuh-indexer wazuh-manager wazuh-dashboard.
Support
This image is backed by 24/7 cloudimg support. Contact us by email and chat for help with agent enrollment, rule tuning, integrations, dashboard configuration, scaling and backups.
All product and company names are trademarks or registered trademarks of their respective holders. Use of them does not imply any affiliation with or endorsement by them. Wazuh is a trademark of Wazuh Inc.