WildFly 39 on Ubuntu 24.04 on Azure User Guide
Overview
This guide covers deploying WildFly 39 on Ubuntu 24.04 on Azure. WildFly is the upstream open-source Jakarta EE application server (the engine behind Red Hat's commercial JBoss EAP). Version 39 implements Jakarta EE 11 and runs on OpenJDK 21.
The image installs WildFly 39.0.1.Final from the official GitHub release tarball. At first boot, wildfly-firstboot.service generates a per-VM admin password, registers it in ManagementRealm via add-user.sh, starts WildFly with standalone-full.xml (web + EJB + JMS + JPA + WS subsystems), and writes the password to /stage/scripts/wildfly-credentials.log (mode 0600 root only).
What is included:
-
WildFly 39.0.1.Final from the official GitHub release tarball
-
OpenJDK 21 JRE headless
-
wildfly.servicesystemd unit running aswildfly:wildfly, bound to0.0.0.0for both HTTP (8080) and management (9990) -
wildfly-firstboot.servicerotating the admin password -
standalone-full.xmlprofile active (web + EJB + JMS + JPA + WS) -
HTTP application listener on TCP 8080; Management Console + HTTP API on TCP 9990
-
JBOSS_HOME=/opt/wildfly(NOT/mnt) -
CATALINA_OPTS-equivalent JVM tuning via systemd Environment block (default heap 512M-1024M) -
Ubuntu 24.04 LTS base with latest security patches
-
Azure Linux Agent for cloud integration
-
24/7 cloudimg support, 24h response SLA
Prerequisites
Active Azure subscription, SSH key, VNet + subnet. Subscription to the WildFly 39 Marketplace listing.
Recommended VM: Standard_B2s (2 vCPU, 4 GB RAM) for dev/test; Standard_D4s_v5 (4 vCPU, 16 GB RAM) for production with -Xms2g -Xmx4g.
Step 1: Deploy from the Azure Portal
Search WildFly 39 in Marketplace, select cloudimg, click Create. NSG: TCP 22 + 8080 + 9990 from your client networks. Do not expose to the public internet without a TLS reverse proxy.
Step 2: Deploy from the Azure CLI
RG="wildfly-prod"; LOCATION="eastus"; VM_NAME="wildfly-01"
GALLERY_IMAGE_ID="/subscriptions/<sub-id>/resourceGroups/azure-cloudimg/providers/Microsoft.Compute/galleries/cloudimgGallery/images/wildfly-39-ubuntu-24-04/versions/<version>"
SSH_KEY="$(cat ~/.ssh/id_rsa.pub)"
az group create --name "$RG" --location "$LOCATION"
az network vnet create -g "$RG" --name wf-vnet --address-prefix 10.101.0.0/16 --subnet-name wf-subnet --subnet-prefix 10.101.1.0/24
az network nsg create -g "$RG" --name wf-nsg
az network nsg rule create -g "$RG" --nsg-name wf-nsg --name allow-ssh --priority 100 \
  --source-address-prefixes "<your-mgmt-cidr>" --destination-port-ranges 22 --access Allow --protocol Tcp
az network nsg rule create -g "$RG" --nsg-name wf-nsg --name allow-http --priority 110 \
  --source-address-prefixes 10.101.0.0/16 --destination-port-ranges 8080 --access Allow --protocol Tcp
az network nsg rule create -g "$RG" --nsg-name wf-nsg --name allow-mgmt --priority 120 \
  --source-address-prefixes 10.101.0.0/16 --destination-port-ranges 9990 --access Allow --protocol Tcp
az vm create -g "$RG" --name "$VM_NAME" --image "$GALLERY_IMAGE_ID" \
  --size Standard_B2s --storage-sku StandardSSD_LRS \
  --admin-username azureuser --ssh-key-values "$SSH_KEY" \
  --vnet-name wf-vnet --subnet wf-subnet --nsg wf-nsg --public-ip-sku Standard
Step 3: Connect via SSH
ssh azureuser@<vm-ip>
Both wildfly.service and wildfly-firstboot.service run automatically.
Step 4: Verify the WildFly Service
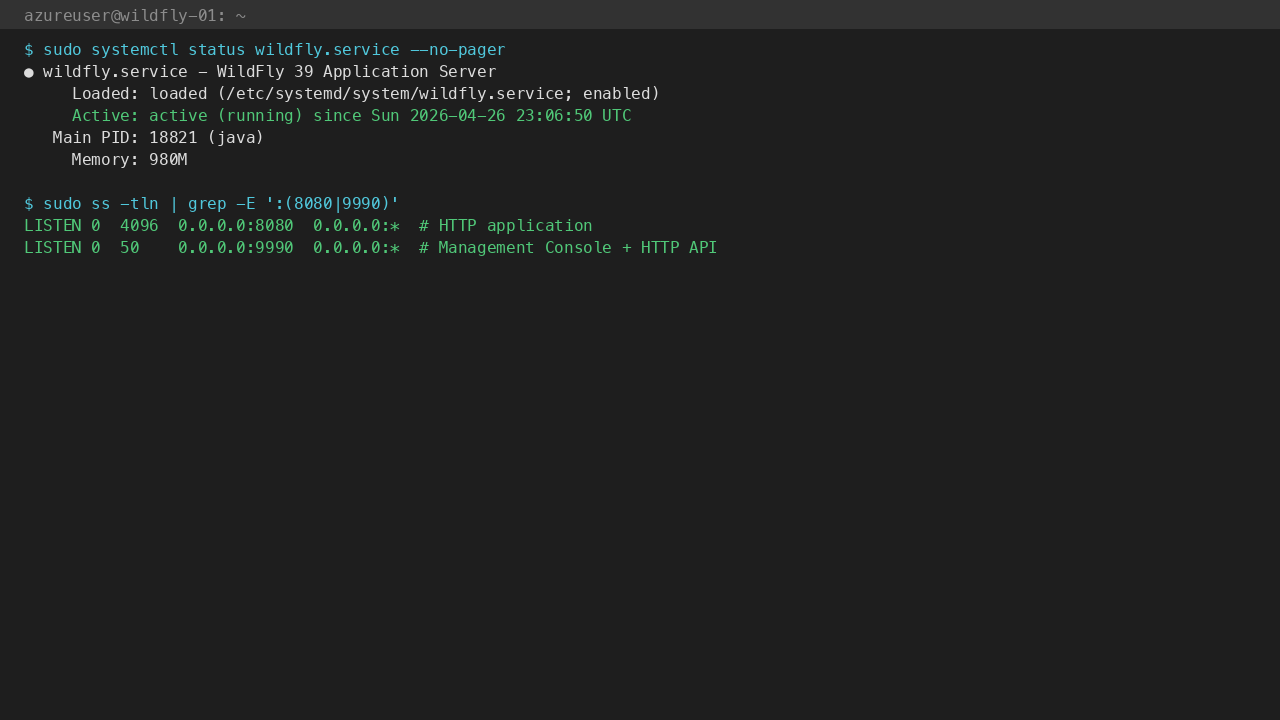
sudo systemctl status wildfly.service --no-pager
sudo test -f /var/lib/cloudimg/wildfly-firstboot.done && echo FIRSTBOOT_DONE
sudo ss -tln | grep -E ':(8080|9990)'
Step 5: Retrieve the Admin Password
sudo cat /stage/scripts/wildfly-credentials.log
WILDFLY_ADMIN_USER=admin
WILDFLY_ADMIN_PASSWORD=<WILDFLY_ADMIN_PASSWORD>
HTTP_PORT=8080
MGMT_PORT=9990
JBOSS_HOME=/opt/wildfly

Step 6: Use the Management API
PASS=$(sudo grep '^WILDFLY_ADMIN_PASSWORD=' /stage/scripts/wildfly-credentials.log | cut -d= -f2-)
# whoami
curl --digest -u "admin:${PASS}" -H 'Content-Type: application/json' \
-d '{"operation":"whoami","address":[]}' \
http://localhost:9990/management
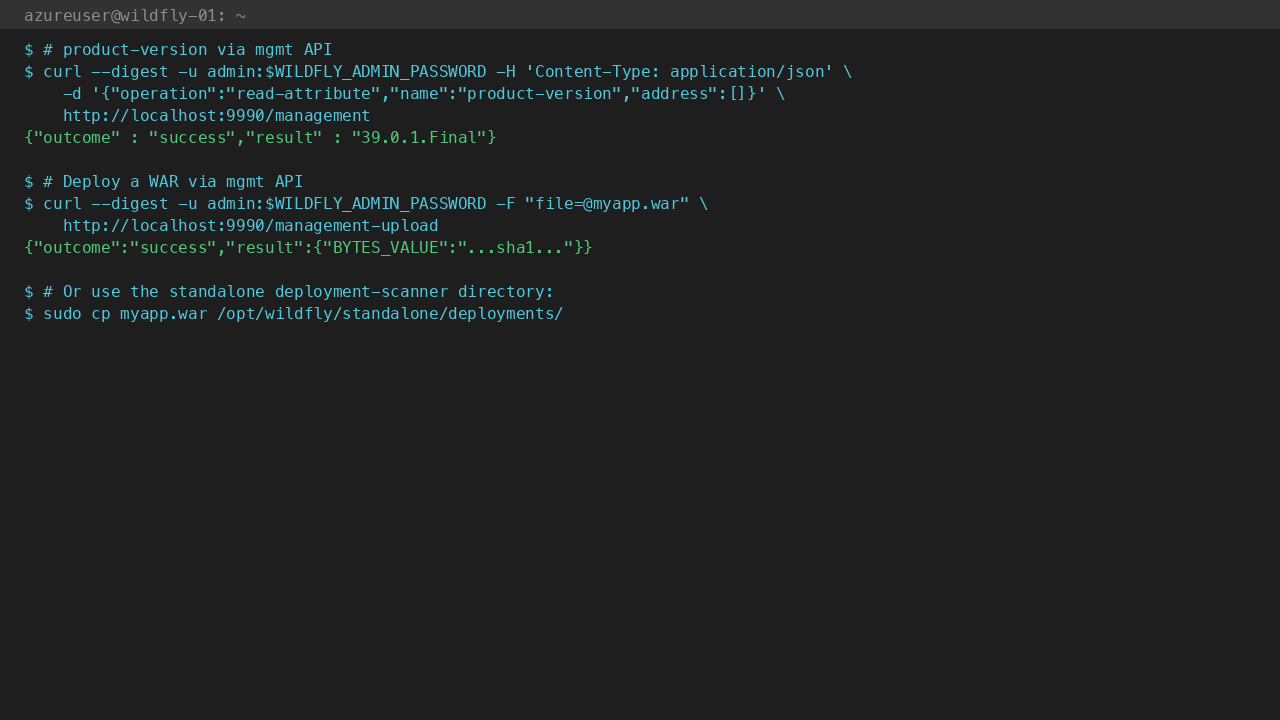
# product-version
curl --digest -u "admin:${PASS}" -H 'Content-Type: application/json' \
-d '{"operation":"read-attribute","name":"product-version","address":[]}' \
http://localhost:9990/management
Step 7: Open the WildFly Welcome Page
open http://<vm-ip>:8080/

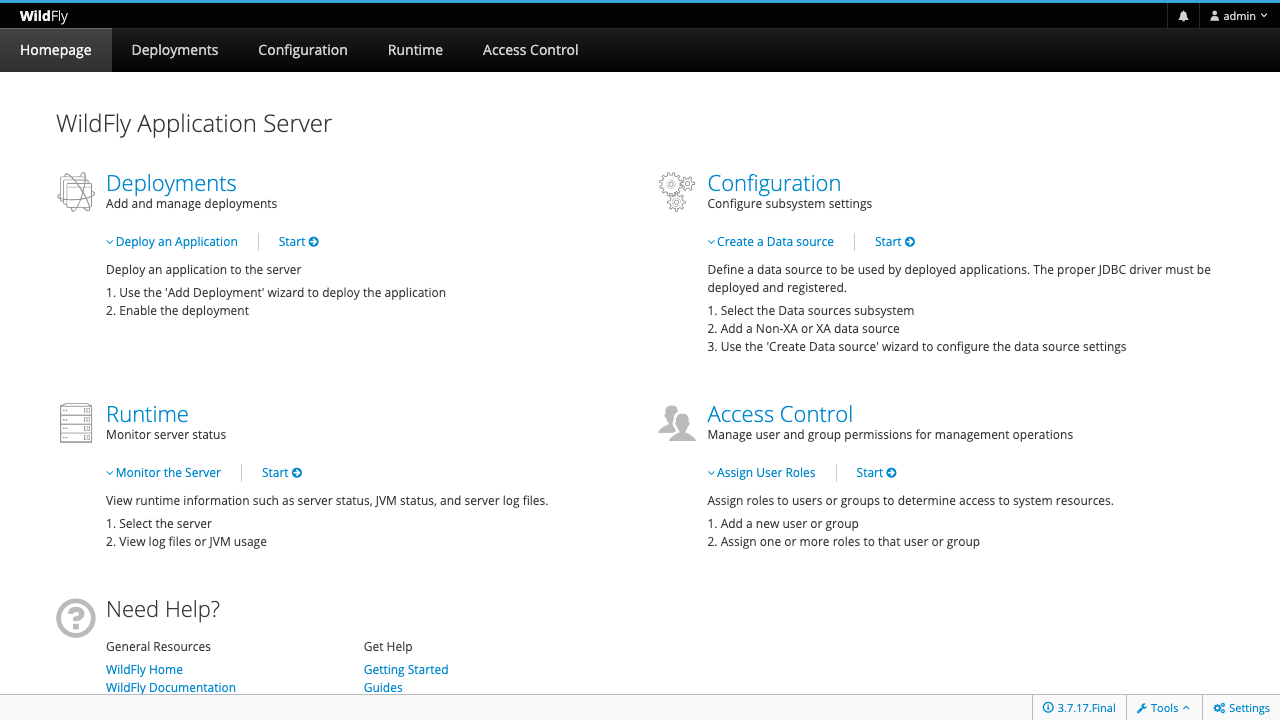
Step 8: Open the Management Console
Navigate to http://<vm-ip>:9990/console/. HTTP digest auth — username admin, password from /stage/scripts/wildfly-credentials.log. The console shows Configuration, Runtime, Deployments, Patching, Access Control:
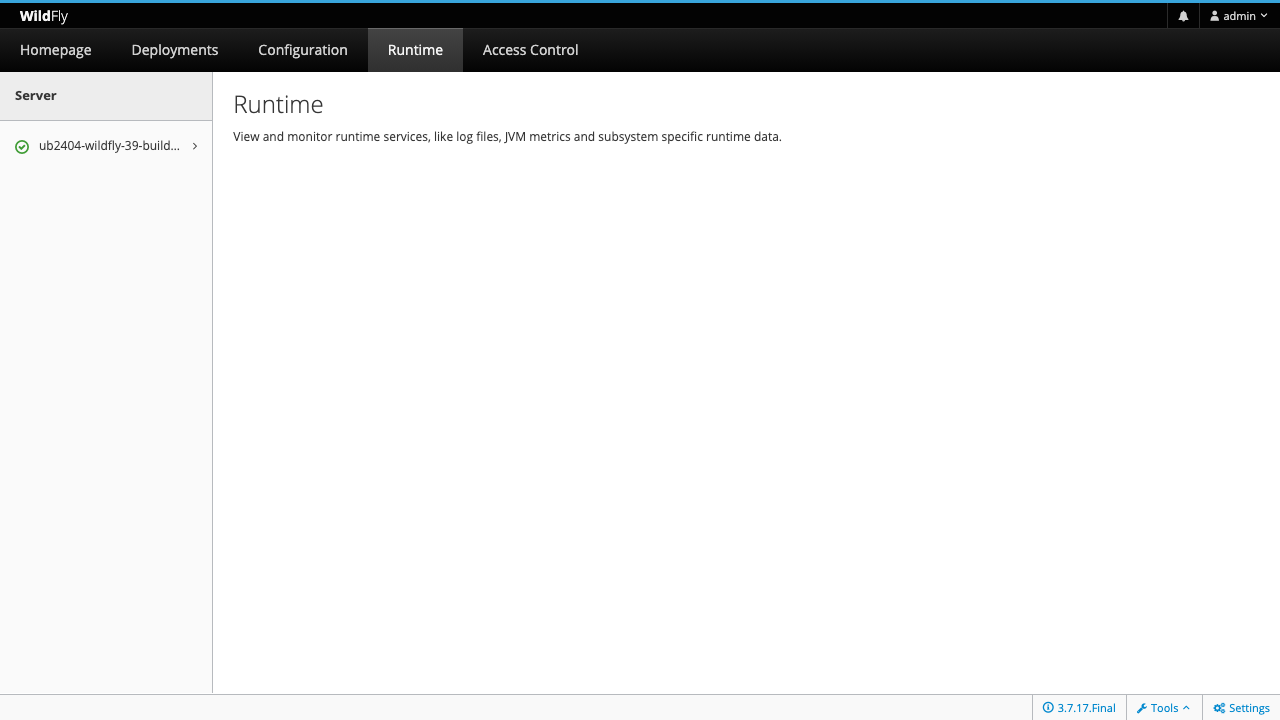
The Runtime view shows JVM threads, memory, and per-subsystem state:
Step 9: Deploy Your First WAR
Drop a .war into /opt/wildfly/standalone/deployments/ (autodeploy with no restart) or use the management API:
PASS=$(sudo grep '^WILDFLY_ADMIN_PASSWORD=' /stage/scripts/wildfly-credentials.log | cut -d= -f2-)
curl --digest -u "admin:${PASS}" -F "file=@myapp.war" \
  http://localhost:9990/management-upload
Step 10: Server Components
| Component | Path |
|---|---|
| JBOSS_HOME | /opt/wildfly |
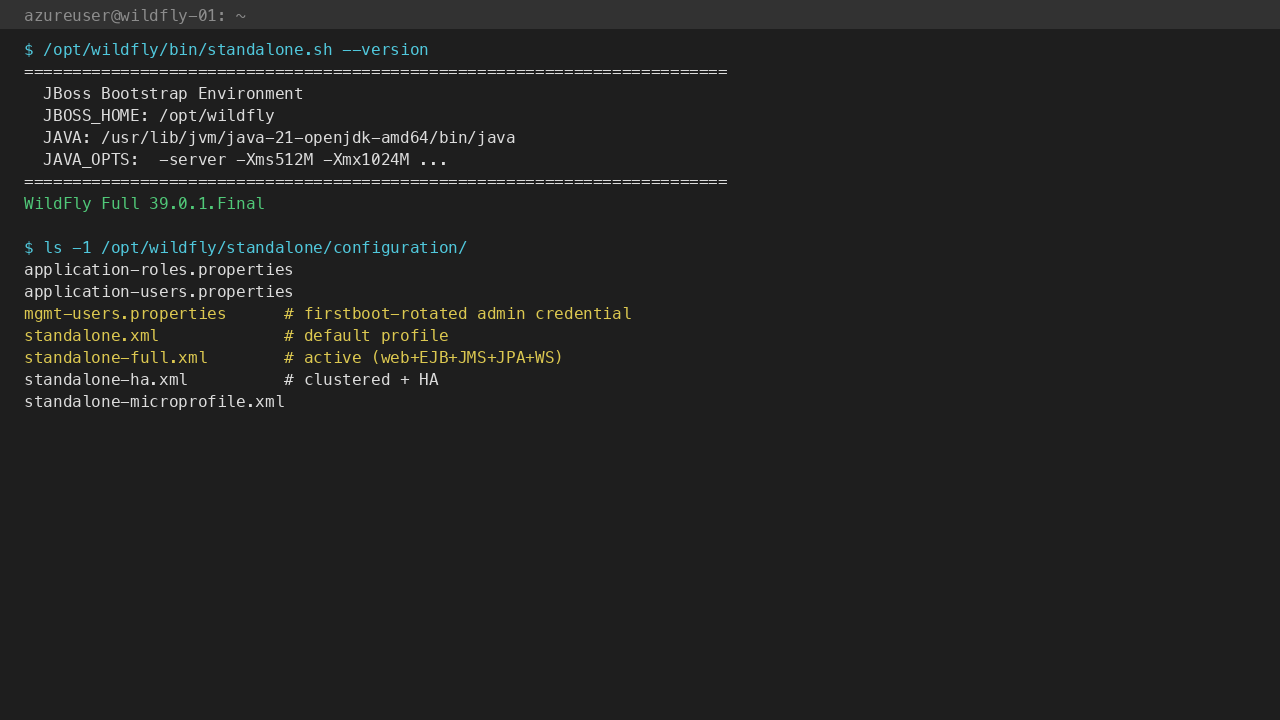
standalone.sh |
/opt/wildfly/bin/standalone.sh |
| Active config | /opt/wildfly/standalone/configuration/standalone-full.xml |
| Mgmt user file | /opt/wildfly/standalone/configuration/mgmt-users.properties |
| Deployments | /opt/wildfly/standalone/deployments/ |
| Logs | /opt/wildfly/standalone/log/server.log |
| Systemd unit | /etc/systemd/system/wildfly.service |
| Firstboot | /usr/local/sbin/wildfly-firstboot.sh |
| Credentials | /stage/scripts/wildfly-credentials.log (mode 0600) |
| Sentinel | /var/lib/cloudimg/wildfly-firstboot.done |
/opt/wildfly/bin/standalone.sh --version
Step 11: Managing the WildFly Service
sudo systemctl status wildfly.service --no-pager
sudo systemctl restart wildfly.service
sudo tail -f /opt/wildfly/standalone/log/server.log
Step 12: Security Recommendations
- Rotate admin password with
sudo /opt/wildfly/bin/add-user.sh -u admin -p '<new>' -s - Restrict NSG so 8080 / 9990 are only reachable from trusted networks
- Front WildFly with a TLS reverse proxy for production
- Tighten interface bindings in
standalone-full.xmlif you don't need HTTP from non-VNet - Patch the OS monthly with
apt-get update && apt-get upgrade && reboot
Step 13: Support and Licensing
WildFly is licensed under the Apache License 2.0 — no per-CPU or per-deployment fees. cloudimg provides commercial support separately.
- Email: support@cloudimg.co.uk
- Website: www.cloudimg.co.uk
- Support hours: 24/7, 24h response SLA
Deploy on Azure
Launch WildFly 39 on Ubuntu 24.04 with 24/7 support from cloudimg.
View on Marketplace
Need Help?
Our support team is available 24/7. support@cloudimg.co.uk