Zot OCI Registry on Ubuntu 24.04 on Azure User Guide
Overview
Zot is a production-ready, vendor-neutral OCI-native container image registry from the project-zot community. It stores OCI artifacts and container images and lets you push and pull with any standard client - docker, podman, skopeo or oras - while keeping a small, single-binary footprint. The cloudimg image installs Zot 2.1.17 (the full build, with the bundled web UI and search/CVE-scan extensions), runs it as a systemd service behind an nginx reverse proxy on port 80, stores the OCI blob storage, configuration and the htpasswd authentication database on a dedicated Azure data disk, and generates a unique admin account on the first boot of every VM. Backed by 24/7 cloudimg support.
What is included:
- Zot 2.1.17 (Apache-2.0), the full build with the web UI and search/vulnerability extensions
- The registry API and the web UI published on port 80 via nginx (with WebSocket upgrade and unlimited body size for large image-layer pushes)
- htpasswd (bcrypt) authentication gating every endpoint - the OCI base
/v2/returns401until you authenticate - A dedicated Azure data disk at
/var/lib/zotfor OCI blob storage, config and the htpasswd auth database - A unique admin account generated on first boot, written to a root-only credentials file
zot.service+nginx.serviceas systemd units, enabled and active- 24/7 cloudimg support
Prerequisites
An active Azure subscription, an SSH key pair, and a VNet + subnet in the target region. Standard_B2ms (2 vCPU / 8 GiB RAM) is a good starting point. NSG inbound: allow 22/tcp from your management network and 80/tcp for the registry and web UI (front with TLS for public exposure - see Enabling HTTPS).
Step 1 - Deploy from the Azure Marketplace
Sign in to the Azure Portal, choose Create a resource, search the Marketplace for Zot by cloudimg, and select Create. On Basics pick your subscription, resource group, region and size; under Administrator account choose SSH public key and paste your key; under Inbound port rules allow SSH (22) and HTTP (80). Review the dedicated data disk on the Disks tab, then Review + create -> Create.
Step 2 - Deploy from the Azure CLI
az vm create \
  --resource-group <your-rg> \
  --name zot \
  --image <marketplace-image-urn> \
  --size Standard_B2ms \
  --admin-username azureuser \
  --generate-ssh-keys \
  --public-ip-sku Standard
Then open the registry/web-UI port on the VM's network security group:
az vm open-port --resource-group <your-rg> --name zot --port 80 --priority 1001
Step 3 - Retrieve the per-VM admin password
A unique admin account is generated on the first boot of every VM and written to a root-only credentials file. SSH in and read it:
ssh azureuser@<vm-public-ip>
sudo cat /root/zot-credentials.txt
The file contains the registry URL, the admin username (admin) and the generated password:
ZOT_URL=http://<vm-public-ip>/
ZOT_ADMIN_USER=admin
ZOT_ADMIN_PASSWORD=<ZOT_ADMIN_PASSWORD>
Keep this password safe - it is the credential for the web UI and for docker/podman login.
Step 4 - Confirm the registry is healthy
The OCI base endpoint /v2/ requires authentication, so it returns 401 without credentials and 200 once you authenticate as admin. Run these on the VM:
echo "Unauthenticated /v2/ (expect 401):"
curl -s -o /dev/null -w '%{http_code}\n' http://127.0.0.1/v2/
PASS=$(sudo grep '^ZOT_ADMIN_PASSWORD=' /root/zot-credentials.txt | cut -d= -f2-)
echo "Authenticated /v2/ (expect 200):"
curl -s -o /dev/null -w '%{http_code}\n' -u "admin:${PASS}" http://127.0.0.1/v2/
echo "nginx static health (expect ok):"
curl -s http://127.0.0.1/health
Expected output:
Unauthenticated /v2/ (expect 401):
401
Authenticated /v2/ (expect 200):
200
nginx static health (expect ok):
ok
Check the systemd services are active:
systemctl is-active zot.service nginx.service
Expected output:
active
active
Step 5 - Browse the web UI
Open http://<vm-public-ip>/ in a browser and sign in with admin and the password from Step 3. The home page lists the container image repositories hosted on this registry.
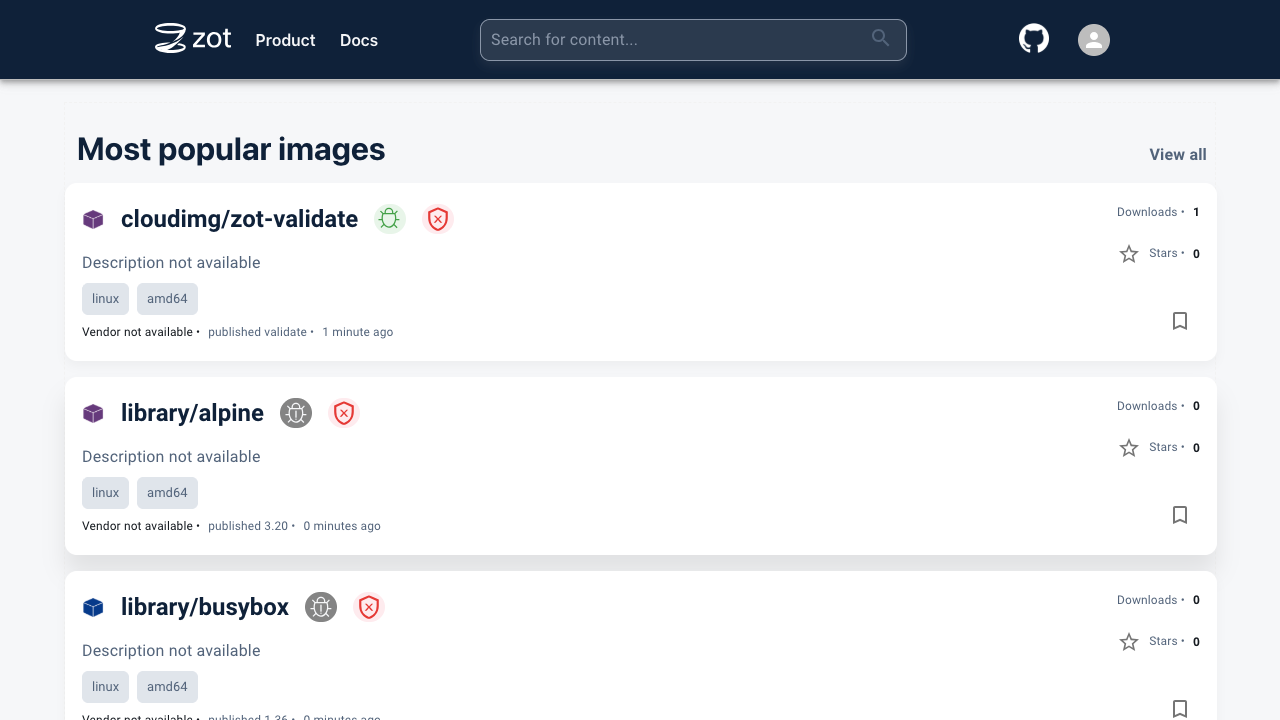
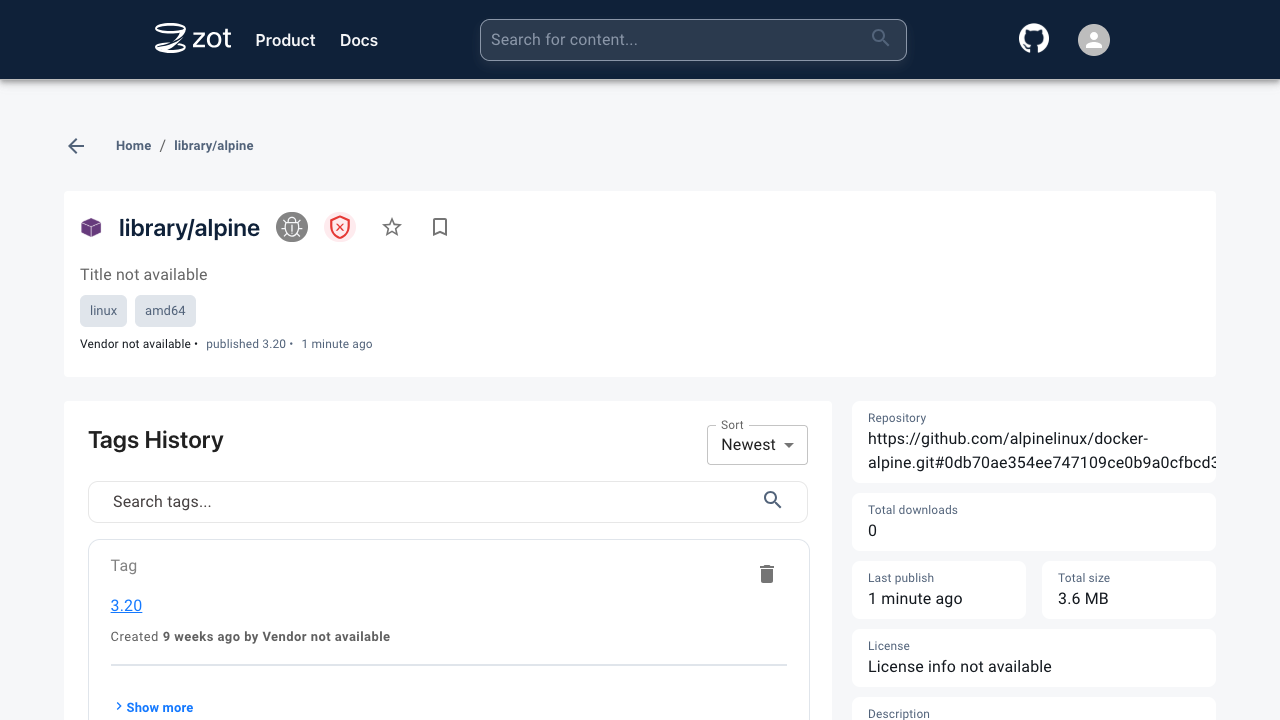
Select a repository to see its tags, size and metadata.
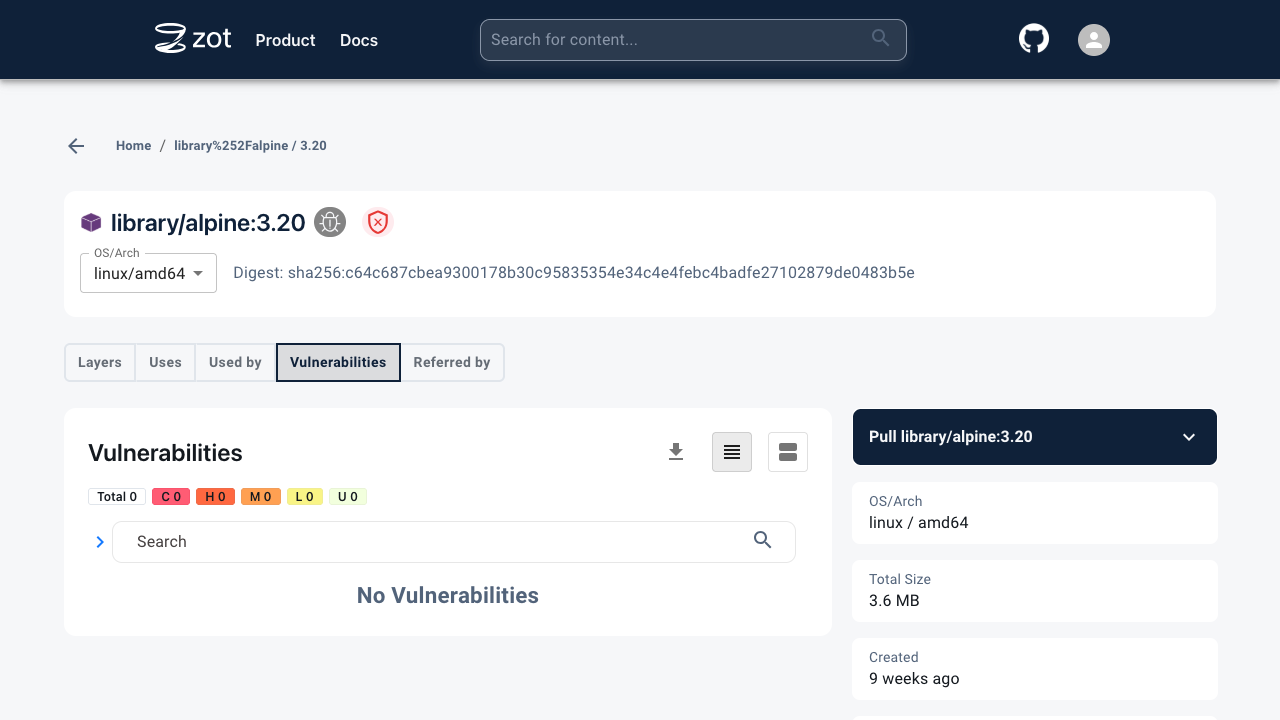
Open a tag to inspect its manifest, layers and the vulnerability (CVE) scan results produced by the bundled search extension.
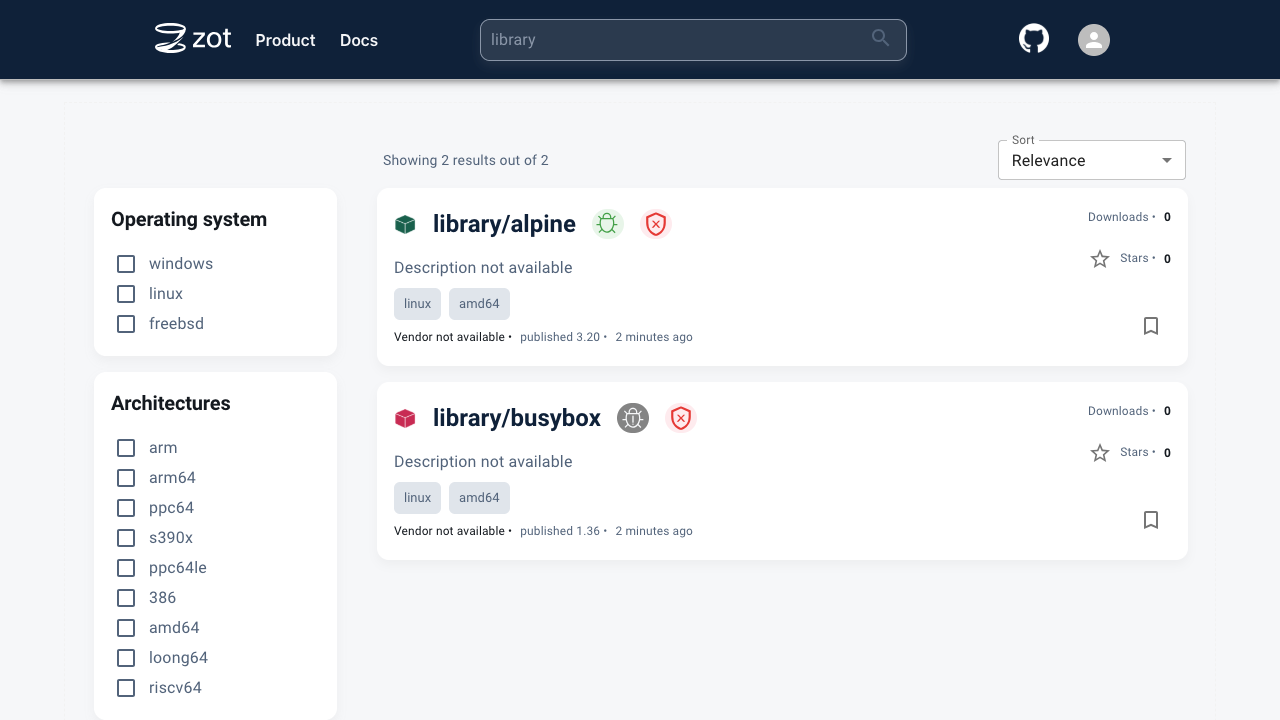
Use the explore and search view to find repositories and images across the registry, filtered by operating system and architecture.
Step 6 - Log in and push an image from a developer machine
From any machine with docker or podman installed, log in to the registry with the admin credentials, tag a local image for the registry, and push it. Replace <vm-public-ip> and <ZOT_ADMIN_PASSWORD> with your values.
With docker:
docker login <vm-public-ip> --username admin --password '<ZOT_ADMIN_PASSWORD>'
docker pull alpine:3.20
docker tag alpine:3.20 <vm-public-ip>/library/alpine:3.20
docker push <vm-public-ip>/library/alpine:3.20
With podman (identical flow):
podman login <vm-public-ip> --username admin --password '<ZOT_ADMIN_PASSWORD>'
podman pull docker.io/library/busybox:1.36
podman tag docker.io/library/busybox:1.36 <vm-public-ip>/library/busybox:1.36
podman push <vm-public-ip>/library/busybox:1.36
Because the image serves plain HTTP on port 80 until you add TLS (see Enabling HTTPS), docker/podman treat the registry as insecure. For a quick test add
<vm-public-ip>toinsecure-registriesin/etc/docker/daemon.json(docker) or to[[registry]]insecure = truein/etc/containers/registries.conf(podman). In production, enable TLS and this is unnecessary.
Step 7 - Pull an image back and list the catalog
Pull the image you pushed back down on any client:
docker pull <vm-public-ip>/library/alpine:3.20
List every repository in the registry over the OCI catalog API (run on the VM):
PASS=$(sudo grep '^ZOT_ADMIN_PASSWORD=' /root/zot-credentials.txt | cut -d= -f2-)
curl -s -u "admin:${PASS}" http://127.0.0.1/v2/_catalog
Example output (your repositories will differ):
{"repositories":["library/alpine","library/busybox"]}
Step 8 - Push OCI artifacts with skopeo or oras
Zot is a generic OCI registry, so you can copy images with skopeo or push arbitrary OCI artifacts with oras:
skopeo copy --dest-creds admin:'<ZOT_ADMIN_PASSWORD>' \
  docker://docker.io/library/redis:7 \
  docker://<vm-public-ip>/library/redis:7

oras push <vm-public-ip>/cloudimg/notes:v1 \
  --username admin --password '<ZOT_ADMIN_PASSWORD>' \
  ./release-notes.txt:text/plain
Storage on a dedicated data disk
The OCI blob storage, configuration and the htpasswd authentication database live on a dedicated Azure data disk mounted at /var/lib/zot (rootDirectory in /etc/zot/config.json), kept separate from the OS disk so it can be resized independently and is re-provisioned with every VM. Confirm the mount and free space on the VM:
findmnt -no SOURCE,TARGET,FSTYPE /var/lib/zot
df -h /var/lib/zot | tail -1
Expected output (device name may differ):
/dev/sdc /var/lib/zot ext4
/dev/sdc         40G   24K   38G   1% /var/lib/zot
To grow registry storage, resize the data disk in the Azure Portal (or az disk update --size-gb), then grow the filesystem on the VM with sudo resize2fs /dev/disk/azure/scsi1/lun0.
Enabling HTTPS
Zot serves plain HTTP on port 80 through nginx. For production, terminate TLS at nginx with a certificate for your own domain. Point an A record at the VM's public IP, then install a certificate with certbot and the nginx plugin (prose - run on the VM, follow the interactive prompts):
Install certbot with sudo apt-get update && sudo apt-get install -y certbot python3-certbot-nginx, then run sudo certbot --nginx -d your-domain.example.com. Certbot edits the nginx site to listen on 443 with your certificate and sets up automatic renewal. After TLS is in place, docker login and podman login no longer need the insecure-registry workaround.
Maintenance
- OS updates: the image keeps Ubuntu's unattended-upgrades enabled, so security patches continue to land. Apply pending updates manually at any time with
sudo apt-get update && sudo apt-get upgrade -y. - Service logs:
sudo journalctl -u zot.service -ffollows the registry log;sudo journalctl -u nginx.servicefor the proxy. - Restart:
sudo systemctl restart zot.service nginx.service. - Garbage collection: Zot is configured with
dedupeandgcenabled, so deleted manifests and unreferenced blobs are reclaimed automatically. - Rotating the admin password: generate a new bcrypt entry with
sudo htpasswd -B /var/lib/zot/htpasswd adminand re-read it - Zot reads the htpasswd file at request time, so no restart is needed.
Support
This image is maintained by cloudimg with 24/7 support. Contact support@cloudimg.co.uk for assistance.