Apache APISIX on Ubuntu 24.04 on Azure User Guide
Overview
Apache APISIX is the open-source, cloud-native API gateway that delivers dynamic routing, load balancing, authentication, rate limiting and observability for your APIs and microservices through a rich plugin ecosystem. The cloudimg image installs the latest stable Apache APISIX gateway from the official Apache APISIX package repository, backs it with a single-node etcd 3 configuration store, bundles the Apache APISIX Dashboard web UI behind an nginx reverse proxy on TCP 80, persists the etcd store on a dedicated Azure data disk, and generates a unique admin API key and Dashboard password on the first boot of every VM. Backed by 24/7 cloudimg support.
What is included:
- The latest stable Apache APISIX gateway from the official Apache APISIX apt repository
- A single-node etcd 3 configuration store bound to loopback
127.0.0.1:2379 - The Apache APISIX Dashboard web UI fronted by an nginx reverse proxy on
:80(bound to loopback:9000) - A dedicated Azure data disk at
/var/lib/etcdholding the etcd config store — separate from the OS disk and re-provisioned with every VM - Per-VM secrets generated at first boot in a root-only file: the APISIX admin API key (
APISIX_ADMIN_KEY) and the Dashboard password (APISIX_DASHBOARD_PASSWORD) etcd.service,apisix.service,apisix-dashboard.serviceandnginx.serviceas systemd units, enabled and active- 24/7 cloudimg support
Prerequisites
An active Azure subscription, an SSH key pair, and a VNet + subnet in the target region. Standard_B2ms (2 vCPU / 8 GiB RAM) is a good starting point; scale up for higher request throughput. NSG inbound: allow 22/tcp from your management network and 80/tcp for the Dashboard (front with TLS for public exposure — see Enabling HTTPS). The gateway data-plane ports (9080/tcp HTTP and 9443/tcp HTTPS) are not opened by default — open them from your client networks only when you are ready to route traffic through the gateway.
Step 1 — Deploy from the Azure Marketplace
Sign in to the Azure Portal, choose Create a resource, search the Marketplace for Apache APISIX by cloudimg, and select Create. On Basics pick your subscription, resource group, region and size; under Administrator account choose SSH public key and paste your key; under Inbound port rules allow SSH (22) and HTTP (80). Review the dedicated data disk on the Disks tab, then Review + create → Create.
Step 2 — Deploy from the Azure CLI
az vm create \
  --resource-group <your-rg> \
  --name apisix \
  --image <marketplace-image-urn> \
  --size Standard_B2ms \
  --admin-username azureuser \
  --ssh-key-values ~/.ssh/id_ed25519.pub \
  --vnet-name <your-vnet> --subnet <your-subnet> \
  --public-ip-sku Standard

az vm open-port --resource-group <your-rg> --name apisix --port 80 --priority 1010
Step 3 — Connect to your VM
ssh azureuser@<vm-public-ip>
Step 4 — Confirm the services are running
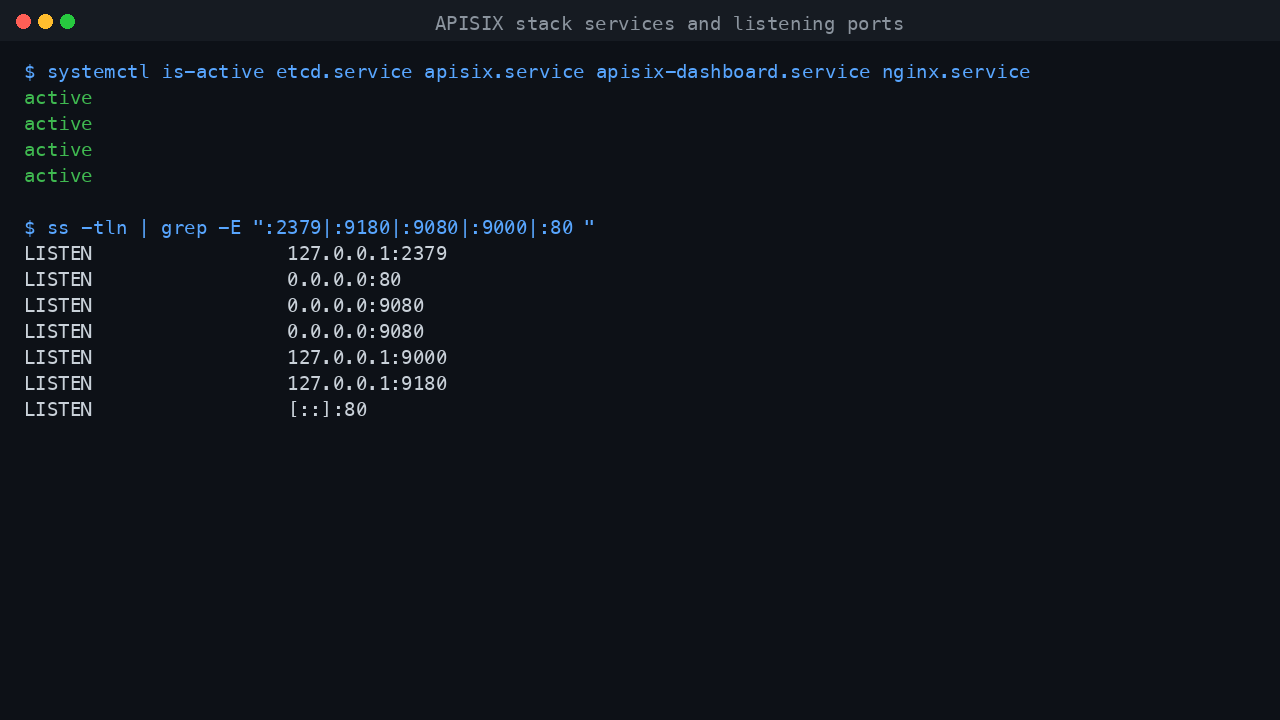
systemctl is-active etcd.service apisix.service apisix-dashboard.service nginx.service
All four services report active. On first boot the per-VM secrets are rotated and the stack starts in order: etcd, then the APISIX gateway, then the Dashboard, then nginx.
Step 5 — Retrieve your per-VM secrets
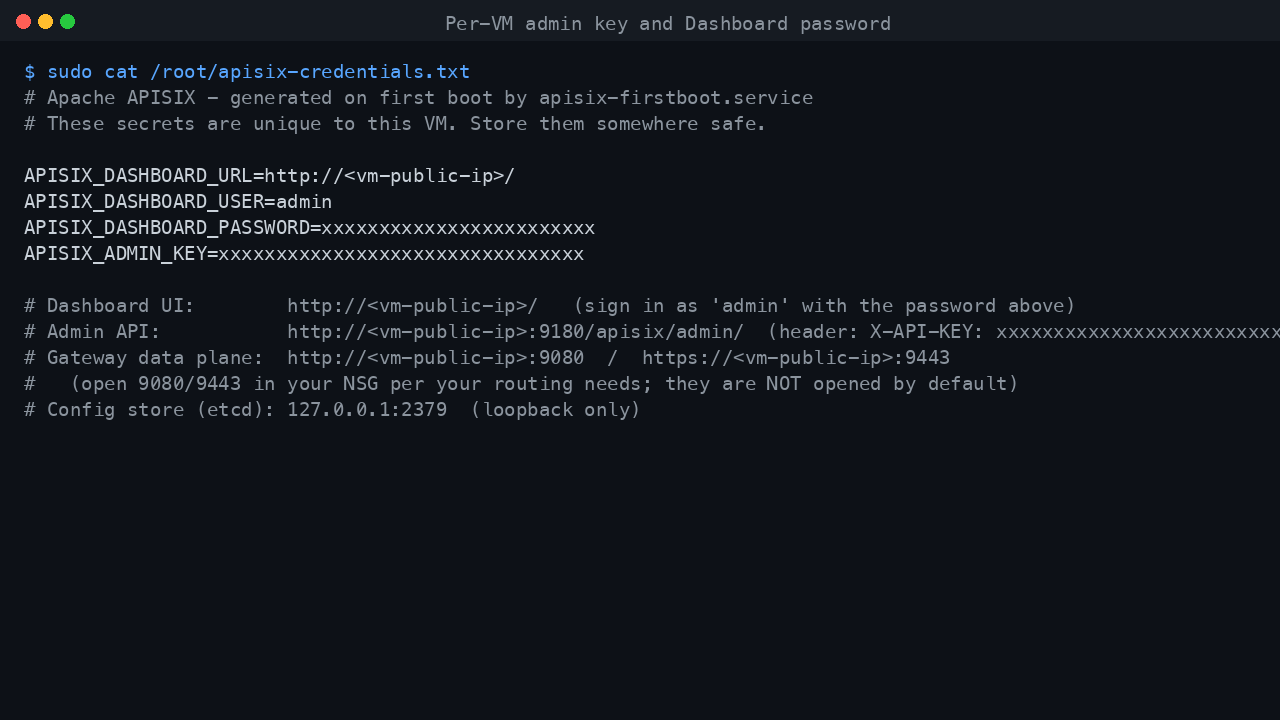
The admin API key and the Dashboard password are generated uniquely on the first boot of your VM and written to a root-only file:
sudo cat /root/apisix-credentials.txt
APISIX_DASHBOARD_PASSWORD is the password for the Dashboard admin user; APISIX_ADMIN_KEY is the X-API-KEY header value for the APISIX admin API. The well-known default admin key has been replaced with this per-VM value.
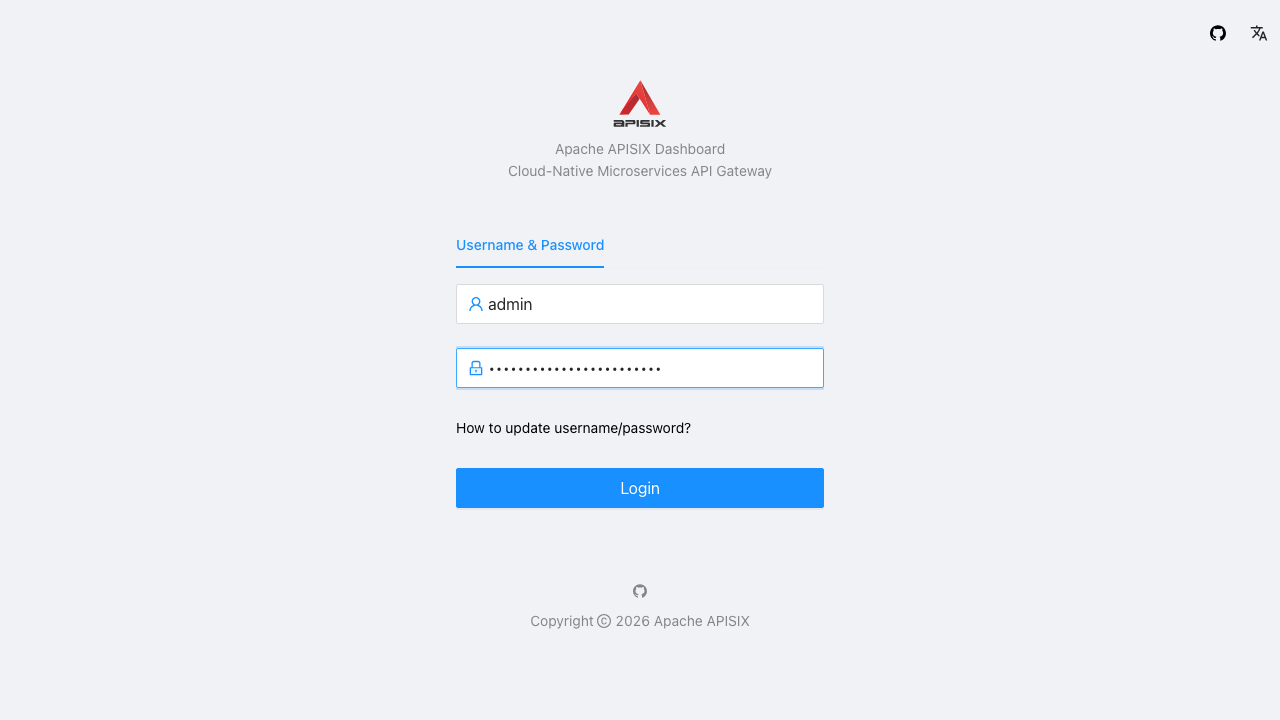
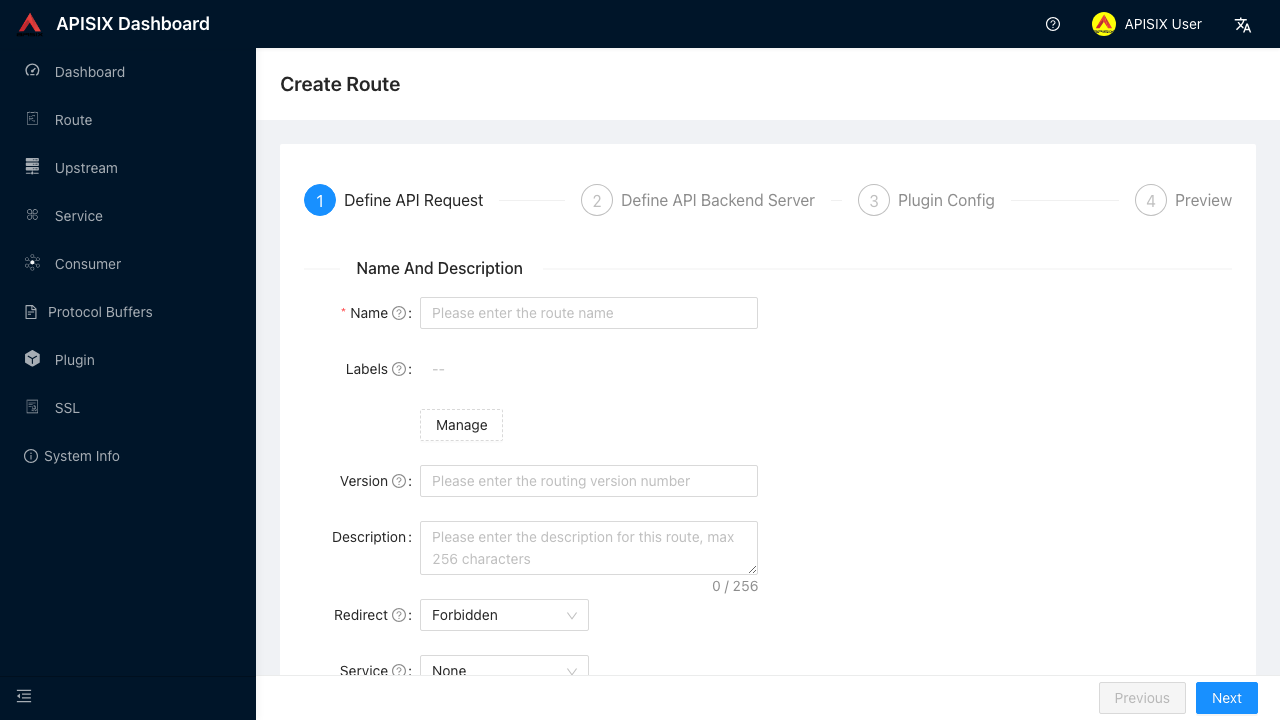
Step 6 — Sign in to the APISIX Dashboard
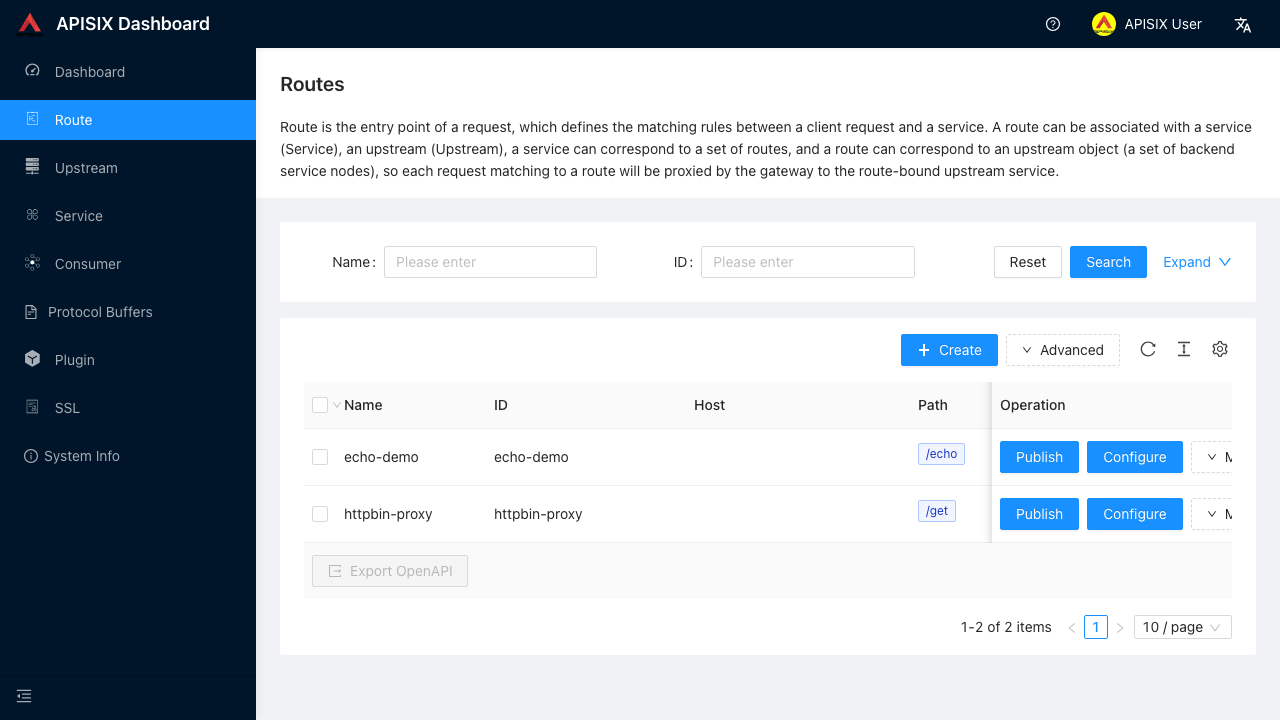
Browse to http://<vm-public-ip>/ and sign in as admin with the APISIX_DASHBOARD_PASSWORD from Step 5. The APISIX Dashboard lets you create and manage routes, upstreams, services, consumers, SSL certificates and plugins through a visual UI, with the full configuration stored in etcd.
Step 7 — Verify the admin API with your per-VM key
The APISIX admin API is bound to loopback 127.0.0.1:9180. List the configured routes with your per-VM key (run on the VM):
KEY=$(sudo grep '^APISIX_ADMIN_KEY=' /root/apisix-credentials.txt | cut -d= -f2-); curl -s -H "X-API-KEY: $KEY" http://127.0.0.1:9180/apisix/admin/routes | head -c 400; echo
The response is a JSON document (a list with a total count) returned with HTTP 200. A request with no key or the wrong key is rejected with HTTP 401.

Step 8 — Create your first route and proxy a request
Create a route through the admin API that proxies requests to a public upstream, then send a request through the gateway data-plane on 9080 (run on the VM):
KEY=$(sudo grep '^APISIX_ADMIN_KEY=' /root/apisix-credentials.txt | cut -d= -f2-); curl -s -H "X-API-KEY: $KEY" -X PUT http://127.0.0.1:9180/apisix/admin/routes/getting-started -d '{"uri":"/get","upstream":{"type":"roundrobin","nodes":{"httpbin.org:80":1}}}' | head -c 200; echo
sleep 2; curl -s http://127.0.0.1:9080/get | head -c 300; echo
The first command stores the route in etcd; the second sends a request through the gateway, which proxies it to the upstream and returns its JSON response. Your route now appears in the Dashboard routes list too.
Step 9 — Route traffic from your clients
Point your clients at the gateway data-plane: http://<vm-public-ip>:9080 for HTTP and https://<vm-public-ip>:9443 for HTTPS. Open 9080 and 9443 in your NSG from your client networks only when you are ready to serve traffic. Manage routes, upstreams and plugins either through the Dashboard or the admin API; the configuration is held in etcd and survives reboots.
Enabling HTTPS
For production, terminate TLS at nginx for the Dashboard with a real domain pointed at the VM's public IP. Install certbot and request a certificate (replace the domain):
sudo apt-get update && sudo apt-get install -y certbot python3-certbot-nginx
sudo certbot --nginx -d your-domain.example.com
For the gateway data-plane itself, configure SSL certificates in APISIX (via the Dashboard SSL section or the admin API /apisix/admin/ssls endpoint) and route client traffic to 9443.
Backup and maintenance
The etcd configuration store — the source of truth for every route, upstream, service, consumer and plugin — lives on the dedicated data disk at /var/lib/etcd. Snapshot that disk in Azure to back up your full gateway configuration, and keep the OS patched with sudo apt update && sudo apt upgrade. The gateway restarts cleanly with sudo systemctl restart apisix, and the Dashboard with sudo systemctl restart apisix-dashboard.
Support
This image is backed by 24/7 cloudimg support. Contact us by email and chat for help with route and upstream configuration, plugins, authentication, rate limiting, TLS and backups.
All product and company names are trademarks or registered trademarks of their respective holders. Use of them does not imply any affiliation with or endorsement by them.