Medusa.js on Ubuntu 24.04 on Azure User Guide
Overview
Medusa is an open-source headless commerce platform built on Node.js and TypeScript. It provides a modular commerce backend - products, carts, orders, fulfilment, payments and promotions - exposed through a REST API, plus a full admin dashboard for running a store. The cloudimg image installs Medusa 2.16.0 on Node.js 22 LTS, builds the admin dashboard, runs it as a systemd service behind an nginx reverse proxy on port 80, stores the PostgreSQL database and uploaded media on a dedicated Azure data disk, uses Redis for the event bus, cache and workflow engine, and rotates all application secrets and a unique admin user on the first boot of every VM. Backed by 24/7 cloudimg support.
What is included:
- Medusa 2.16.0 on Node.js 22 LTS with the admin dashboard pre-built
- The admin dashboard (
/app) and commerce API published on port 80 via nginx - PostgreSQL 16 and Redis 7, with the database on a dedicated Azure data disk at
/var/lib/medusa - Per-VM application secrets, a rotated database password and a unique admin user generated on first boot
medusa.service,nginx.service,postgresql.serviceandredis-server.serviceas systemd units, enabled and active- 24/7 cloudimg support
Prerequisites
An active Azure subscription, an SSH key pair, and a VNet + subnet in the target region. Standard_B4ms (4 vCPU / 16 GiB RAM) is a good starting point for the build and admin dashboard. NSG inbound: allow 22/tcp from your management network and 80/tcp for the admin dashboard and API (front with TLS for public exposure - see Enabling HTTPS).
Step 1 - Deploy from the Azure Marketplace
Sign in to the Azure Portal, choose Create a resource, search the Marketplace for Medusa by cloudimg, and select Create. On Basics pick your subscription, resource group, region and size; under Administrator account choose SSH public key and paste your key; under Inbound port rules allow SSH (22) and HTTP (80). Review the dedicated data disk on the Disks tab, then Review + create -> Create.
Step 2 - Deploy from the Azure CLI
az vm create \
  --resource-group <your-rg> \
  --name medusa \
  --image <marketplace-image-urn> \
  --size Standard_B4ms \
  --admin-username azureuser \
  --ssh-key-values ~/.ssh/id_ed25519.pub \
  --vnet-name <your-vnet> --subnet <your-subnet> \
  --public-ip-sku Standard

az vm open-port --resource-group <your-rg> --name medusa --port 80 --priority 1010
Step 3 - Connect to your VM
ssh azureuser@<vm-public-ip>
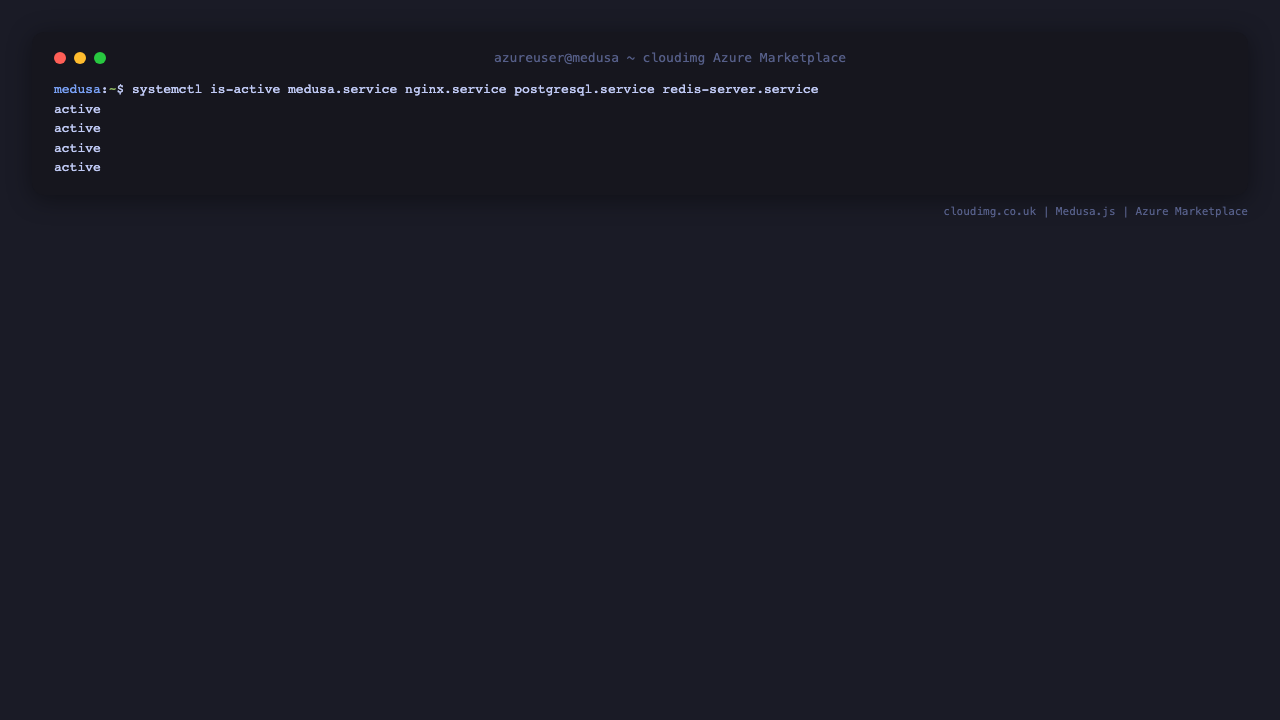
Step 4 - Confirm the services are running
systemctl is-active medusa.service nginx.service postgresql.service redis-server.service
All four report active. On first boot Medusa rotates its secrets and database password, creates the admin user, and serves the dashboard.
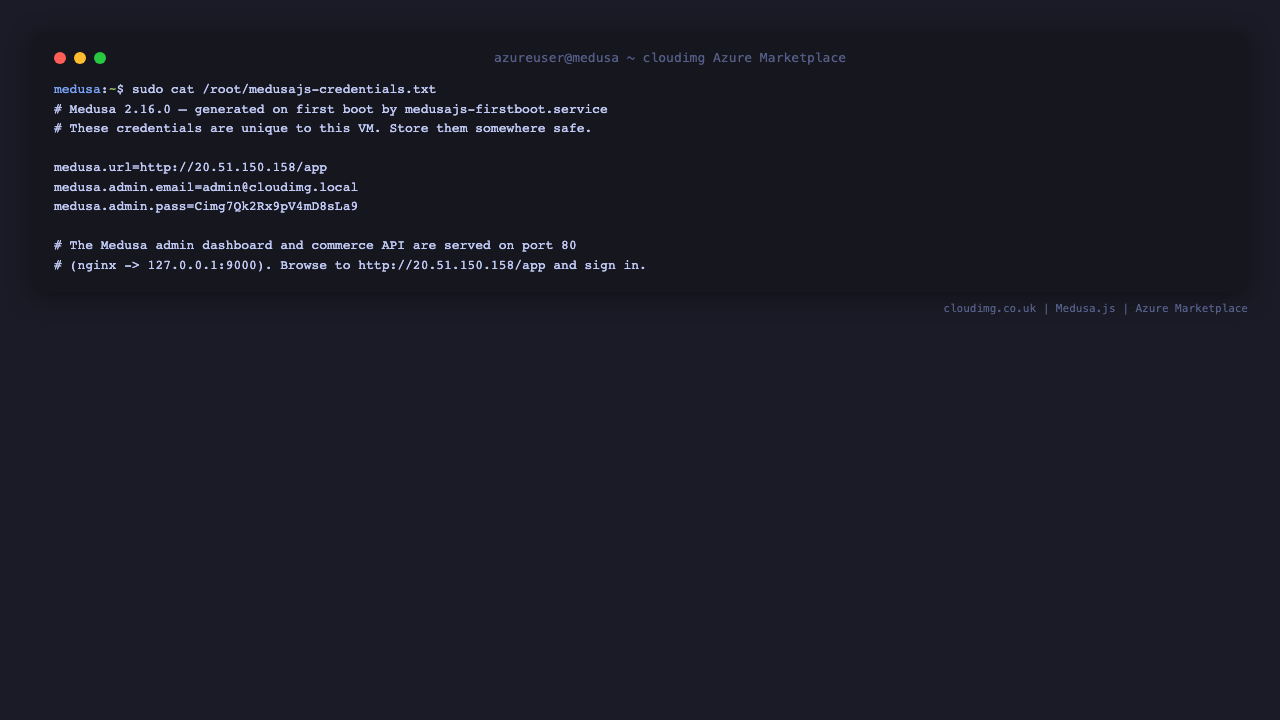
Step 5 - Retrieve your admin credentials
The admin password is generated uniquely on the first boot of your VM and written to a root-only file:
sudo cat /root/medusajs-credentials.txt
This file contains medusa.admin.email (admin@cloudimg.local) and medusa.admin.pass. Store the password somewhere safe.
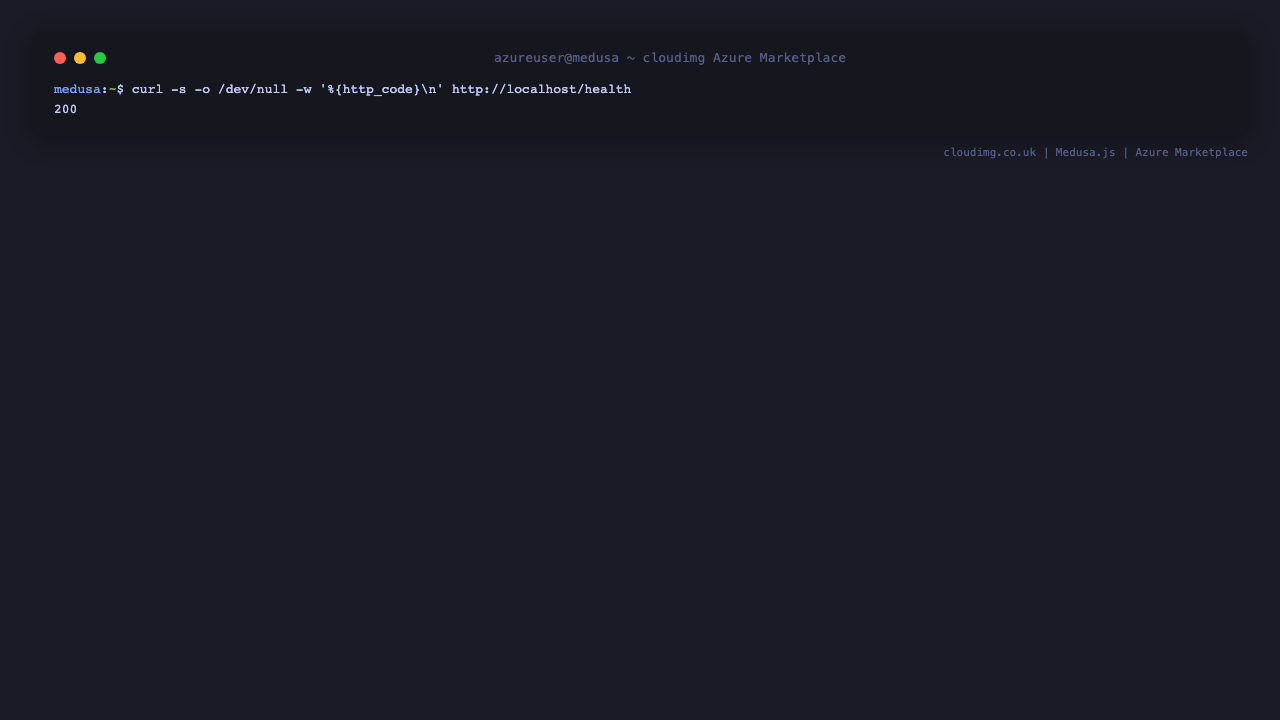
Step 6 - Check the health endpoint
Medusa exposes a liveness endpoint that returns 200 when the backend is ready:
curl -s -o /dev/null -w '%{http_code}\n' http://localhost/health
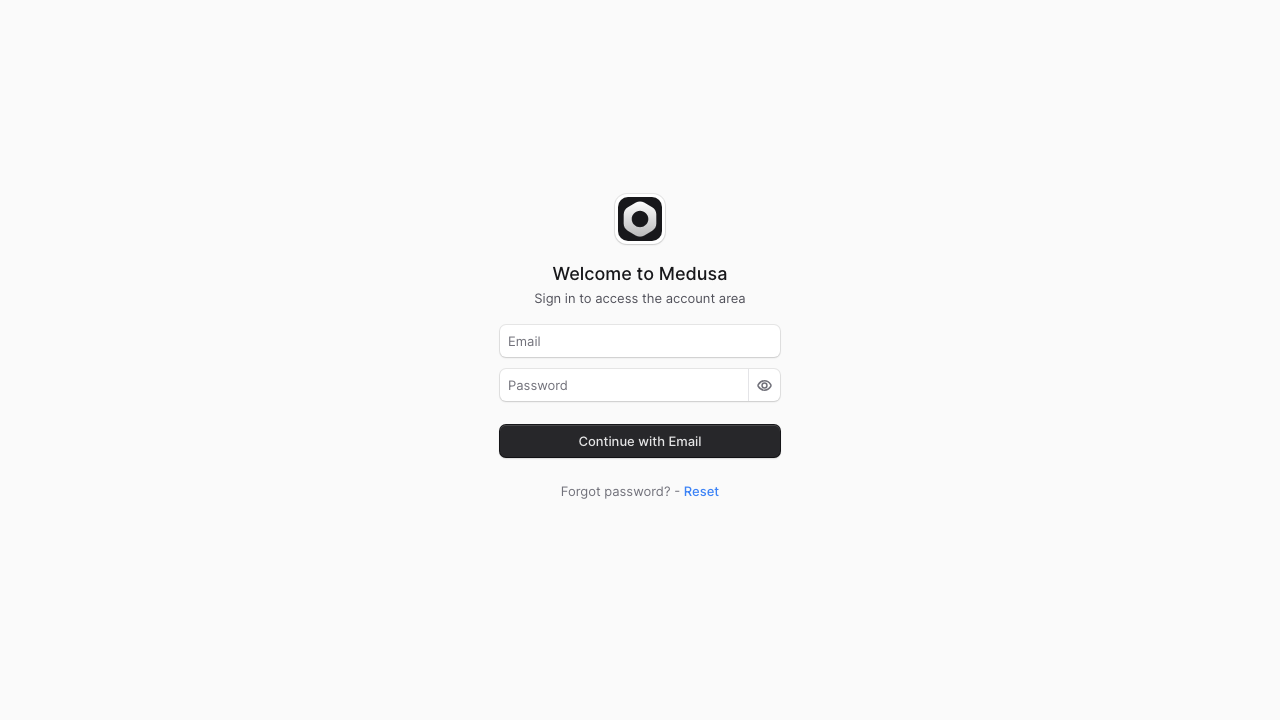
Step 7 - Open the admin dashboard
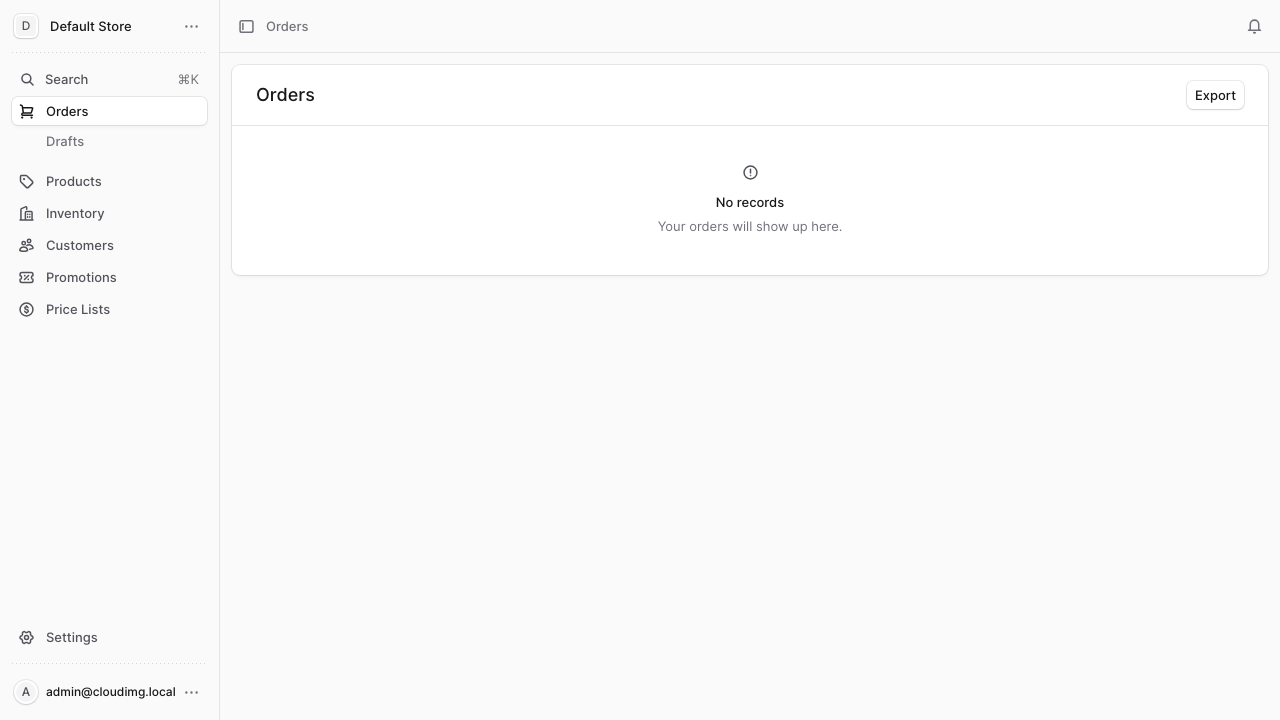
Browse to http://<vm-public-ip>/app and sign in with admin@cloudimg.local and the password from Step 5.
The dashboard opens on the orders overview, your starting point for running the store:
Manage your catalogue from Products - create products, variants, prices and inventory, all served through the commerce API:

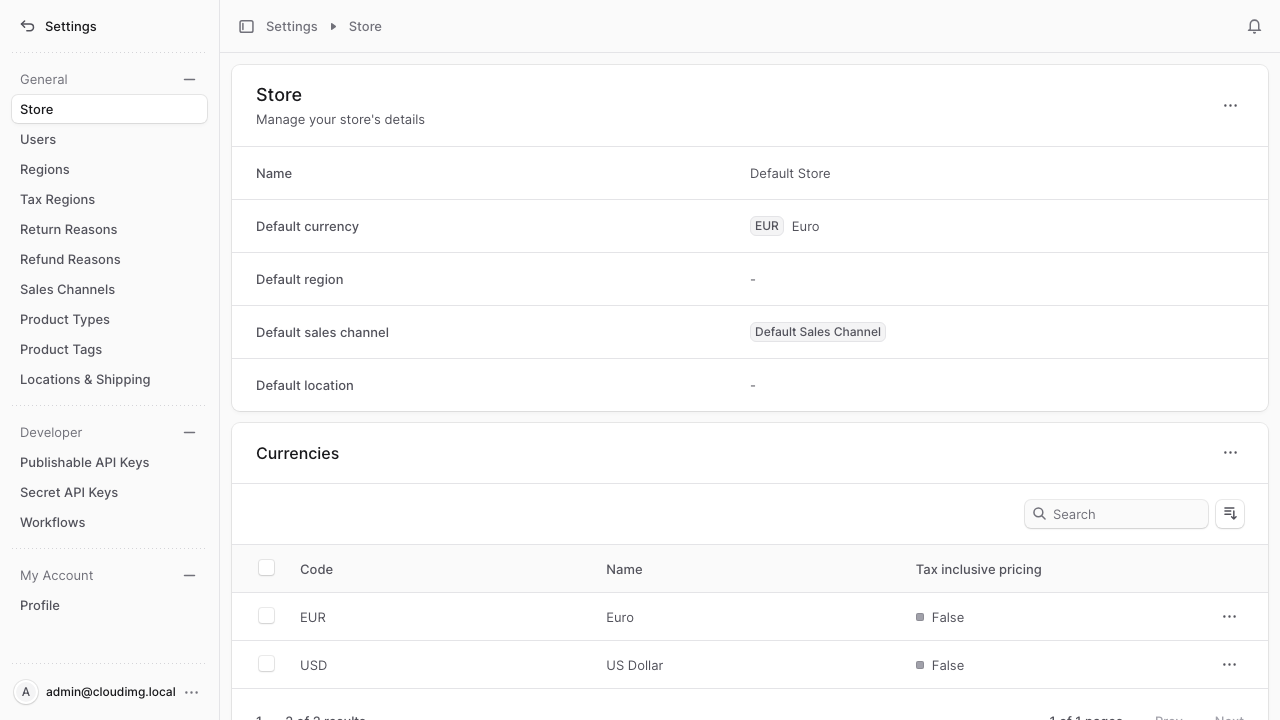
Configure regions, currencies, sales channels, API keys and users under Settings:
Step 8 - Authenticate against the admin API
Medusa issues an admin JWT from /auth/user/emailpass. Confirm the generated credentials work:
curl -s -H 'Content-Type: application/json' --data '{"email":"admin@cloudimg.local","password":"<MEDUSA_ADMIN_PASSWORD>"}' http://localhost/auth/user/emailpass | head -c 80; echo
A successful login returns a JSON object containing a "token". Use that bearer token to call the admin API.
Step 9 - Use the commerce API
Medusa serves the store and admin APIs on the same port 80. The store API is published under /store and the admin API under /admin. For example, to list products from the admin API with the token from Step 8:
TOKEN=$(curl -s -H 'Content-Type: application/json' \
  --data '{"email":"admin@cloudimg.local","password":"<password>"}' \
  http://<vm-public-ip>/auth/user/emailpass | sed -n 's/.*"token":"\([^"]*\)".*/\1/p')

curl -H "Authorization: Bearer ${TOKEN}" http://<vm-public-ip>/admin/products
Create a publishable API key under Settings -> Publishable API Keys in the dashboard to access the storefront /store endpoints.
Step 10 - Confirm data lives on the dedicated disk
The PostgreSQL database and uploaded media are stored on the dedicated Azure data disk so they survive OS changes and can be resized independently:
findmnt /var/lib/medusa
The mount is backed by a separate Azure data disk captured into the image and re-provisioned on every VM.
Enabling HTTPS
The nginx reverse proxy terminates plain HTTP on port 80. For public exposure, put a certificate in front of it - add a DNS name for the VM and install certbot, or use the companion cloudimg nginx-ssl-certbot image as a TLS reverse proxy. Keep Medusa bound to loopback (127.0.0.1:9000) so the only public surface is the TLS-terminated proxy. Set MEDUSA_BACKEND_URL and the CORS values in /opt/medusa/medusa-app/.env to your HTTPS address and restart Medusa.
Maintenance
- Backups: snapshot the
/var/lib/medusadata disk, or usepg_dump medusa_store, to back up the database and media. - Database: PostgreSQL 16 runs locally with its data directory on the data disk; Redis 7 backs the event bus, cache and workflow engine.
- Service:
sudo systemctl restart medusaafter configuration changes; logs viajournalctl -u medusa. - Security patches: unattended-upgrades remains enabled so the OS continues to receive security updates automatically.
Support
cloudimg provides 24/7 expert support for this image. Contact support@cloudimg.co.uk.