MeshCentral on AWS User Guide
Overview
This image runs MeshCentral, the self-hosted remote device management and remote-desktop console. You install a small agent on your Windows, macOS and Linux devices and they appear in a central web console where you can take remote-desktop control, open a terminal, transfer files, view hardware and power state, and run management tasks, all from your own server and over your own network. It is an open-source, self-hosted alternative to hosted remote-support and RMM tools.
MeshCentral is installed natively with Node.js and runs under a dedicated meshcentral service account. It listens on port 4430 and is reached only through nginx, which terminates HTTPS on port 443 and reverse-proxies to it with the WebSocket upgrade the console control channel and agent tunnels require. Port 80 answers an unauthenticated health endpoint and redirects everything else to HTTPS. MeshCentral's configuration, its embedded database of users, device groups and nodes, and its generated certificates live on a dedicated EBS data volume mounted at /var/lib/meshcentral, independently resizable and separate from the operating system disk.
On the first boot of every deployed instance, a one-shot service generates a fresh administrator account with a password unique to that instance, grants it site-administrator rights, generates fresh server and agent certificates, and records the credentials in /root/meshcentral-credentials.txt with mode 0600. No shared or default credentials and no reused certificates ship in the image, and open self-signup is disabled so only accounts an administrator creates can sign in.
Prerequisites
Before you deploy this image you need:
- An Amazon Web Services account where you can launch EC2 instances
- IAM permissions to launch instances, create security groups, and subscribe to AWS Marketplace products
- An EC2 key pair in the target Region for SSH access to the instance
- A VPC and subnet in the target Region, with a security group allowing inbound port 22 from your management network and inbound ports 80 and 443 from the networks your operators and managed devices will reach MeshCentral on
- The AWS CLI (version 2) installed locally if you plan to deploy from the command line
Step 1: Launch the Instance from the AWS Marketplace
Sign in to the AWS Management Console, open the EC2 service, and select Launch instance. Under Application and OS Images choose AWS Marketplace AMIs and search for MeshCentral. Select the cloudimg listing and choose Select, then Continue on the subscription summary.
Pick an instance type of t3.small or larger. Choose your EC2 key pair under Key pair (login). Under Network settings select your VPC and subnet, and either create or select a security group that allows inbound port 22 from your management network and inbound ports 80 and 443 from the networks your operators and devices use. Leave the root volume at the default size or larger; the image adds a separate data volume for the MeshCentral database and certificates automatically.
Select Launch instance. First boot initialisation, which generates the certificates and the administrator account, takes about a minute after the instance state becomes Running and the status checks pass.
Step 2: Launch the Instance from the AWS CLI
The following block launches an instance from the cloudimg MeshCentral Marketplace AMI into an existing subnet and security group. Replace <ami-id> with the AMI ID shown on the Marketplace listing, <key-name> with your EC2 key pair name, <subnet-id> with your subnet ID, and <security-group-id> with a security group that opens ports 22, 80, and 443 as described above.
aws ec2 run-instances \
  --image-id <ami-id> \
  --instance-type t3.small \
  --key-name <key-name> \
  --subnet-id <subnet-id> \
  --security-group-ids <security-group-id> \
  --block-device-mappings '[{"DeviceName":"/dev/sda1","Ebs":{"VolumeSize":16,"VolumeType":"gp3"}}]' \
  --tag-specifications 'ResourceType=instance,Tags=[{Key=Name,Value=meshcentral-01}]'
The command prints a JSON document on success. Note the instance ID, then retrieve its public address once it is running with aws ec2 describe-instances --instance-ids <instance-id> --query "Reservations[].Instances[].PublicIpAddress" --output text.
Step 3: Connect and Retrieve the Administrator Credentials
Connect over SSH with the key pair you selected and the public IP address from step 2. The SSH login user depends on the operating system of the AMI variant you launched:
| AMI variant | SSH login user |
|---|---|
| MeshCentral 1.2 on Ubuntu 24.04 | ubuntu |
The first boot service runs before the SSH daemon becomes ready, so the credentials file is always in place when you log in for the first time.
ssh <login-user>@<public-ip>
sudo cat /root/meshcentral-credentials.txt
You will see a plain text file containing the MeshCentral URL, the administrator username, and the per-instance administrator password:
MESHCENTRAL_URL=https://<public-ip>/
MESHCENTRAL_USERNAME=admin
MESHCENTRAL_PASSWORD=<generated-password>
From the same SSH session you can confirm the deployment is healthy. The health endpoint is open and served by nginx on port 80:
curl -fsS http://127.0.0.1/healthz
ok
An ok response confirms nginx is fronting the application. A request to the site root over plain HTTP redirects to HTTPS:
curl -s -o /dev/null -w '%{http_code} %{redirect_url}\n' http://127.0.0.1/
301 https://127.0.0.1/
You can also confirm the services that make up the stack are running:
systemctl is-active meshcentral nginx meshcentral-firstboot
active
active
active
Step 4: First Sign-in
The image ships with a per-instance self-signed certificate so the console is encrypted from the very first boot. Open a web browser and navigate to https://<public-ip>/. Because the certificate is self-signed, your browser shows a certificate warning on the first visit; accept it to proceed. A plain http://<public-ip>/ request redirects to HTTPS automatically. MeshCentral presents its sign-in page and prompts for the administrator username and password.
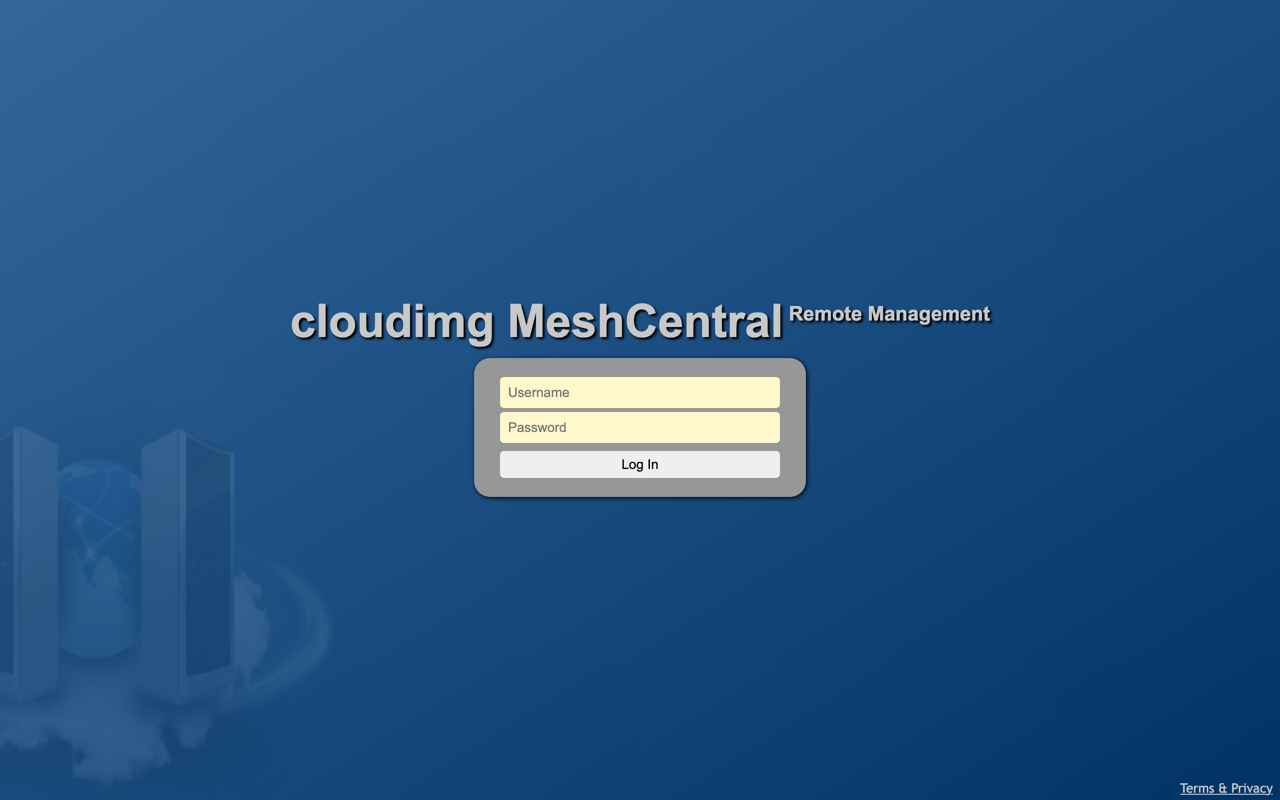
The MeshCentral sign-in page, served over HTTPS on first boot behind nginx. Sign in as the administrator with the per-instance credentials.
Enter the username admin and the password from /root/meshcentral-credentials.txt and select Log In. MeshCentral opens on the My Devices console. It is empty until you add a device group and install the agent on your first device.
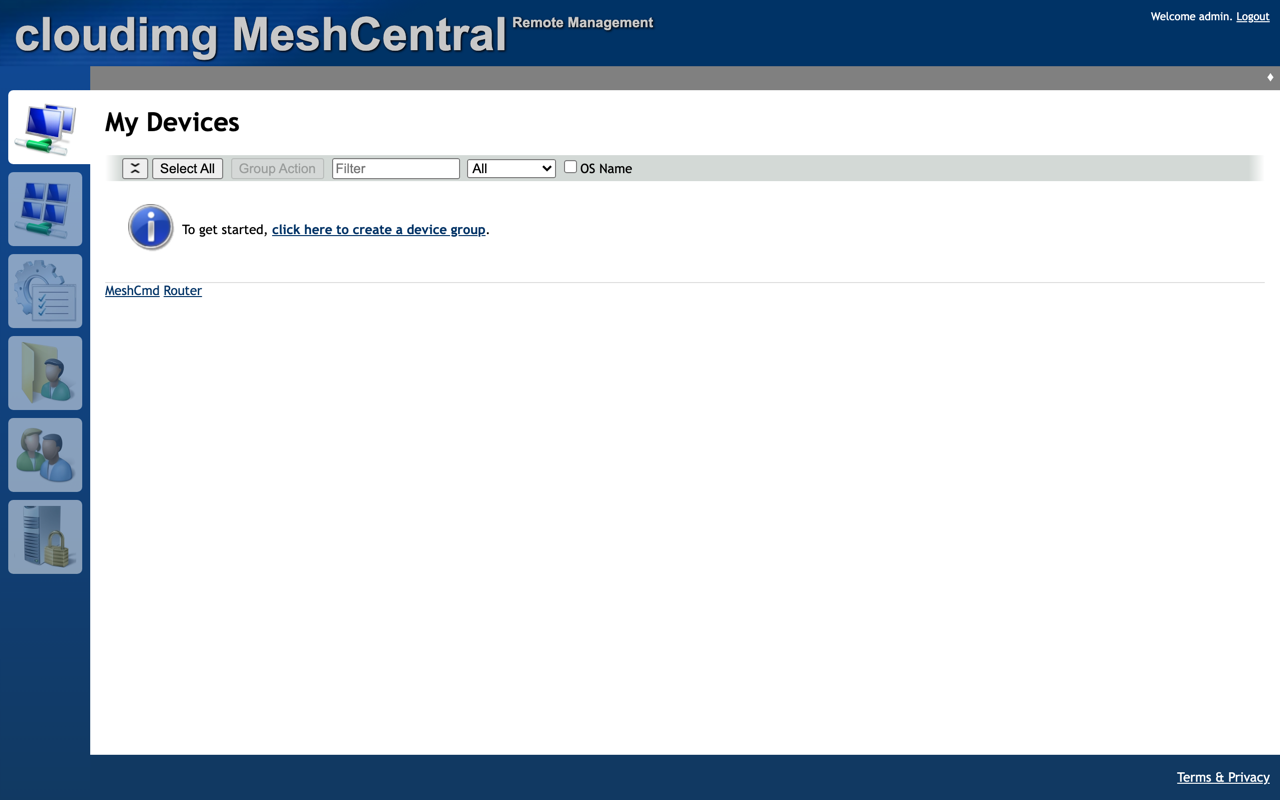
The My Devices console after first sign-in, with the left menu for Devices, Account, Events, Files, Users and Server. Managed devices appear here once the agent is installed.
Step 5: Create a Device Group
Devices in MeshCentral are organised into device groups. Select click here to create a device group on the My Devices console (or the + control), give the group a Name, leave the Type as Manage using a software agent, optionally add a Description, and select OK.
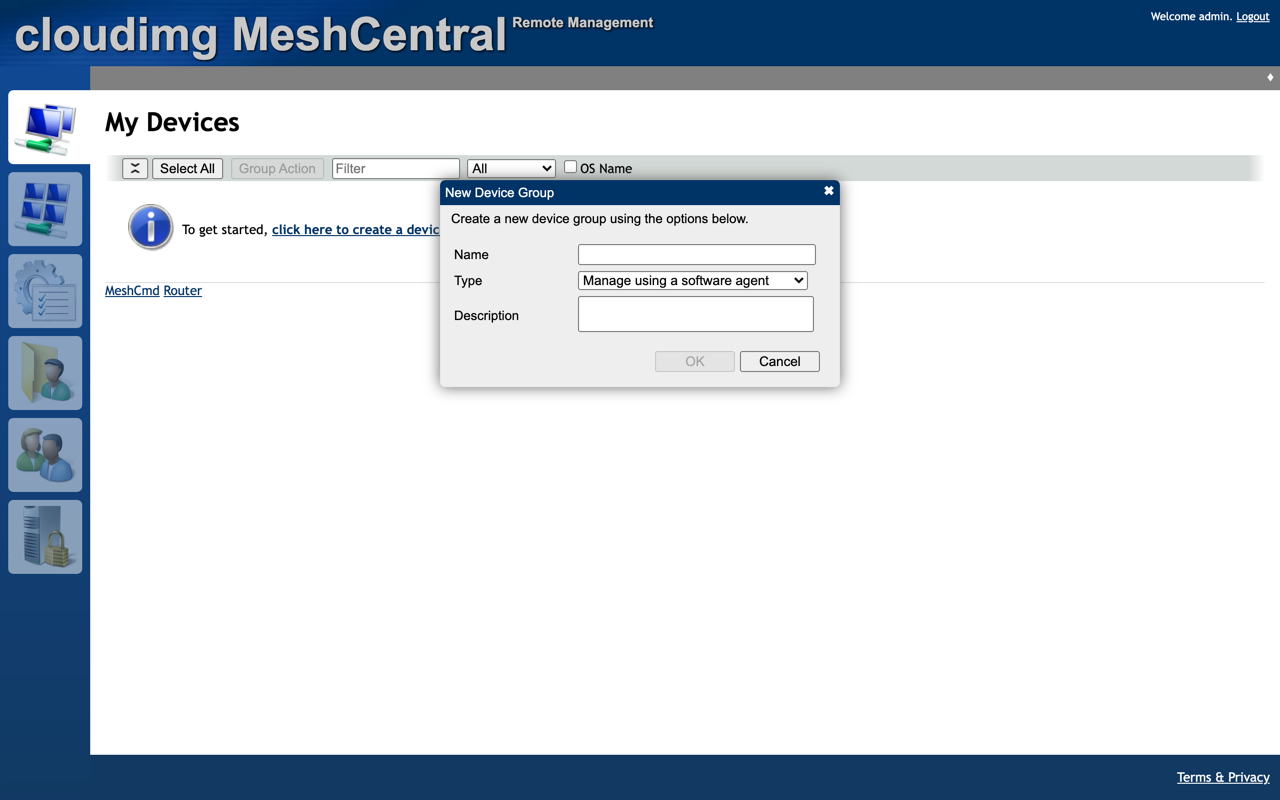
Creating a new device group using the software-agent management type, ready to install the MeshCentral agent on your devices.
The software-agent type is the right choice for managing ordinary Windows, macOS and Linux machines. The other type, Intel AMT, is for out-of-band management of hardware that has Intel AMT provisioned.
Step 6: Install the Agent on a Device
Open the device group you just created. MeshCentral shows an Add Agent panel with a per-group installer for each platform. On the device you want to manage, download and run the installer for its operating system, or copy the one-line install command MeshCentral provides:
- On Windows, download and run the MeshCentral agent executable and approve the installation.
- On Linux and macOS, paste the install command from the console, which downloads the agent and installs it as a background service.
Because the image uses a self-signed certificate by default, agents must be able to trust the server. For a small trial you can install with the provided command on a device that can reach the instance; for any real deployment, complete Step 7 first so the agent trusts a real certificate. Once the agent is installed and connected, the device appears in the group with its online, connection and power state, and you can take remote-desktop control, open a terminal, browse files, and run management tasks from the console.
Step 7: Server Administration
As a site administrator you have a My Server view, reached from the server icon at the bottom of the left menu. It shows server statistics such as CPU load and available memory, live server state such as the number of user accounts, device groups and agent sessions, and server actions including downloading a server backup, checking the server version and viewing the server configuration.
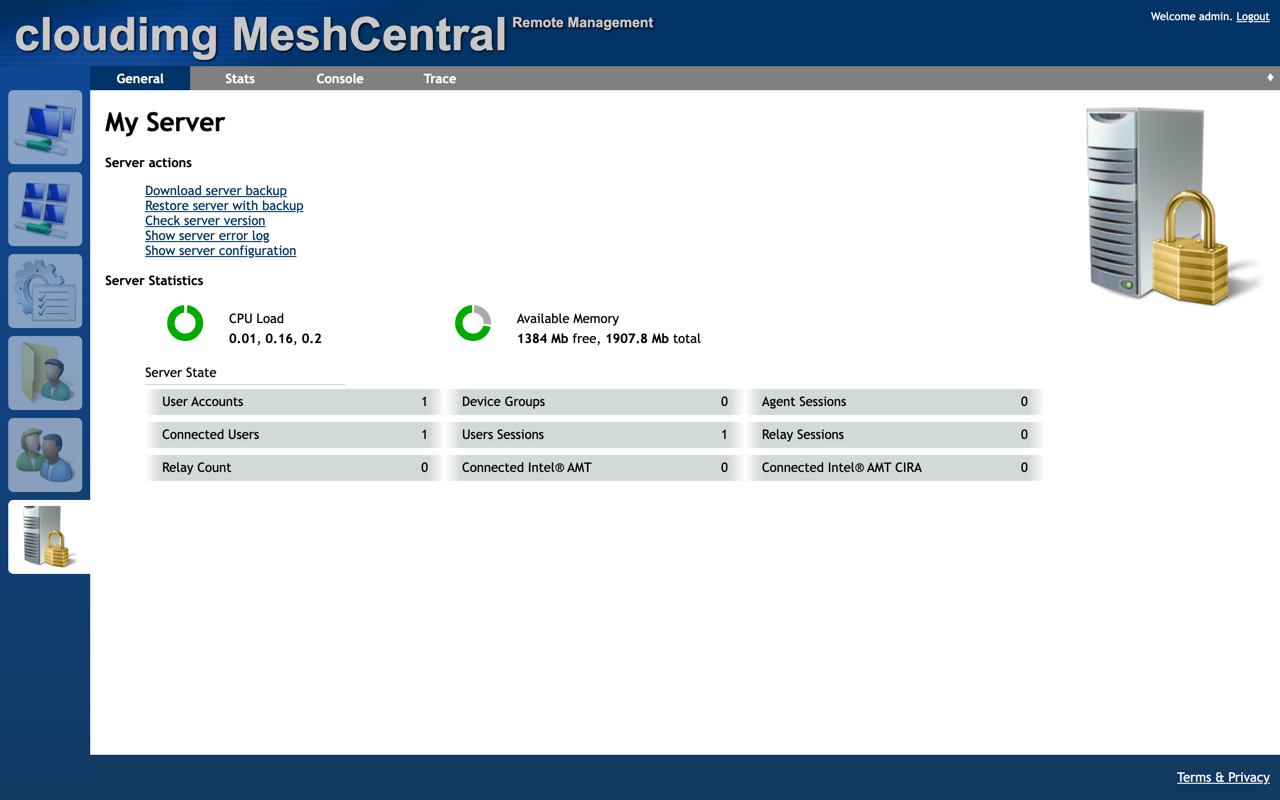
The My Server view, showing server statistics, live server state, and administrative actions including server backup and configuration.
To add more operators, open My Users, create each account, and grant it only the rights and device groups it needs. Open self-signup is disabled in this image, so only accounts you create here can sign in.
Step 8: Use a Real Domain with a Trusted Certificate
The image serves the console over HTTPS with a per-instance self-signed certificate, which is fine for a first look but triggers a browser warning and is not trusted by agents. For any production deployment, point a DNS name at the instance and install a trusted certificate. The stack already runs nginx as the HTTPS terminator, so certbot can obtain and install a Let's Encrypt certificate for it.
First create an A record for your domain, for example mesh.example.com, pointing at the instance's public IP address, and make sure the security group allows inbound port 80 and 443 from the public internet so the certificate can be issued and renewed. Then, on the instance:
sudo snap install --classic certbot
sudo ln -sf /snap/bin/certbot /usr/bin/certbot
sudo certbot --nginx -d mesh.example.com
certbot edits the nginx site to serve your domain with the trusted certificate and sets up automatic renewal. After the certificate is installed, tell MeshCentral its public name so the certificates it hands to agents and the links it generates use your domain. Edit /var/lib/meshcentral/config.json, set the cert value under settings to your domain name, and restart the service:
sudo sed -i 's/"aliasPort": 443,/"aliasPort": 443,\n    "cert": "mesh.example.com",/' /var/lib/meshcentral/config.json
sudo systemctl restart meshcentral
Reload the console at https://mesh.example.com/. The browser warning is gone, and agents installed from the console now trust the server automatically.
Step 9: Backups and Maintenance
All MeshCentral state, including the configuration, the embedded database of users, device groups and nodes, and the generated certificates, lives under /var/lib/meshcentral on the dedicated data volume. Back it up by taking an EBS snapshot of that volume, or by using the Download server backup action in the My Server view, which produces a single archive you can store off the instance.
sudo systemctl stop meshcentral
sudo tar czf /var/tmp/meshcentral-backup-$(date +%F).tgz -C /var/lib/meshcentral .
sudo systemctl start meshcentral
Keep the operating system patched with the standard Ubuntu tooling:
sudo apt-get update && sudo apt-get -y upgrade
The MeshCentral service is managed by systemd and restarts automatically on failure or reboot. Check its status and recent logs with:
systemctl status meshcentral --no-pager
journalctl -u meshcentral --no-pager | tail -n 50
Step 10: Scaling and Operations
A single t3.small comfortably manages a small fleet of devices. As the number of connected agents grows, move to a larger instance type for more CPU and memory, and resize the /var/lib/meshcentral data volume as the event history and file storage grow. Because all state is on the dedicated volume, you can also stop the instance, detach the volume, and reattach it to a larger instance to scale up.
For higher availability, run behind an Application Load Balancer with health checks pointed at /healthz, terminate TLS on the load balancer or on nginx with your own certificate, and take regular EBS snapshots of the data volume. MeshCentral also supports an external MongoDB database for larger multi-server deployments; consult the MeshCentral documentation and cloudimg support if you need that topology.
Support
This image is maintained by cloudimg. If you need help with deployment, domain and HTTPS configuration, agent rollout, device-group and access-control design, storage or upgrade planning, contact cloudimg support by email and chat, available 24/7. Include the AMI ID, the instance ID and the Region so we can help you quickly.