
Portainer CE on AWS User Guide
Overview
This image runs Portainer CE, the lightweight management UI that lets you deploy and operate Docker entirely from your web browser. You get a clear view of every container, image, volume, network and stack on the host, with the controls to create, start, stop, inspect, exec into and remove them, without memorising Docker CLI commands.
Portainer runs as a container that manages the host's own Docker engine through the Docker socket at /var/run/docker.sock. It binds to 127.0.0.1:9000 on the loopback interface and is fronted by nginx as a reverse proxy on port 80 (and 443 once you add TLS), with the WebSocket upgrade the container console and log streaming require already configured. Portainer's database of users, environments, stacks and settings lives on a dedicated EBS data volume mounted at /var/lib/portainer, independently resizable and separate from the operating system disk.
On the first boot of every deployed instance, a one-shot service creates the Portainer admin account with a per-instance password, connects the local Docker environment, and records the password in /root/portainer-credentials.txt with mode 0600. No shared or default credentials ship in the image.
Prerequisites
Before you deploy this image you need:
- An Amazon Web Services account where you can launch EC2 instances
- IAM permissions to launch instances, create security groups, and subscribe to AWS Marketplace products
- An EC2 key pair in the target Region for SSH access to the instance
- A VPC and subnet in the target Region, with a security group allowing inbound port 22 from your management network and inbound ports 80 and 443 from the networks your operators will reach Portainer on
- The AWS CLI (version 2) installed locally if you plan to deploy from the command line
Step 1: Launch the Instance from the AWS Marketplace
Sign in to the AWS Management Console, open the EC2 service, and select Launch instance. Under Application and OS Images choose AWS Marketplace AMIs and search for Portainer. Select the cloudimg listing and choose Select, then Continue on the subscription summary.
Pick an instance type of t3.medium or larger. Choose your EC2 key pair under Key pair (login). Under Network settings select your VPC and subnet, and either create or select a security group that allows inbound port 22 from your management network and inbound ports 80 and 443 from the networks your users use. Leave the root volume at the default size or larger; the image adds a separate data volume for the Portainer database automatically.
Select Launch instance. First boot initialisation takes under a minute after the instance state becomes Running and the status checks pass.
Step 2: Launch the Instance from the AWS CLI
The following block launches an instance from the cloudimg Portainer CE Marketplace AMI into an existing subnet and security group. Replace <ami-id> with the AMI ID shown on the Marketplace listing, <key-name> with your EC2 key pair name, <subnet-id> with your subnet ID, and <security-group-id> with a security group that opens ports 22, 80, and 443 as described above.
aws ec2 run-instances \
  --image-id <ami-id> \
  --instance-type t3.medium \
  --key-name <key-name> \
  --subnet-id <subnet-id> \
  --security-group-ids <security-group-id> \
  --block-device-mappings '[{"DeviceName":"/dev/sda1","Ebs":{"VolumeSize":30,"VolumeType":"gp3"}}]' \
  --tag-specifications 'ResourceType=instance,Tags=[{Key=Name,Value=portainer-01}]'
The command prints a JSON document on success. Note the instance ID, then retrieve its public address once it is running with aws ec2 describe-instances --instance-ids <instance-id> --query "Reservations[].Instances[].PublicIpAddress" --output text.
Step 3: Connect and Retrieve the Admin Password
Connect over SSH with the key pair you selected and the public IP address from step 2. The SSH login user depends on the operating system of the AMI variant you launched:
| AMI variant | SSH login user |
|---|---|
| Portainer CE 2.39 on Ubuntu 24.04 | ubuntu |
The first boot service runs before the SSH daemon becomes ready, so the credentials file is always in place when you log in for the first time.
ssh <login-user>@<public-ip>
sudo cat /root/portainer-credentials.txt
You will see a plain text file containing the Portainer URL, the admin username and the per-instance admin password. From the same SSH session you can confirm the deployment is healthy; the health endpoint is open and served by nginx:
curl -fsS http://127.0.0.1/healthz
ok
An ok response confirms nginx is fronting the application. You can also confirm the services that make up the stack are running, and that the Portainer container is up:
systemctl is-active docker nginx portainer-firstboot
sudo docker ps --format 'table {{.Names}}\t{{.Image}}\t{{.Status}}'
active
active
active
NAMES       IMAGE                           STATUS
portainer   portainer/portainer-ce:2.39.4   Up 12 minutes
Step 4: First Sign-in
Open a web browser and navigate to http://<public-ip>/. Portainer presents its sign-in page and prompts for the username and password.
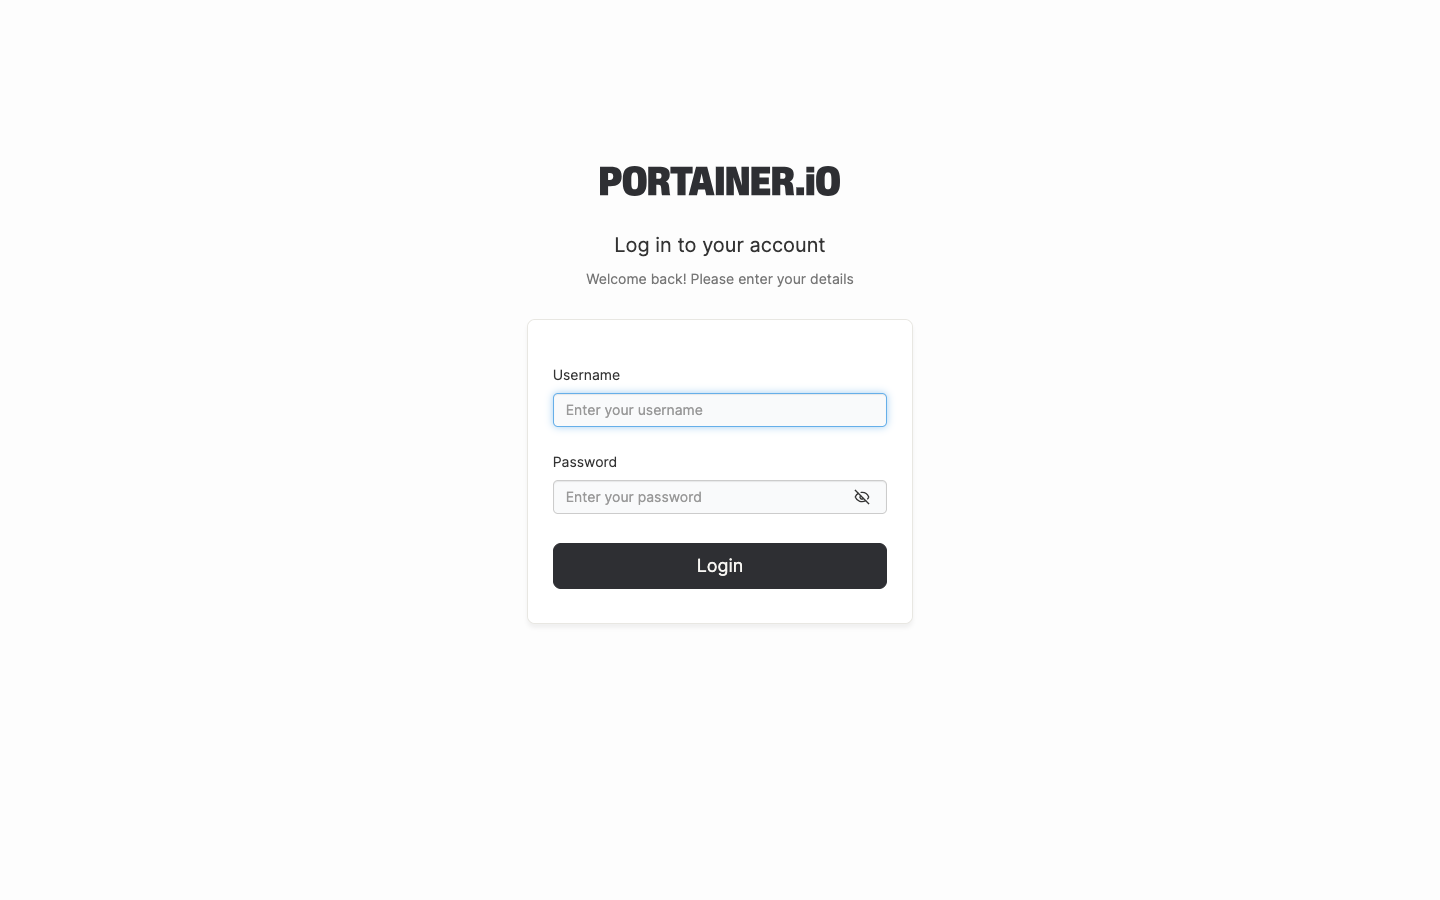
The Portainer CE sign-in page, served on first boot behind nginx. Sign in as admin with the per-instance password.
Enter admin and the password from /root/portainer-credentials.txt and select Login. Portainer opens on the Home page, which lists the environments it manages. The local Docker environment is already connected and shown as Up.
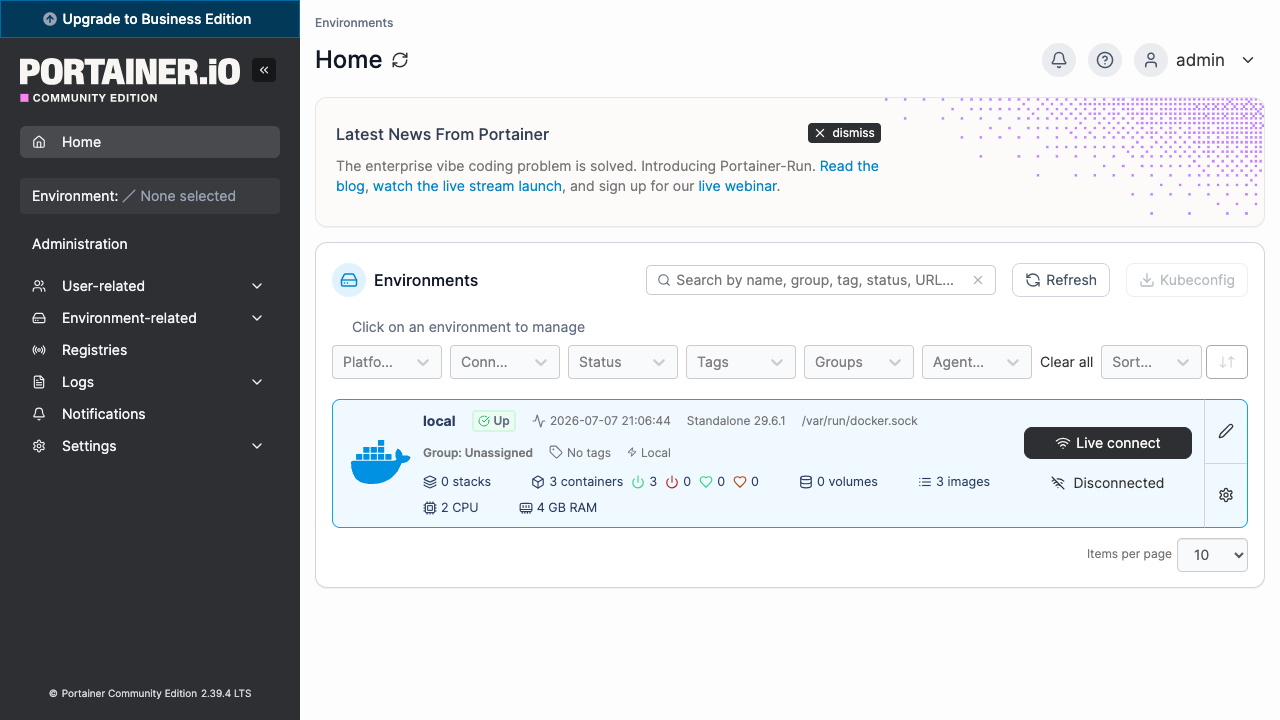
The Home page listing the connected local Docker environment, showing running containers, images and resource summary.
Step 5: Explore the Environment Dashboard
Select the local environment to open its dashboard. The dashboard summarises the connected Docker engine: the number of stacks, containers, images, volumes and networks, with quick links into each.
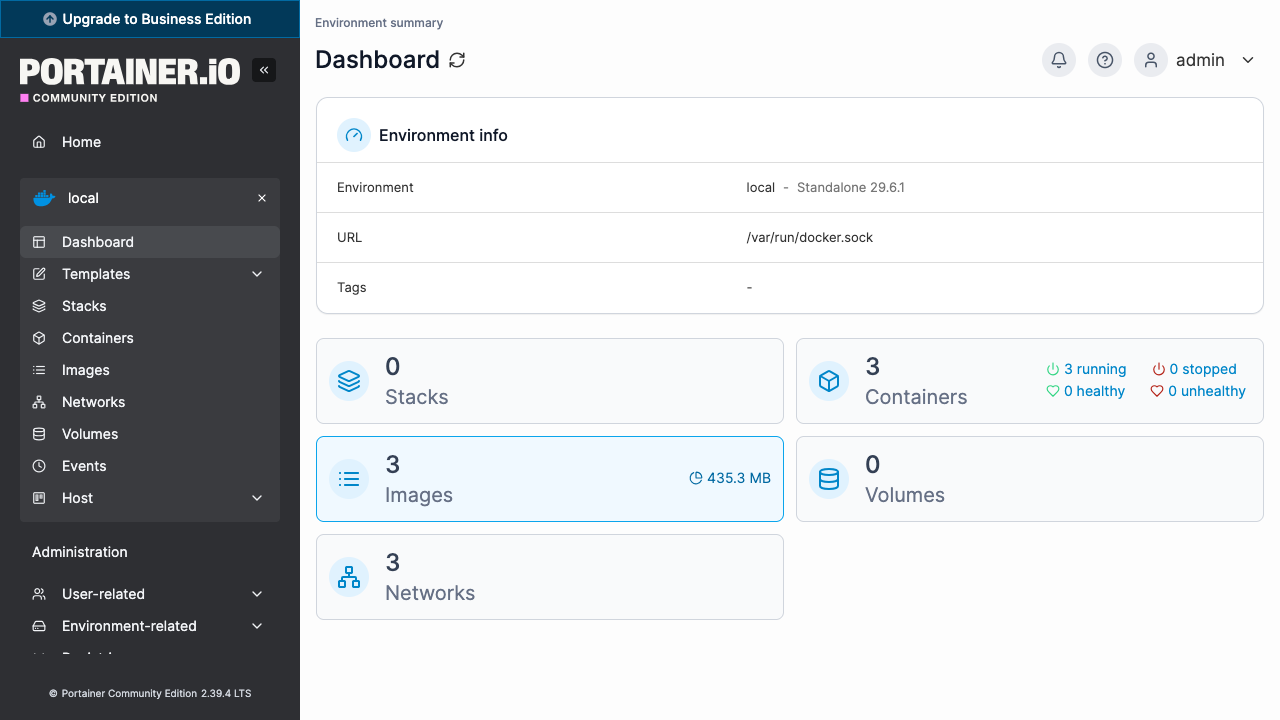
The environment dashboard for the connected local Docker engine, summarising stacks, containers, images, volumes and networks.
Step 6: Manage Containers
Select Containers in the sidebar to see every container on the host with its state, image and published ports. From here you can start, stop, restart, pause, kill, remove and duplicate containers, open an in-browser console into a running container, or stream its live logs.
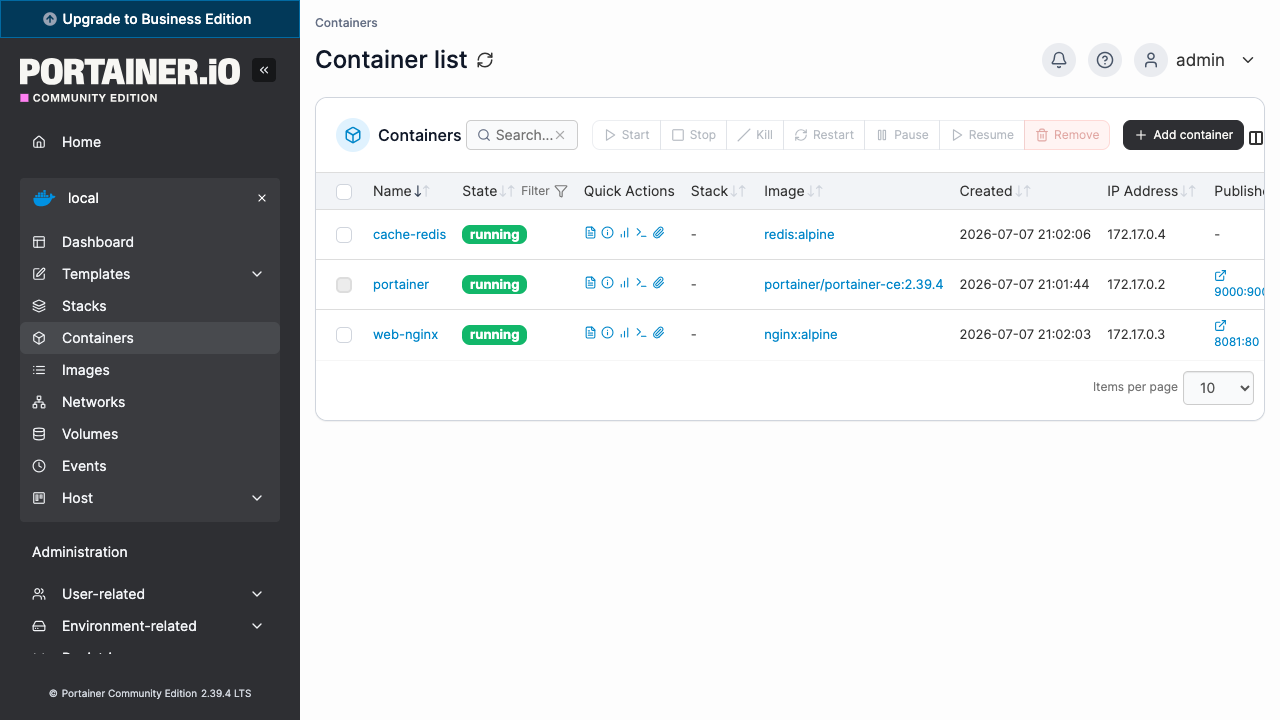
The container list, showing each container with its state, image and published ports, and the quick-action controls for logs, inspect, stats and console.
Step 7: Deploy a Container
Select Containers, then + Add container. Give the container a Name, enter an Image (for example nginx:latest), map any ports you need under Network ports configuration, and set a restart policy under the advanced settings. Select Deploy the container and Portainer pulls the image and starts it on the local engine.
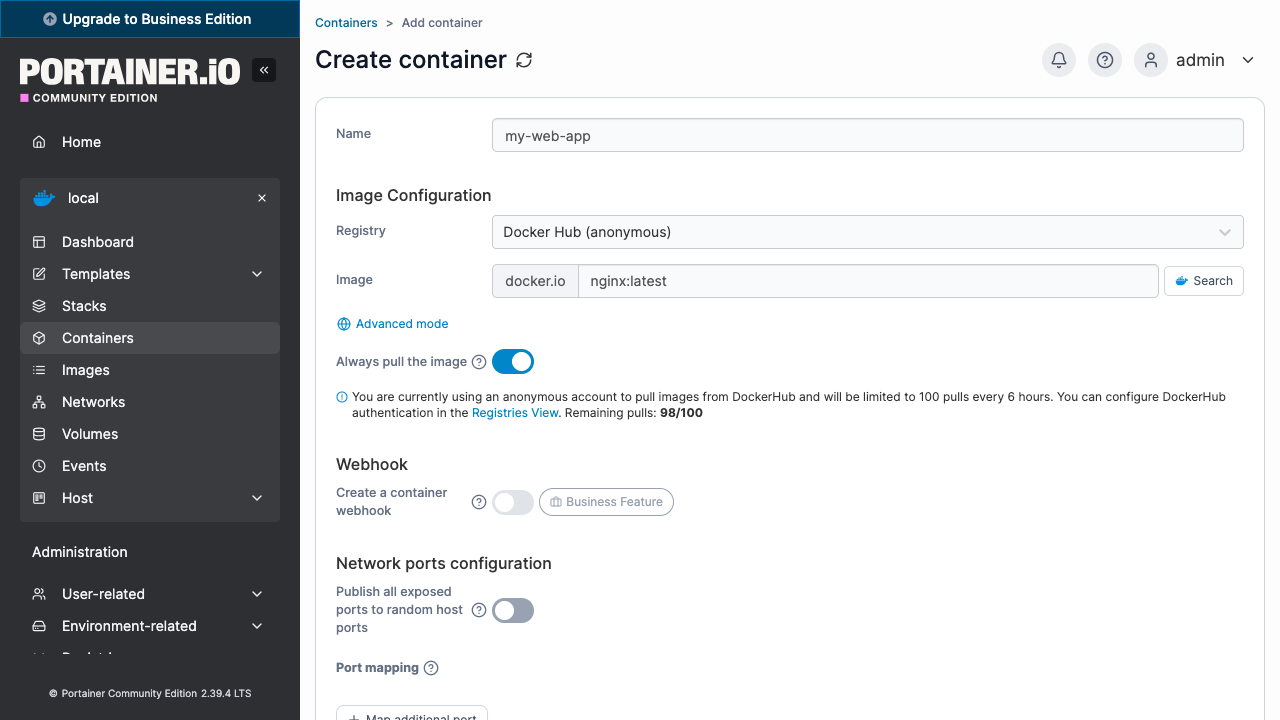
The Create container view, deploying a new container from an image with a name, registry and port mappings, straight from the browser.
For multi-container applications, use Stacks → + Add stack and paste a Docker Compose file or edit one in the web editor; Portainer deploys the whole stack in one action.
Step 8: Enable HTTPS with Let's Encrypt
For any production deployment serve Portainer over HTTPS so your session and the WebSocket the console and log streams use cannot be intercepted. The image ships with nginx, which certbot can configure automatically.
The following assumes you have a DNS record pointing your fully qualified domain name at the instance's public IP address.
sudo apt-get update && sudo apt-get install -y certbot python3-certbot-nginx
sudo certbot --nginx -d portainer.your-domain.example \
  --non-interactive --agree-tos -m you@your-domain.example \
  --redirect
certbot obtains a certificate and rewrites the nginx server block to serve HTTPS and redirect HTTP; the WebSocket upgrade headers already in the site are preserved. Renewal is handled automatically by the certbot systemd timer.
Step 9: Backups and Maintenance
Portainer keeps its database of users, environments, stacks and settings under /var/lib/portainer on the dedicated data volume. Because that is a separate EBS volume you can take a coordinated EBS snapshot of it for point-in-time backups, or archive the tree to object storage:
sudo docker stop portainer
sudo tar czf <backup-dir>/portainer-$(date +%F).tgz -C /var/lib portainer
sudo docker start portainer
Ship the archive to an Amazon S3 bucket or another object store. To reset the admin password, use Settings → Users inside Portainer while signed in, or, if you are locked out, follow Portainer's documented password-reset container procedure. The reverse proxy and engine run under systemd and the Portainer container runs with a restart policy of always; check their state at any time:
systemctl is-active docker nginx
sudo docker ps --filter name=portainer
Step 10: Scaling and Operations
- Connect additional Docker or Kubernetes environments from Environment-related in the sidebar to manage more than one host from a single Portainer
- Put the web tier behind an Application Load Balancer and terminate TLS there; forward the WebSocket upgrade so consoles and log streams connect
- Grow the Portainer database volume by extending the EBS data volume and running
sudo resize2fson/var/lib/portainer - Add teams and users with scoped, role-based access control so operators only see the resources they own
- Pin the Portainer version for a fleet by controlling which AMI version you launch
The official Portainer documentation is available at https://docs.portainer.io.
Support
cloudimg provides 24/7/365 expert technical support for this image. Guaranteed response within 24 hours, one hour average for critical issues. Contact support@cloudimg.co.uk.
For general Portainer questions consult the documentation at https://docs.portainer.io. Portainer is a trademark of Portainer.io Limited; use here is nominative and does not imply affiliation or endorsement.