Supabase on Ubuntu 24.04 on Azure User Guide
Overview
Supabase is the open-source Firebase alternative. It pairs a full PostgreSQL database with auto-generated REST and GraphQL APIs, an authentication service, realtime subscriptions, S3-compatible file storage and a polished Studio dashboard - everything you need for a complete application backend. The cloudimg image installs the official Supabase docker-compose stack (postgres, kong API gateway, gotrue auth, postgrest, realtime, storage, imgproxy, postgres-meta, studio and supavisor), runs it under Docker behind an nginx reverse proxy on port 80, persists the database and storage on a dedicated Azure data disk, and generates a fresh set of per-VM secrets on the first boot of every VM. Backed by 24/7 cloudimg support.
What is included:
- The official Supabase self-hosted stack running under Docker (PostgreSQL 17, kong, gotrue, postgrest, realtime, storage, imgproxy, postgres-meta, Studio, supavisor)
- nginx on
:80as a reverse proxy to the kong API gateway, serving both the Studio dashboard and the auto-generated APIs - Per-VM secrets generated on first boot - a unique
POSTGRES_PASSWORD, a randomJWT_SECRET, the matchinganonandservice_roleAPI keys signed with it, and a Studio dashboard password - recorded in a root-only file - A dedicated Azure data disk at
/var/lib/supabasefor the PostgreSQL data and object storage docker.service+nginx.serviceas systemd units, enabled and active; the Supabase containers run with restart policies- 24/7 cloudimg support
Prerequisites
An active Azure subscription, an SSH key pair, and a VNet + subnet in the target region. Standard_B4ms (4 vCPU / 16 GiB RAM) is the recommended starting size - the full container stack needs the memory. NSG inbound: allow 22/tcp from your management network and 80/tcp. Supabase serves plain HTTP on port 80; for production, terminate TLS in front of it with your own domain.
Step 1 - Deploy from the Azure Marketplace
Sign in to the Azure Portal, choose Create a resource, search the Marketplace for Supabase by cloudimg, and select Create. On Basics pick your subscription, resource group, region and size; under Administrator account choose SSH public key and paste your key; under Inbound port rules allow SSH (22) and HTTP (80). Review the dedicated data disk on the Disks tab, then Review + create -> Create.
Step 2 - Deploy from the Azure CLI
az vm create \
  --resource-group <your-rg> \
  --name supabase \
  --image <marketplace-image-urn> \
  --size Standard_B4ms \
  --admin-username azureuser \
  --ssh-key-values ~/.ssh/id_ed25519.pub \
  --vnet-name <your-vnet> --subnet <your-subnet> \
  --public-ip-sku Standard

az vm open-port --resource-group <your-rg> --name supabase --port 80 --priority 1010
Step 3 - Connect to your VM
ssh azureuser@<vm-public-ip>
Step 4 - Confirm the stack is running
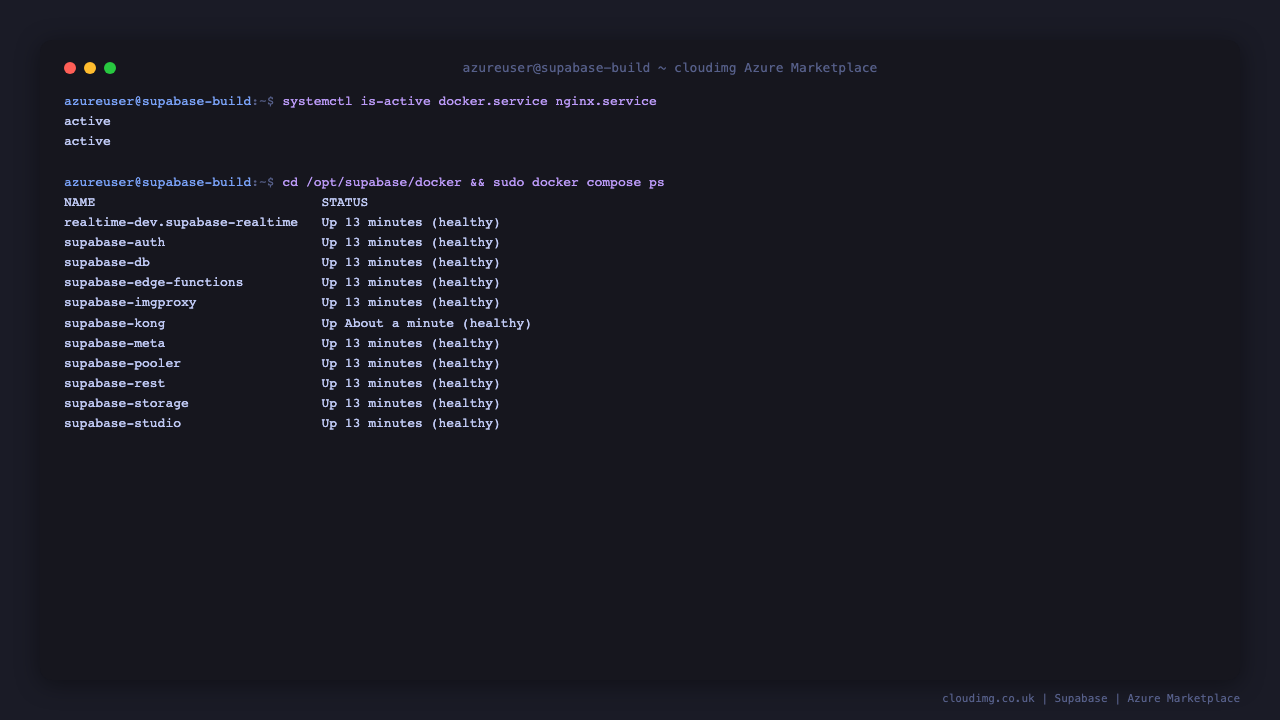
The Supabase containers run under Docker, fronted by nginx. On first boot the stack generates per-VM secrets and starts; give it a couple of minutes after the VM is created.
systemctl is-active docker.service nginx.service
Both report active. You can list the running containers with:
sudo docker compose -f /opt/supabase/docker/docker-compose.yml ps
Step 5 - Retrieve your per-VM secrets
The dashboard password and the API keys are generated uniquely on the first boot of your VM and written to a root-only file:
sudo cat /root/supabase-credentials.txt
This file contains supabase.dashboard.pass (the Studio dashboard password), SUPABASE_ANON_KEY, SUPABASE_SERVICE_ROLE_KEY, SUPABASE_POSTGRES_PASSWORD and SUPABASE_JWT_SECRET. The anon and service_role keys are JWTs signed with this VM's unique JWT_SECRET. Store these somewhere safe.
Step 6 - Confirm the health endpoint
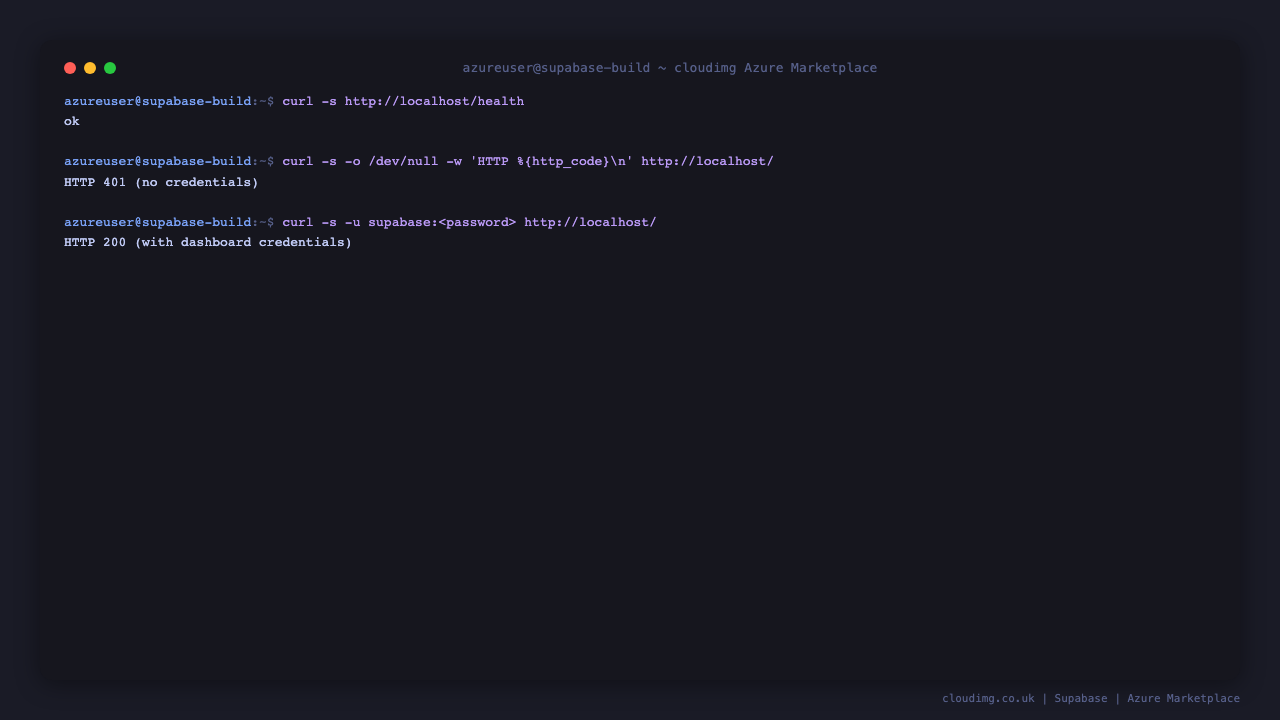
nginx exposes an unauthenticated static health endpoint for load balancers and probes, and the Studio dashboard is protected by basic-auth via the kong gateway:
curl -s http://localhost/health
It returns ok. The Studio dashboard returns 401 without credentials and 200 with them:
DASH_PASS=$(sudo grep '^supabase.dashboard.pass=' /root/supabase-credentials.txt | cut -d= -f2-)
curl -s -o /dev/null -w 'no creds -> HTTP %{http_code}\n' http://localhost/
curl -s -L -o /dev/null -w 'with creds -> HTTP %{http_code}\n' -u "supabase:$DASH_PASS" http://localhost/
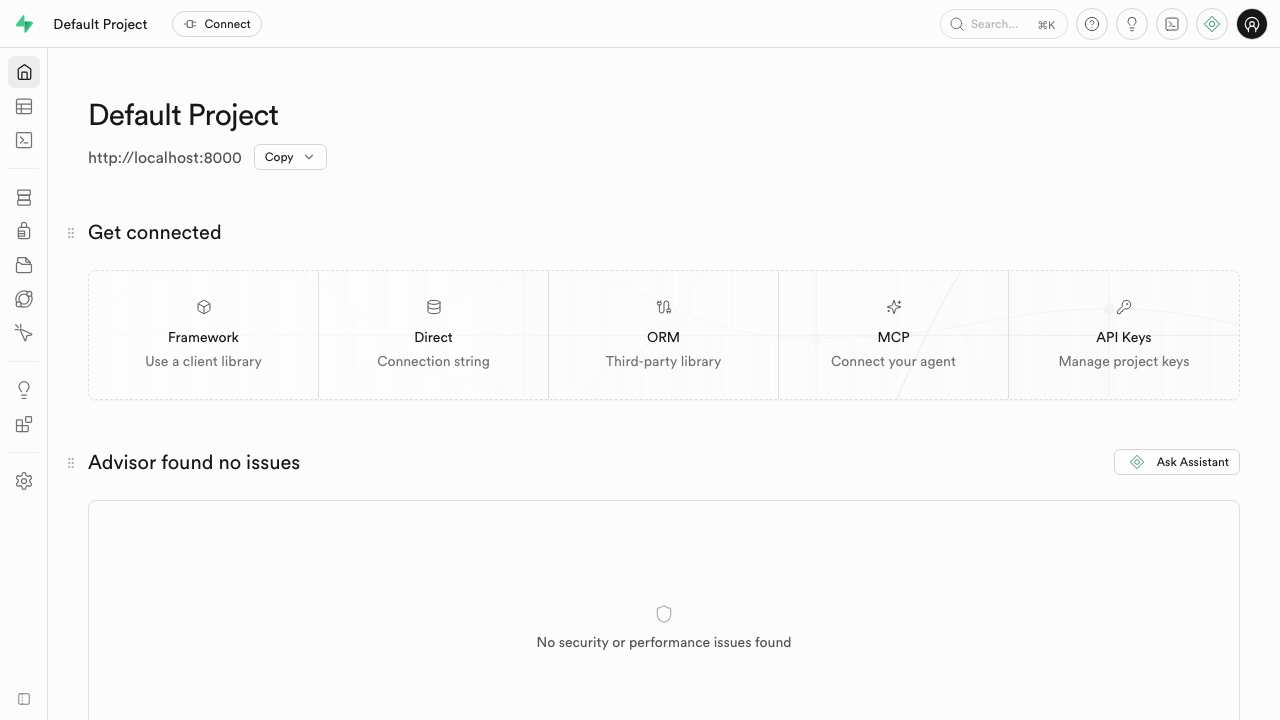
Step 7 - Open the Studio dashboard
Browse to http://<vm-public-ip>/ and sign in with username supabase and the password from Step 5 (<SUPABASE_DASHBOARD_PASSWORD>). The Studio dashboard is where you manage your database, tables, SQL, auth, storage and API settings.
The Table Editor lets you create and browse PostgreSQL tables and rows with a spreadsheet-like interface.

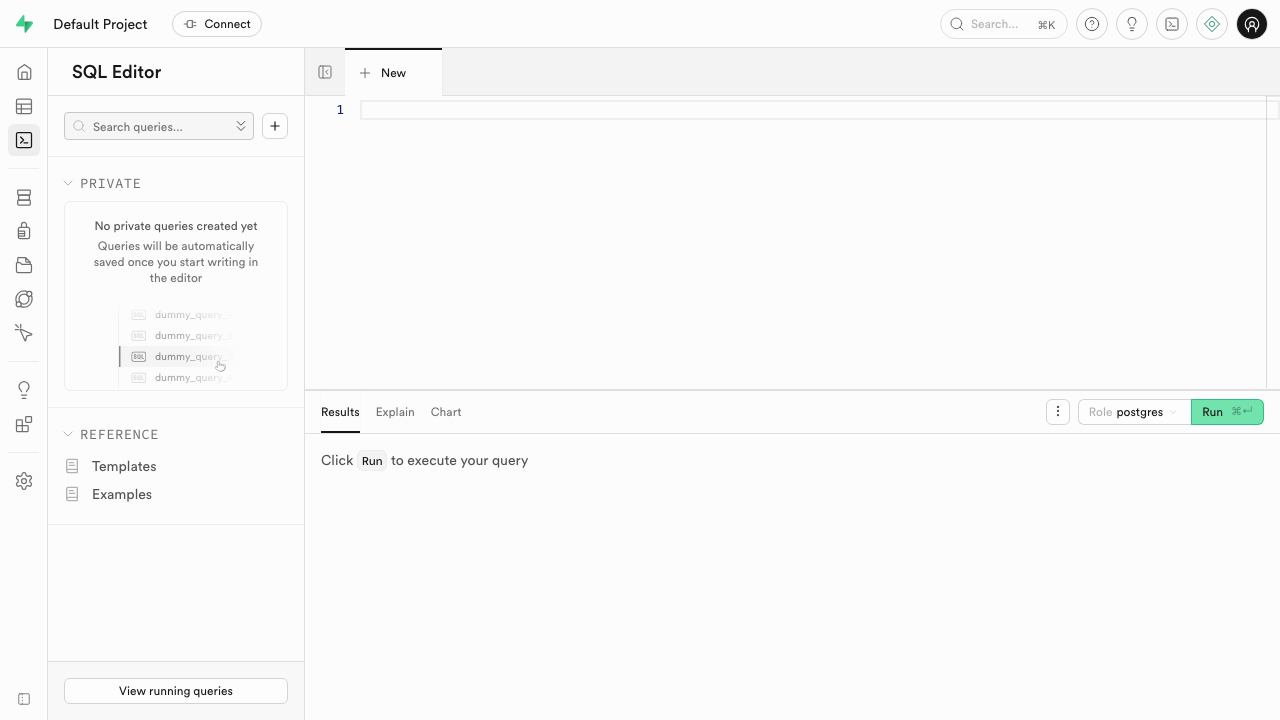
The SQL Editor runs arbitrary SQL against the database - schema changes, queries, functions and policies.
The API settings page shows your auto-generated REST endpoint and the per-VM anon and service_role API keys that your client apps use.

Step 8 - Call the REST API with your anon key
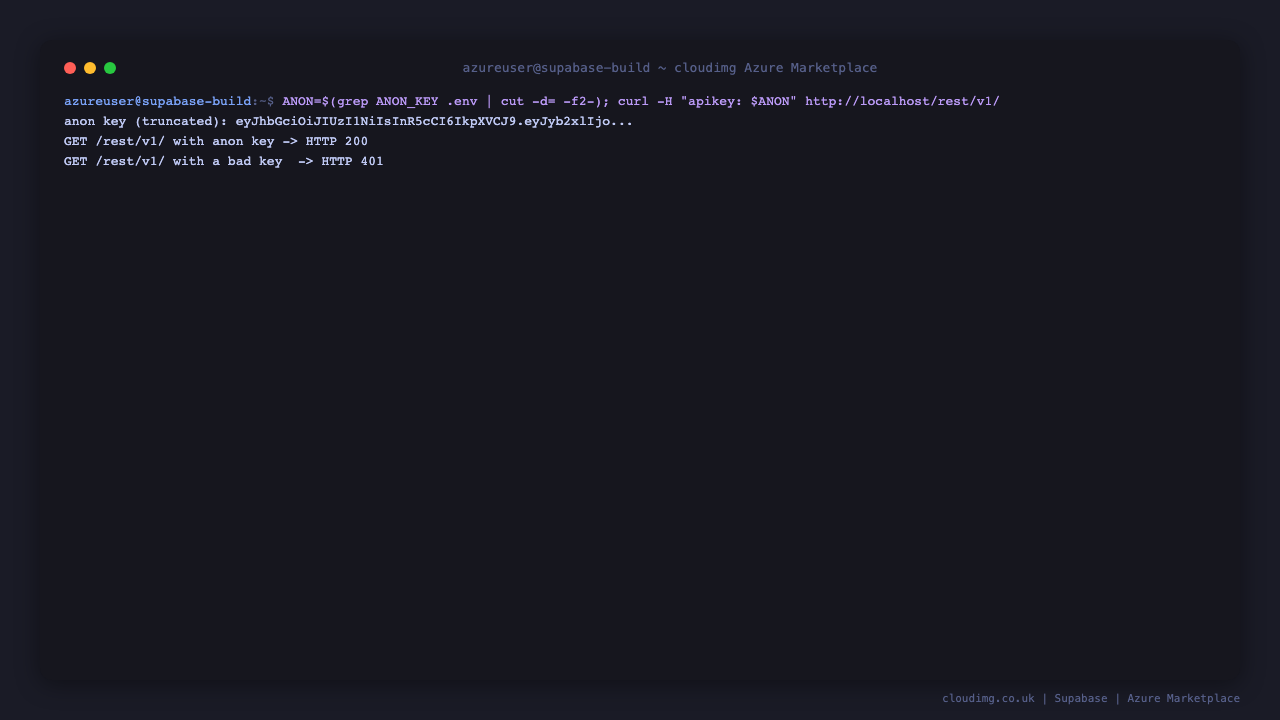
The auto-generated REST API (PostgREST, exposed through kong at /rest/v1/) requires your per-VM anon key. A request with a valid key is accepted; a request with no key is rejected:
ANON=$(sudo grep '^SUPABASE_ANON_KEY=' /root/supabase-credentials.txt | cut -d= -f2-)
curl -s -o /dev/null -w 'with anon key -> HTTP %{http_code}\n' -H "apikey: $ANON" -H "Authorization: Bearer $ANON" http://localhost/rest/v1/
curl -s -o /dev/null -w 'no key       -> HTTP %{http_code}\n' http://localhost/rest/v1/
The valid-key request returns a 2xx/404 (the API is reachable and authenticated); the no-key request returns 401. This proves the anon JWT verifies against this VM's unique JWT_SECRET.
Step 9 - Confirm data lives on the dedicated disk
The PostgreSQL database and object storage are kept on the dedicated Azure data disk so they survive OS changes and can be resized independently:
findmnt /var/lib/supabase
The mount is backed by a separate Azure data disk captured into the image and re-provisioned on every VM. The PostgreSQL data directory and the storage objects live under it.
Building your app
Supabase is designed to be your app's entire backend. Point the official supabase-js client (or any HTTP client) at http://<your-domain>/ with your anon key and use the database for data, the auth API for user sign-up and login, realtime subscriptions for live updates, and the storage API for files. Use the SQL Editor or the official CLI for migrations. See the Supabase documentation for client libraries, row-level-security policies and the self-hosting guide.
Maintenance
- Dashboard / API keys: all per-VM secrets are in
/root/supabase-credentials.txt; theanonandservice_rolekeys are also on the Studio API settings page. - Database: PostgreSQL data and storage objects live on the
/var/lib/supabasedata disk - snapshot or resize that disk for backups. - Containers: manage the stack with
sudo docker compose -f /opt/supabase/docker/docker-compose.yml <ps|logs|restart>. - TLS: Supabase serves plain HTTP on port 80; front it with TLS (e.g. certbot) and your own domain before production use.
- Security patches: unattended-upgrades remains enabled so the OS continues to receive security updates automatically.
Support
cloudimg provides 24/7 expert support for this image. Contact support@cloudimg.co.uk.