
GitLab CE Self-Hosted DevOps Platform
Overview
Launch a fully configured GitLab CE DevOps platform in minutes - no manual setup of PostgreSQL, Redis, or nginx required. Backed by 24/7 cloudimg support.
See it running
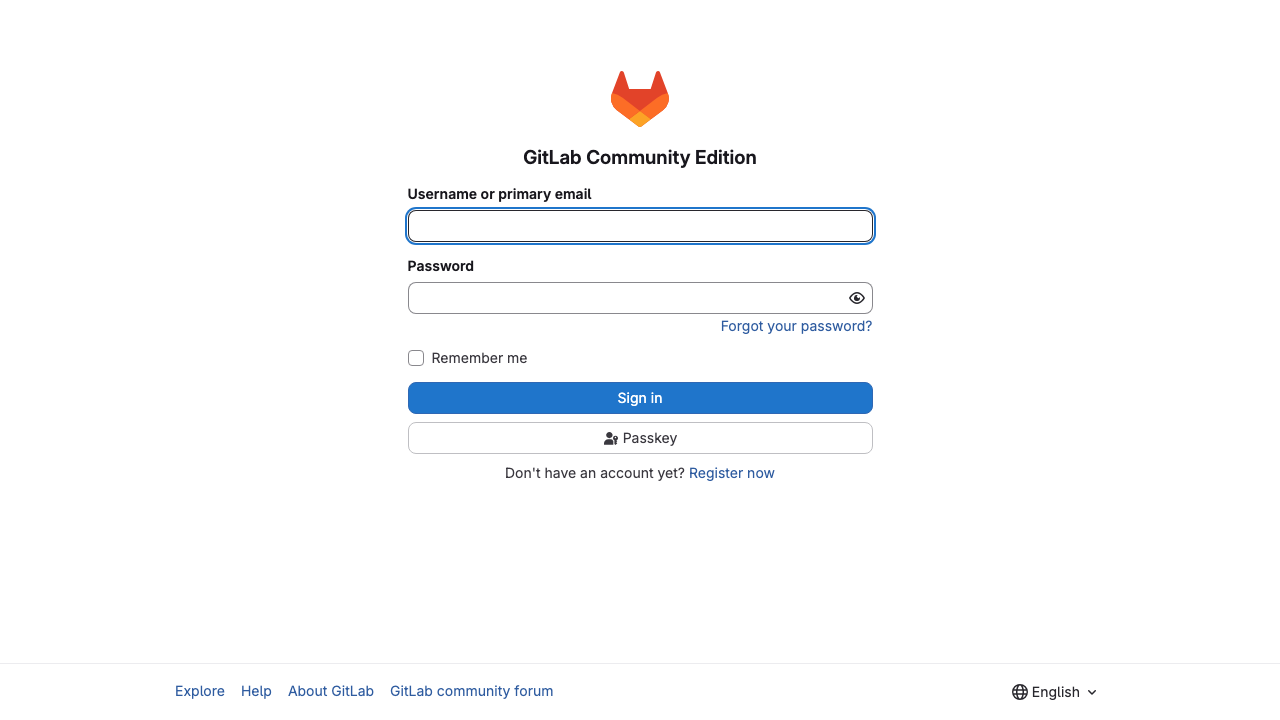
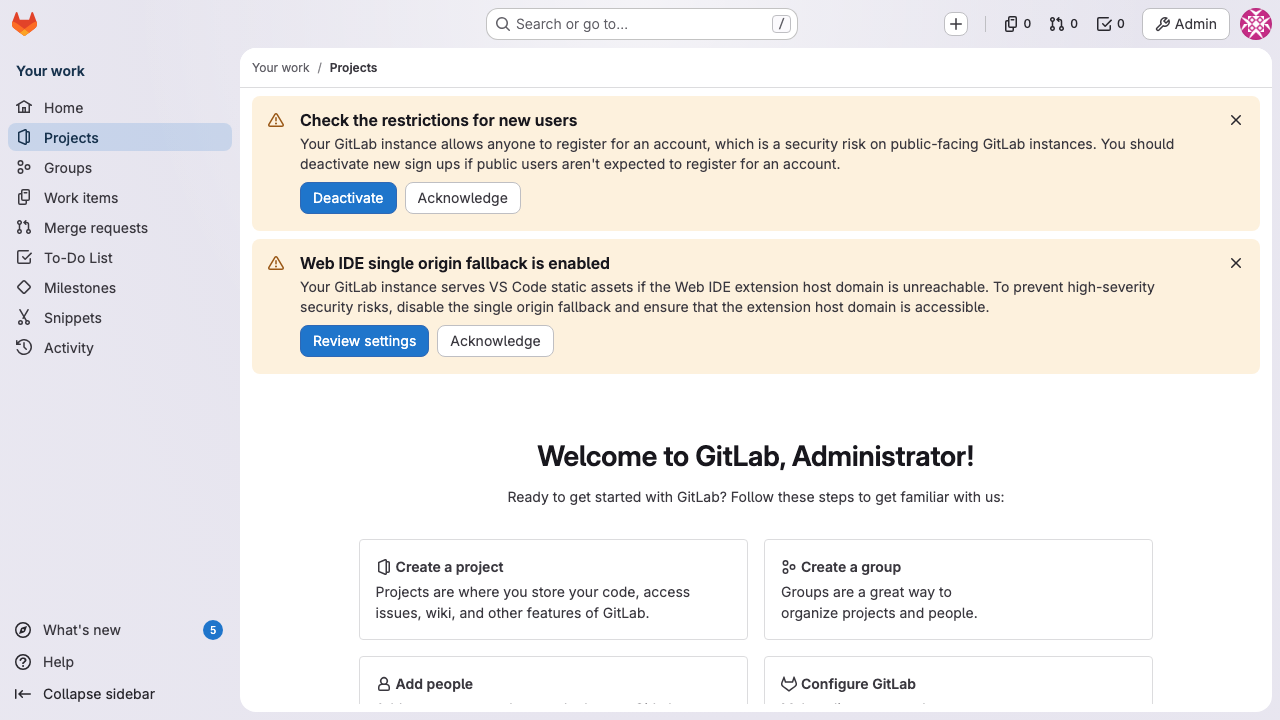
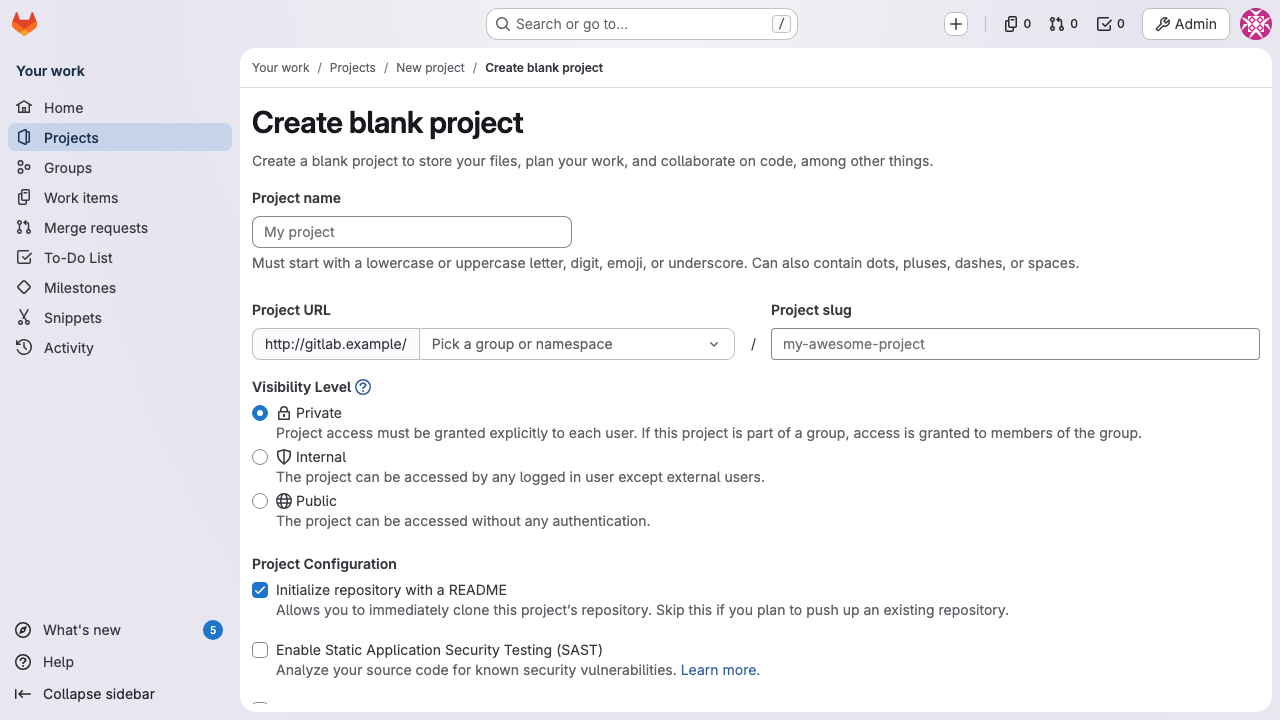
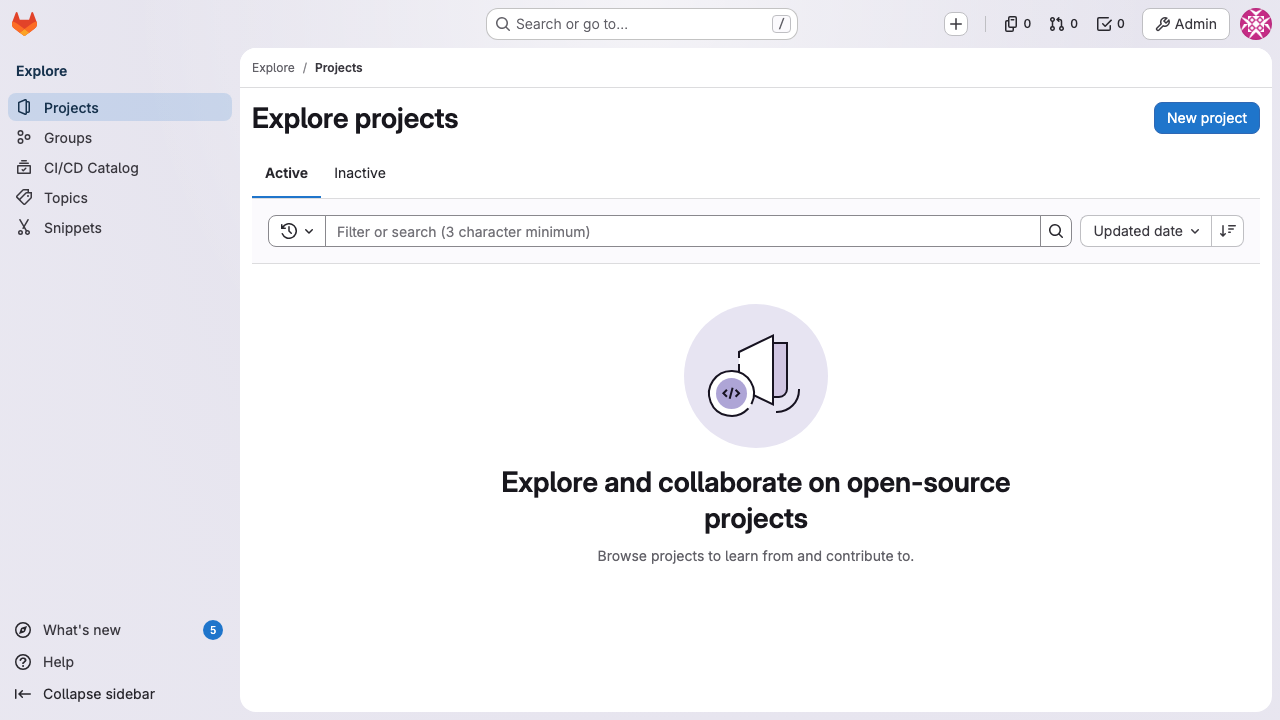
Real screenshots of this software running on the cloudimg image, taken while testing the deployment guide.
Description
This is a repackaged open source software product wherein additional charges apply for cloudimg support services.
## Self-Hosted GitLab CE - Ready in Minutes, Not Hours
Stop spending hours manually installing and configuring GitLab components. This AMI delivers a complete, production-ready GitLab Community Edition platform that starts serving your team within minutes of launch - with no default credentials, no manual database setup, and no service configuration required.
## Why This AMI Over a Manual Install or Competing Images
Unlike a bare OS where you must install and configure each component yourself, this image ships with the entire GitLab stack pre-integrated and auto-starting. Unlike other GitLab AMIs that may ship with shared default passwords, every instance generates a unique root credential on first boot and stores it in a root-only file. The container registry is configured and ready out of the box, eliminating a common post-install step that trips up new deployments.
## Application Stack
- GitLab CE Omnibus from the official packages.gitlab.com repository
- nginx serving on port 80
- Embedded PostgreSQL database
- Embedded Redis cache and queue
- Sidekiq background workers
- Puma application server
- Gitaly Git RPC service
- GitLab Workhorse for large file transfers
- Container registry included and configured
- Git over SSH on port 22
## Secure First Boot
On the first boot a one-shot service rotates the GitLab root administrator password, unique to that instance, and writes it to a file readable only by the root OS user. No shared or default credentials ship in the image - the default Omnibus initial root password file is wiped at build time. This approach supports audit requirements by ensuring every instance has a cryptographically unique administrative credential from the moment it launches.
## Security and Network Recommendations
- Data in transit: Configure TLS/HTTPS via Let's Encrypt or your own certificate to encrypt all Git and web traffic
- Data at rest: Enable EBS encryption on the attached volume to protect repositories and database contents
- Network isolation: Deploy in a private subnet within your VPC; use a load balancer or bastion host for access
- Security groups: Open only ports 22 (SSH/Git), 80/443 (HTTP/HTTPS), and 5050 (container registry) to required sources
## Minimum Requirements
- Instance type: t3.medium or larger (2 vCPUs, 4 GB RAM minimum)
- Storage: 30 GB root EBS volume minimum; scale based on repository size
- Architecture: x86_64 (AMD64)
- Recommended for: Teams of up to 50 developers per instance; larger teams should consider scaling instance size
## Use Cases
- Regulated teams needing data residency: Keep all source code and CI artifacts within your own AWS account and region, meeting data sovereignty requirements for financial services, healthcare, or government projects
- Platform engineering teams: Provide an internal DevOps platform with code review, merge requests, and CI/CD pipelines without depending on external SaaS availability
- Container-based delivery pipelines: Build, tag, and push container images to the integrated registry, then deploy directly to ECS or EKS
- Air-gapped or restricted networks: Run a full DevOps toolchain in environments with no outbound internet access
## Getting Started
1. Launch the AMI on a t3.medium or larger instance with at least 30 GB EBS storage
2. Configure your security group to allow inbound on ports 22, 80, and 443
3. SSH into the instance and retrieve your unique root password from /root/.gitlab_root_password
4. Browse to the instance public IP or DNS, sign in as root, and start creating projects
5. Configure CI runners, enable HTTPS, and invite your team
## cloudimg Support
24/7 technical support by email and live chat. Our engineers assist with GitLab deployment, upgrades, runner configuration, registry setup, backup and restore, integrations, and performance tuning. Book a free setup consultation to get guidance on instance sizing, runner architecture, or migration from GitHub or Bitbucket.
All product and company names are trademarks or registered trademarks of their respective holders. Use of them does not imply any affiliation with or endorsement by them.
Key Features
- GitLab CE Omnibus preinstalled and ready, with nginx, PostgreSQL, Redis, Sidekiq, Puma and the container registry, all configured and starting automatically
- Hardened first boot rotates the GitLab root password for every instance and stores it in a file only the root user can read, with no default credentials shipped in the image
- 24/7 technical support from cloudimg, with expert assistance for GitLab deployment, configuration, upgrades, runner setup and performance tuning