Gotify Self-Hosted Push Notification Server
Overview
Deploy a private push notification server in minutes with zero shared credentials. Gotify pre-configured with PostgreSQL and nginx, backed by 24/7 cloudimg support.
See it running
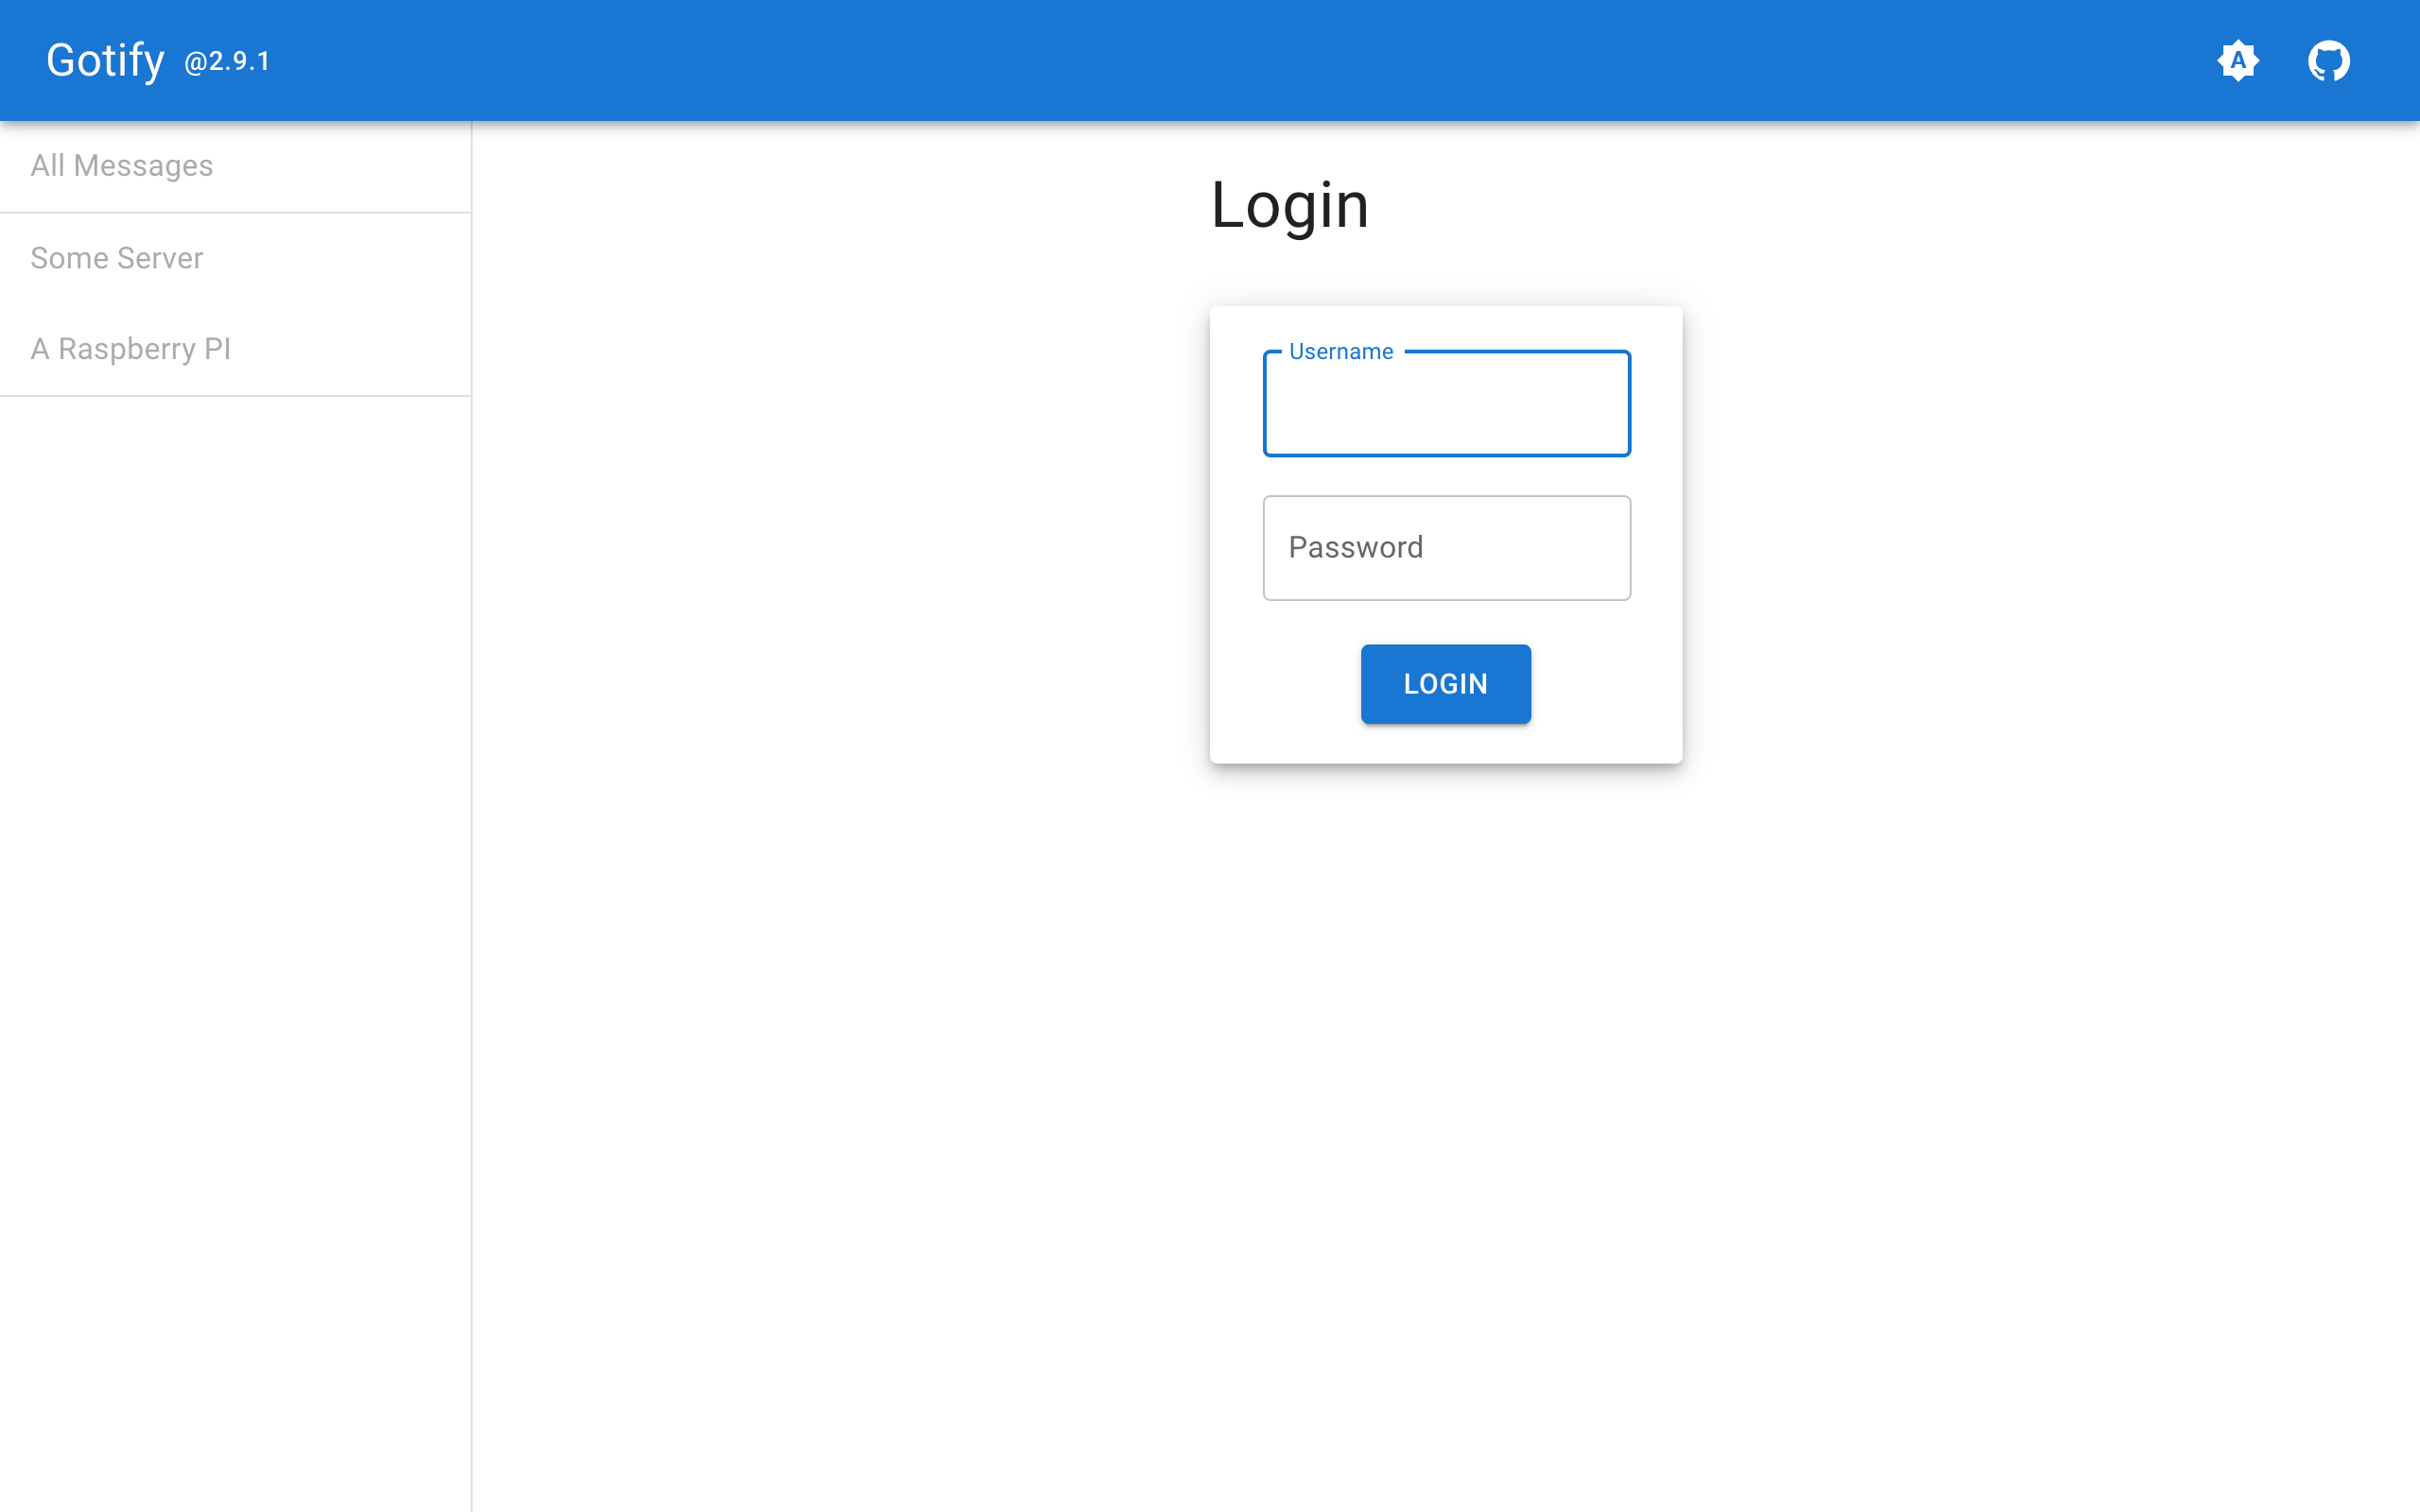
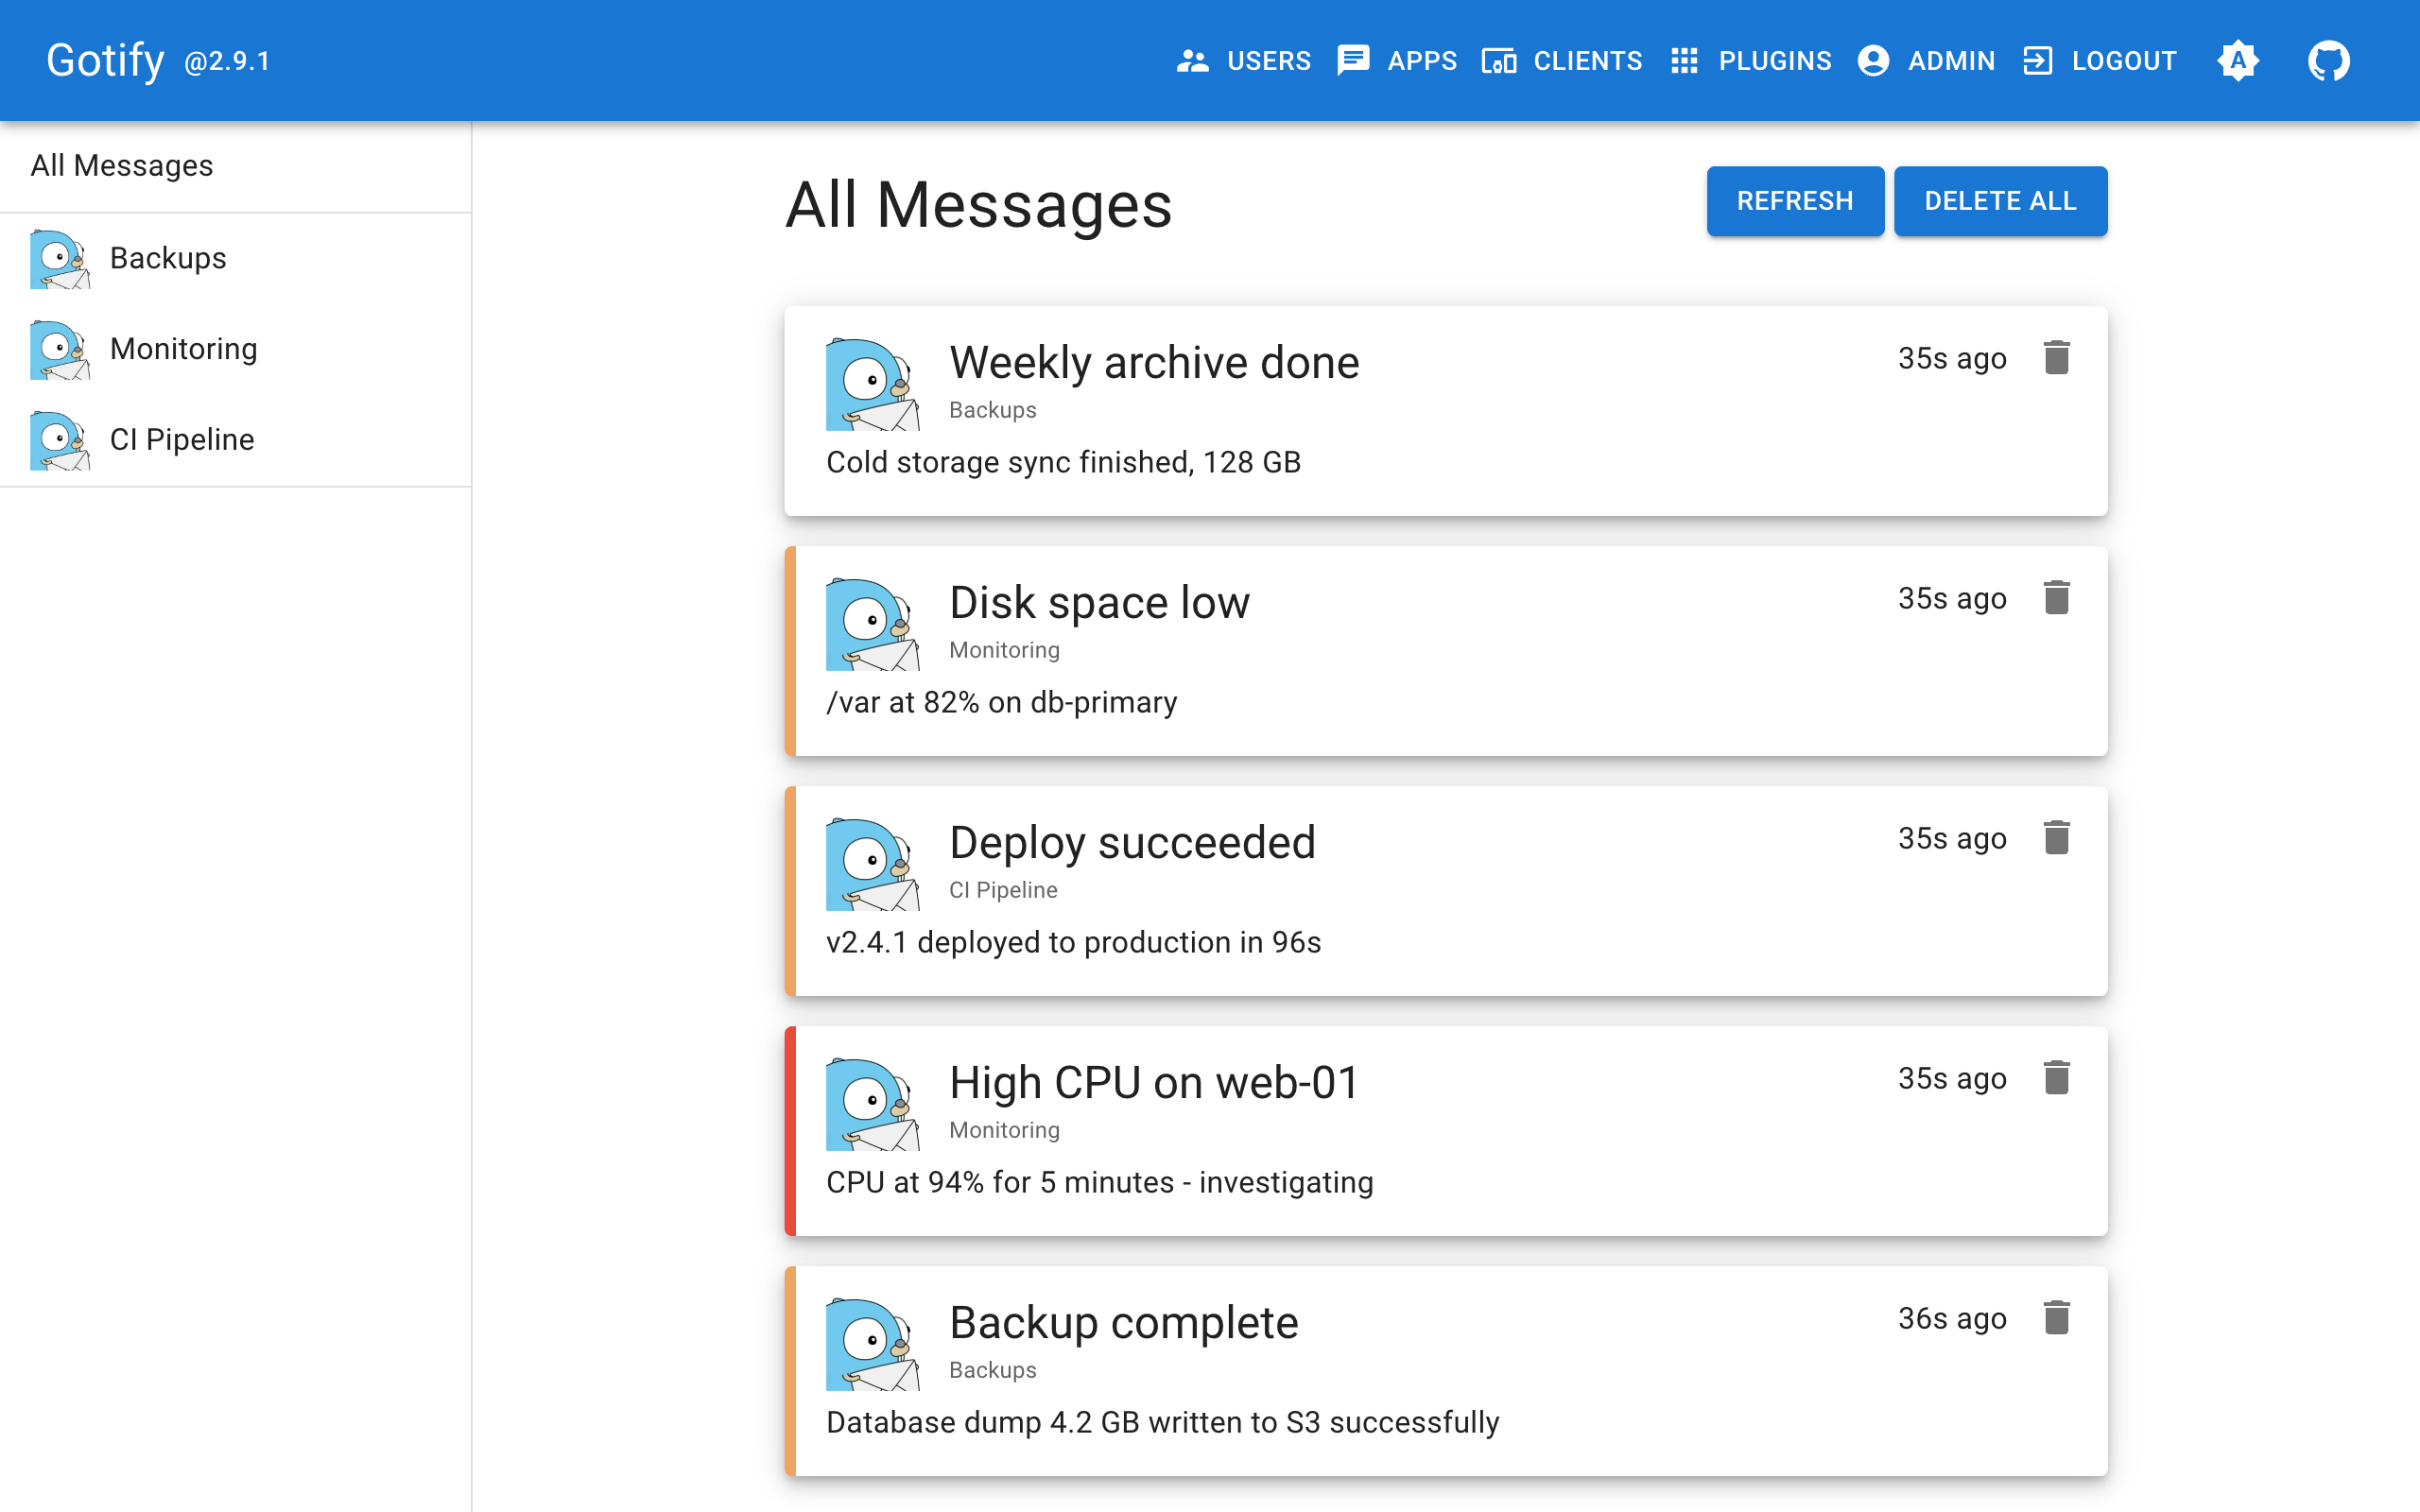
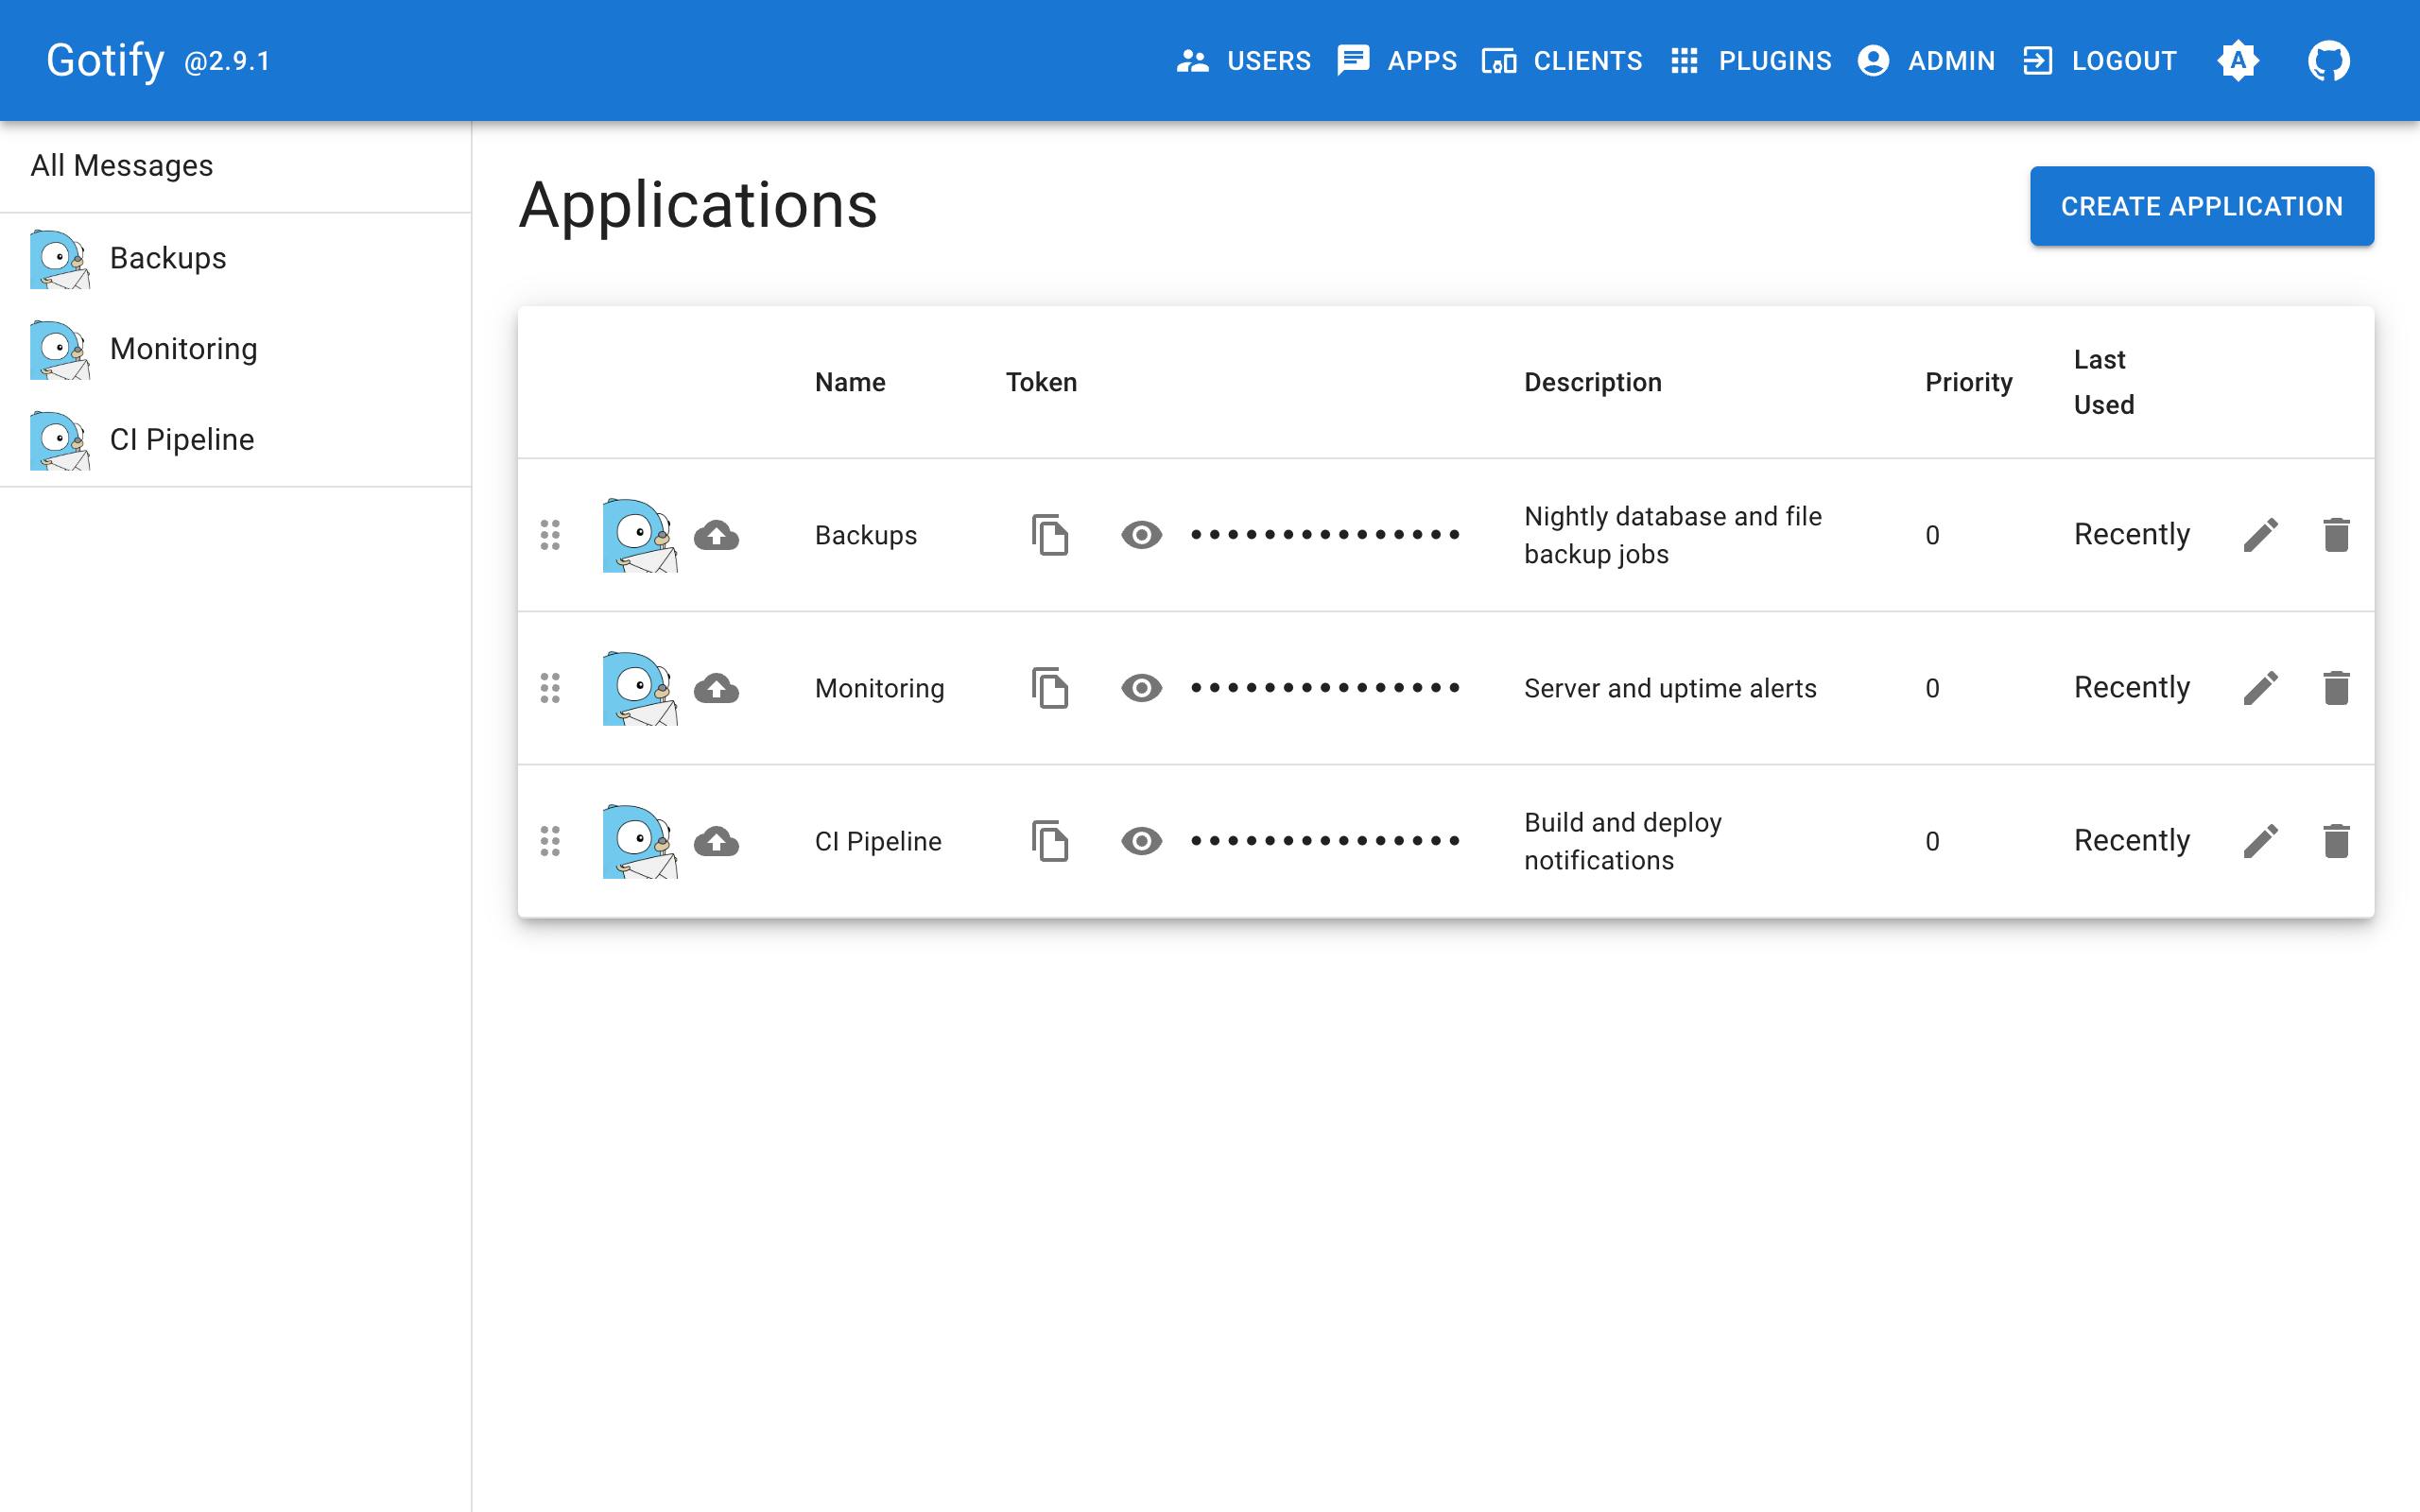
Real screenshots of this software running on the cloudimg image, taken while testing the deployment guide.
Description
This is a repackaged open source software product wherein additional charges apply for cloudimg support services.
## Overview
Gotify is a widely adopted open source, self-hosted push notification server. Send messages from any script, server, or application over a simple REST API and receive them in real time via the web app or the official Android client. This AMI delivers Gotify 2.9 fully installed and configured so your private notification server is running within minutes of launch - no manual compilation, dependency resolution, or database setup required.
## Why This AMI Over Manual Setup
Deploying Gotify from source or Docker requires installing Go, configuring a reverse proxy, provisioning a database, generating credentials, and hardening the stack. This image eliminates that effort entirely. Compared to a manual install:
- Pre-hardened security - Per-instance credentials generated automatically on first boot; no shared secrets ever ship in the image
- Production-ready stack - nginx reverse proxy, PostgreSQL datastore, and the Gotify Go binary configured and running immediately
- Ongoing expert support - 24/7 assistance with upgrades, TLS termination, and database administration from cloudimg engineers
## Application Stack
The Gotify server - a single Go binary serving both the API and the web app - runs behind nginx as a reverse proxy. PostgreSQL provides the persistent datastore. Both the server and database bind to the loopback interface for defense in depth.
## Secure By Default
On first boot, a one-shot service recreates an empty database (generating a fresh per-instance session signing key), creates a unique PostgreSQL password, and seeds a single administrator account. The admin password is written to a root-only file. Open registration is disabled. No default or shared credentials exist in the image.
## Use-Case Scenarios
- DevOps and CI/CD - Receive build failure alerts, deployment status updates, and infrastructure warnings pushed directly to your team's devices without relying on third-party SaaS notification services.
- IoT Fleet Monitoring - Lightweight devices and edge gateways POST alerts to the Gotify REST API; operators receive them instantly via websocket or the Android client.
- Internal Tooling - Replace email-based alerting with real-time push notifications for cron jobs, batch processing completions, or security event triggers.
## Ready To Use
Sign in as the administrator, create an application to obtain its token, and start pushing messages with a single curl call. Connect the official Android client or any websocket consumer to receive notifications in real time. The entire flow - from launch to first delivered message - takes only minutes.
## Getting Started
1. Launch this AMI from AWS Marketplace on your chosen EC2 instance.
2. SSH into the instance and retrieve the admin password from the root-only file.
3. Open the Gotify web UI in your browser.
4. Create an application, copy the generated token, and send your first notification via the REST API.
For TLS termination, point your domain's DNS to the instance and configure your certificate in nginx, or place an AWS Application Load Balancer in front.
## About cloudimg
cloudimg provides 24/7 technical support by email and live chat covering deployment, upgrades, integrations, TLS termination, and database administration. Critical issues receive a one-hour average response time.
To schedule a guided deployment walkthrough or discuss your notification architecture, contact the cloudimg team through the support channels listed below.
Gotify is a trademark of its respective owner. All product and company names are trademarks or registered trademarks of their respective holders. Use of them does not imply any affiliation with or endorsement by them.
Key Features
- Production-ready in minutes, not hours: Gotify 2.9 ships fully configured with PostgreSQL, nginx reverse proxy, and the Go binary - eliminating manual compilation, dependency management, and database provisioning that a raw install requires. Launch the AMI, retrieve your unique admin credentials, and push your first notification with a single curl call.
- Hardened security with zero shared credentials: Every instance generates its own administrator password, PostgreSQL password, and session signing key on first boot. Open registration is disabled and all secrets are stored in root-only files. No default passwords or shared secrets ever ship in the image, reducing your attack surface from the moment of launch.
- 24/7 expert support from cloudimg engineers covering deployment, upgrades, TLS termination, database administration, and integrations. Critical issues receive a one-hour average response time. Get hands-on help configuring your notification infrastructure rather than troubleshooting alone.