Pingvin Share
Overview
Deploy a private, compliance-ready file-sharing platform in minutes - no manual setup. Pingvin Share with 24/7 cloudimg support replaces public transfer services.
See it running
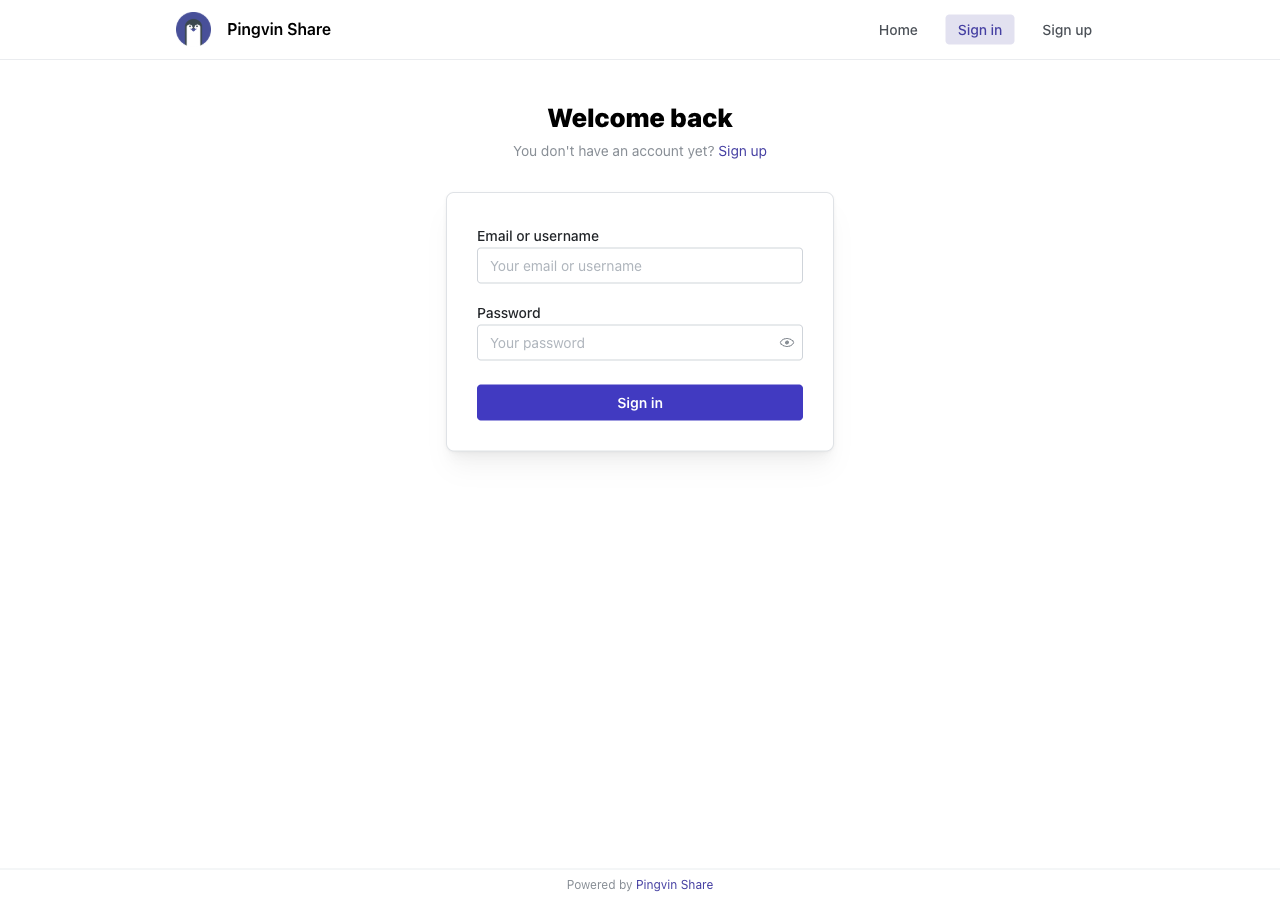
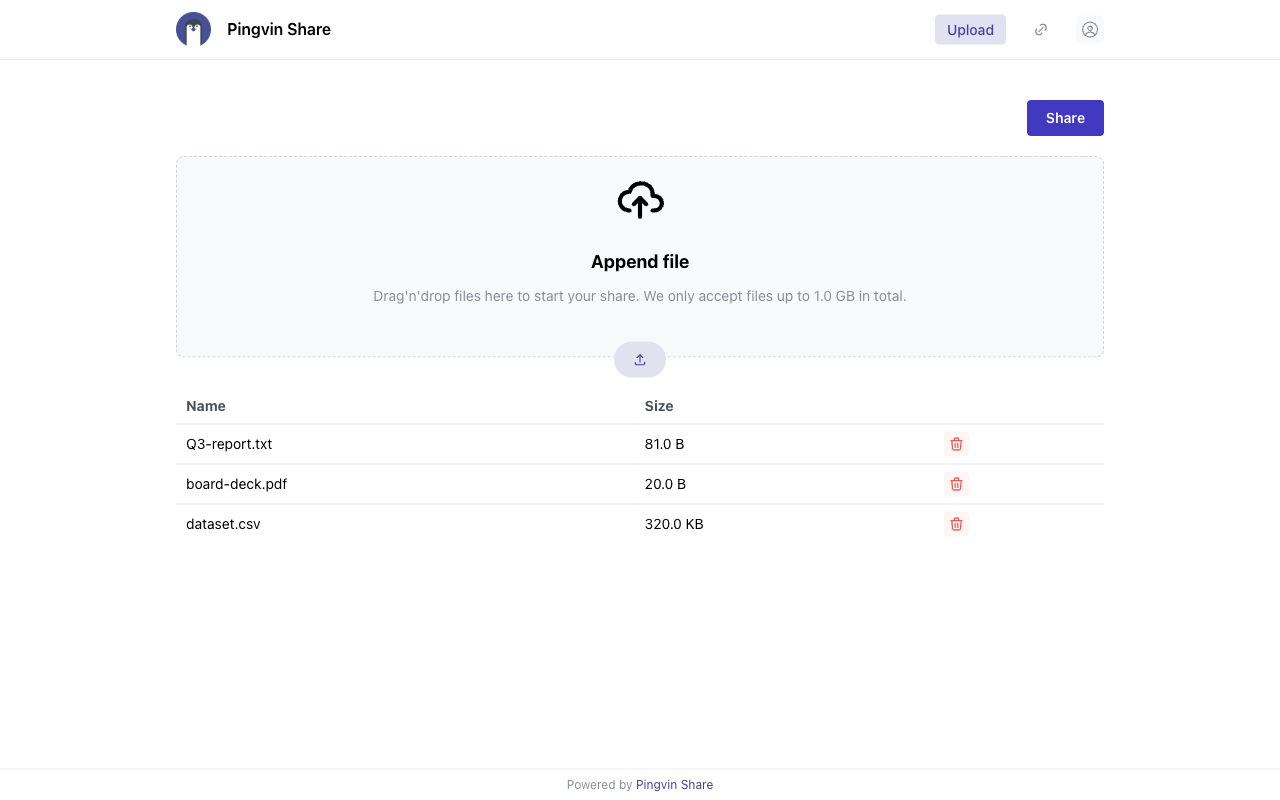
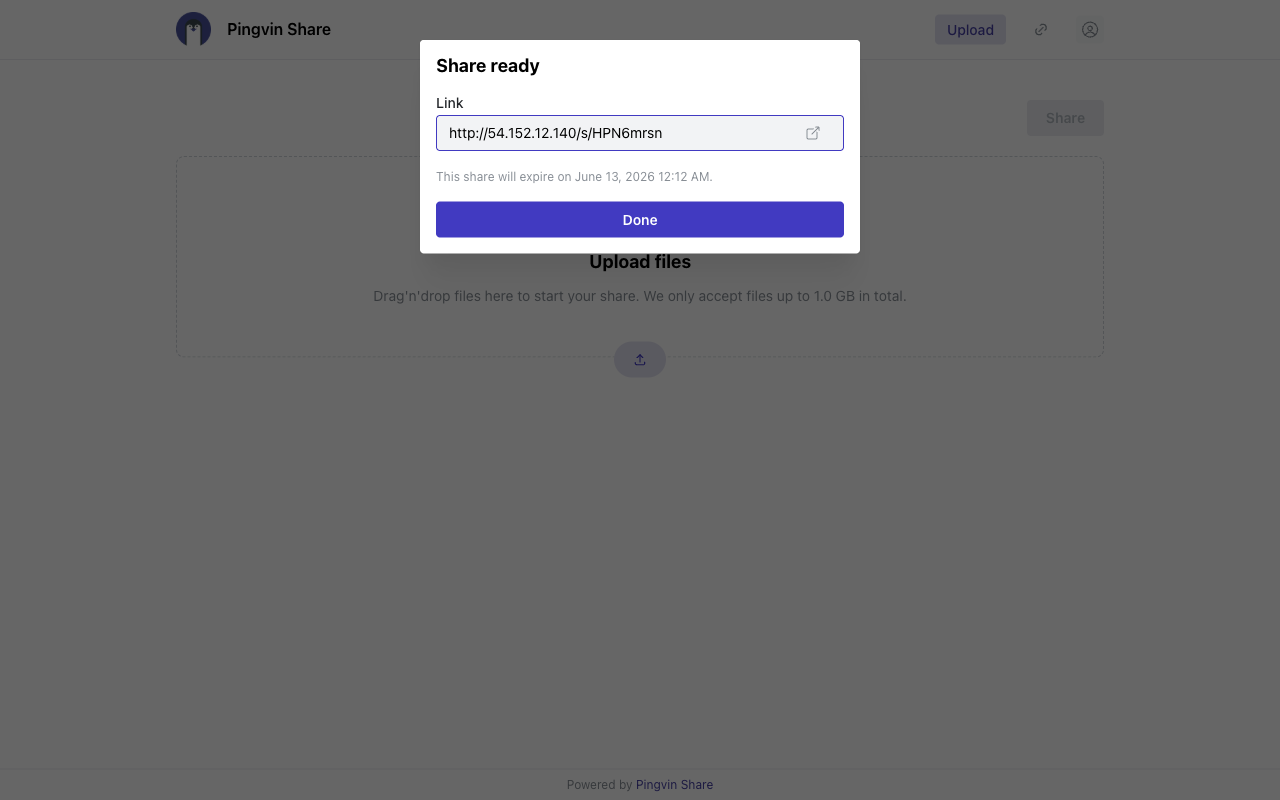
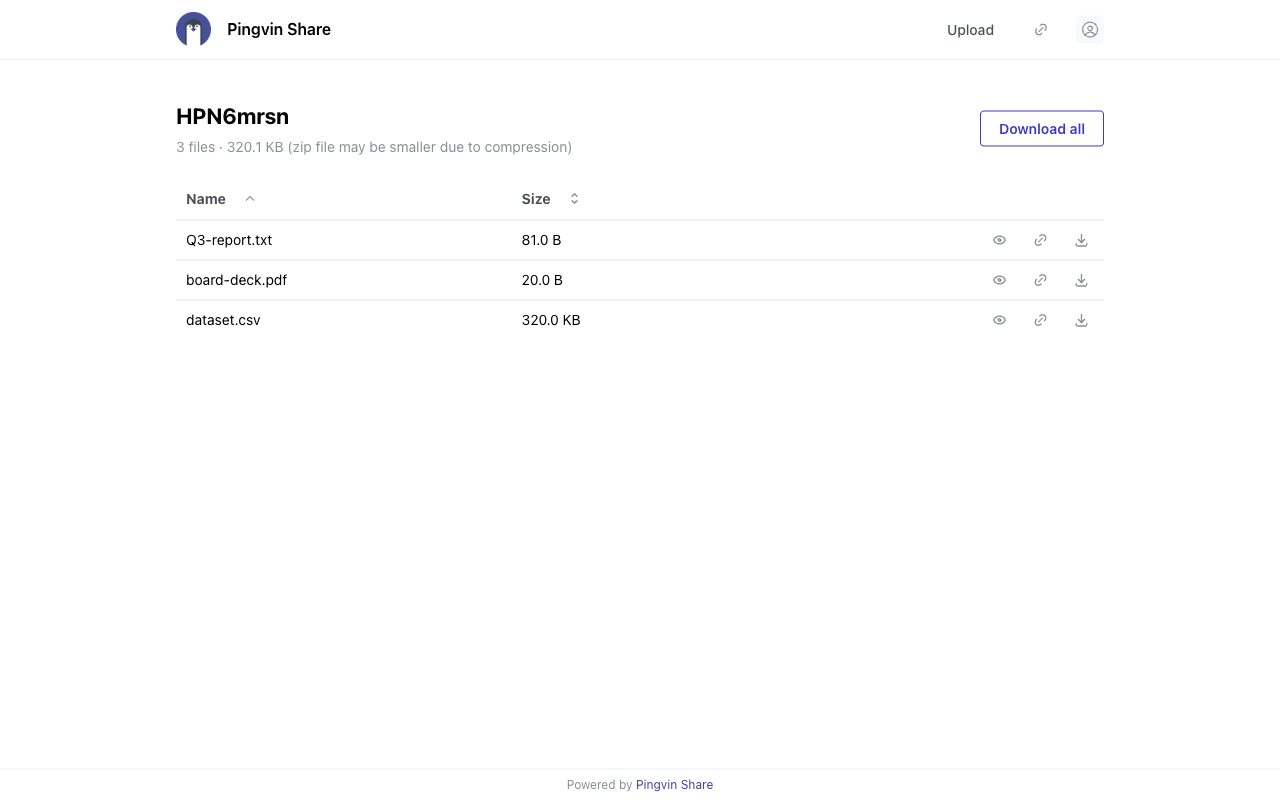
Real screenshots of this software running on the cloudimg image, taken while testing the deployment guide.
Description
This is a repackaged open source software product wherein additional charges apply for cloudimg support services.
## Deploy a Private File-Sharing Platform in Minutes
Pingvin Share is an open source, self-hosted file-sharing platform that eliminates your dependency on public file-transfer services. Upload files, generate secure share links with optional passwords, expiration dates and view limits, and let recipients download without creating an account. Reverse shares let you invite others to upload files directly to you. This AMI delivers Pingvin Share fully built and configured so you have a complete, production-ready file-sharing platform running within minutes of launch - no manual installation, no dependency troubleshooting, no configuration guesswork.
## Why This AMI vs. Self-Deploying From GitHub
Deploying Pingvin Share from source requires installing Node.js, configuring nginx as a reverse proxy, setting up Prisma migrations, managing systemd services, and hardening credentials. This AMI handles all of that for you:
- Zero-touch deployment - Launch the instance and browse to the address. The platform is already running.
- Secure by default - On first boot, a one-shot service creates the database, generates a fresh application secret unique to that instance, and registers an administrator account with a random password stored in a root-only file. No shared or default credentials ship in the image.
- Dedicated storage volume - The database and uploaded files reside on a separately attached EBS volume that you can resize independently of the root volume.
- Production-grade stack - nginx serves the frontend on port 80 and reverse-proxies API traffic to the NestJS backend. All components run as managed systemd services and start automatically on boot.
## Application Architecture
Pingvin Share runs as a Next.js frontend and a NestJS backend on Node.js, with an SQLite database managed by Prisma. nginx handles HTTP traffic and reverse-proxies API requests. The architecture is lightweight and vertically scalable - suitable for teams from a handful of users to hundreds.
## Use Cases
- Data residency and compliance - Run a private file-sharing service inside your own VPC where data never leaves your chosen AWS Region.
- Replace public transfer sites - Stop routing sensitive files through third-party services with unknown data-handling practices.
- Client file collection - Use reverse shares to securely collect documents from external parties without granting them platform access.
## 24/7 cloudimg Support
Every subscription includes around-the-clock technical support from cloudimg engineers via email and live chat. We help with:
- Initial deployment and first-boot credential retrieval
- Upgrades to new Pingvin Share releases
- Reverse proxy and TLS termination configuration
- SMTP and OAuth provider setup
- S3-compatible storage back-end integration
- SQLite database administration and backups
Critical issues receive a one-hour average response time.
## Getting Started
1. Launch the AMI from AWS Marketplace in your preferred Region.
2. Once the instance is running, retrieve the administrator password from the root-only credentials file.
3. Browse to the instance public IP or DNS name and sign in.
4. Configure SMTP for email notifications, add users, and start creating shares from the admin panel.
For detailed setup instructions including TLS configuration and S3 storage integration, refer to the usage instructions provided with this listing.
All product and company names are trademarks or registered trademarks of their respective holders. Use of them does not imply any affiliation with or endorsement by them.
Key Features
- Pingvin Share, the open source self-hosted file-sharing platform and privacy-friendly alternative to public file-transfer services, preinstalled with Node.js and nginx and ready to use with no manual setup
- Secure by default: a fresh application secret and a per-instance administrator account with a random password are generated on first boot and stored in a root only file, with no shared credentials in the image
- 24/7 technical support from cloudimg for deployment, upgrades, reverse proxy and TLS termination, SMTP and OAuth configuration and S3 storage back ends
Related Technologies
Related Products

Apache Flink Stream Processing
Apache Flink is the open source framework and distributed processing engine for stateful computations over unbounded and...

Apache Kafka
Apache Kafka, the open source distributed event streaming platform, preinstalled in KRaft mode with OpenJDK 17 and a bun...

Apache Solr 9Enterprise Search
Apache Solr is the open source enterprise search platform built on Apache Lucene.

Apache Tomcat 11
This image runs Apache Tomcat 11, the open source implementation of the Jakarta Servlet, Jakarta Pages, Jakarta Expressi...
Apache ZooKeeper Coordination Service
Apache ZooKeeper is a high performance coordination service for distributed applications.
Calibre-Web Self-Hosted Ebook Server
This image runs Calibre-Web from a dedicated Python virtual environment, served on the loopback interface and fronted by...